Since releasing the iPhone 13 Pro and Pro Max in September, I’ve not shut up about the exceptional quality of the cameras. Sometimes, however, they’re too smart and feel like they require pre-existing photography skills to get the most out of them.
But fear not, because here’s a little guide (with some help from kick-ass photographer Daphne Nguyễn) on how to get the most out of the camera on your iPhone 13 Pro and Pro Max. In particular, we’ll focus on macro photography and how to snap the most perfect macro photo.
Taking a macro photo
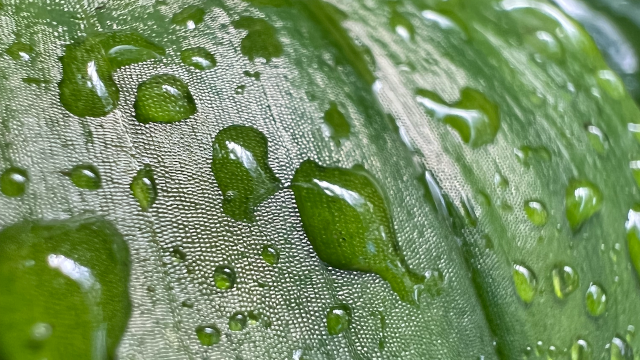
First thing’s first, you have to get real close to your subject. With macro photography, you can get as close as two centimetres away from whatever it is you’re taking a photo of.
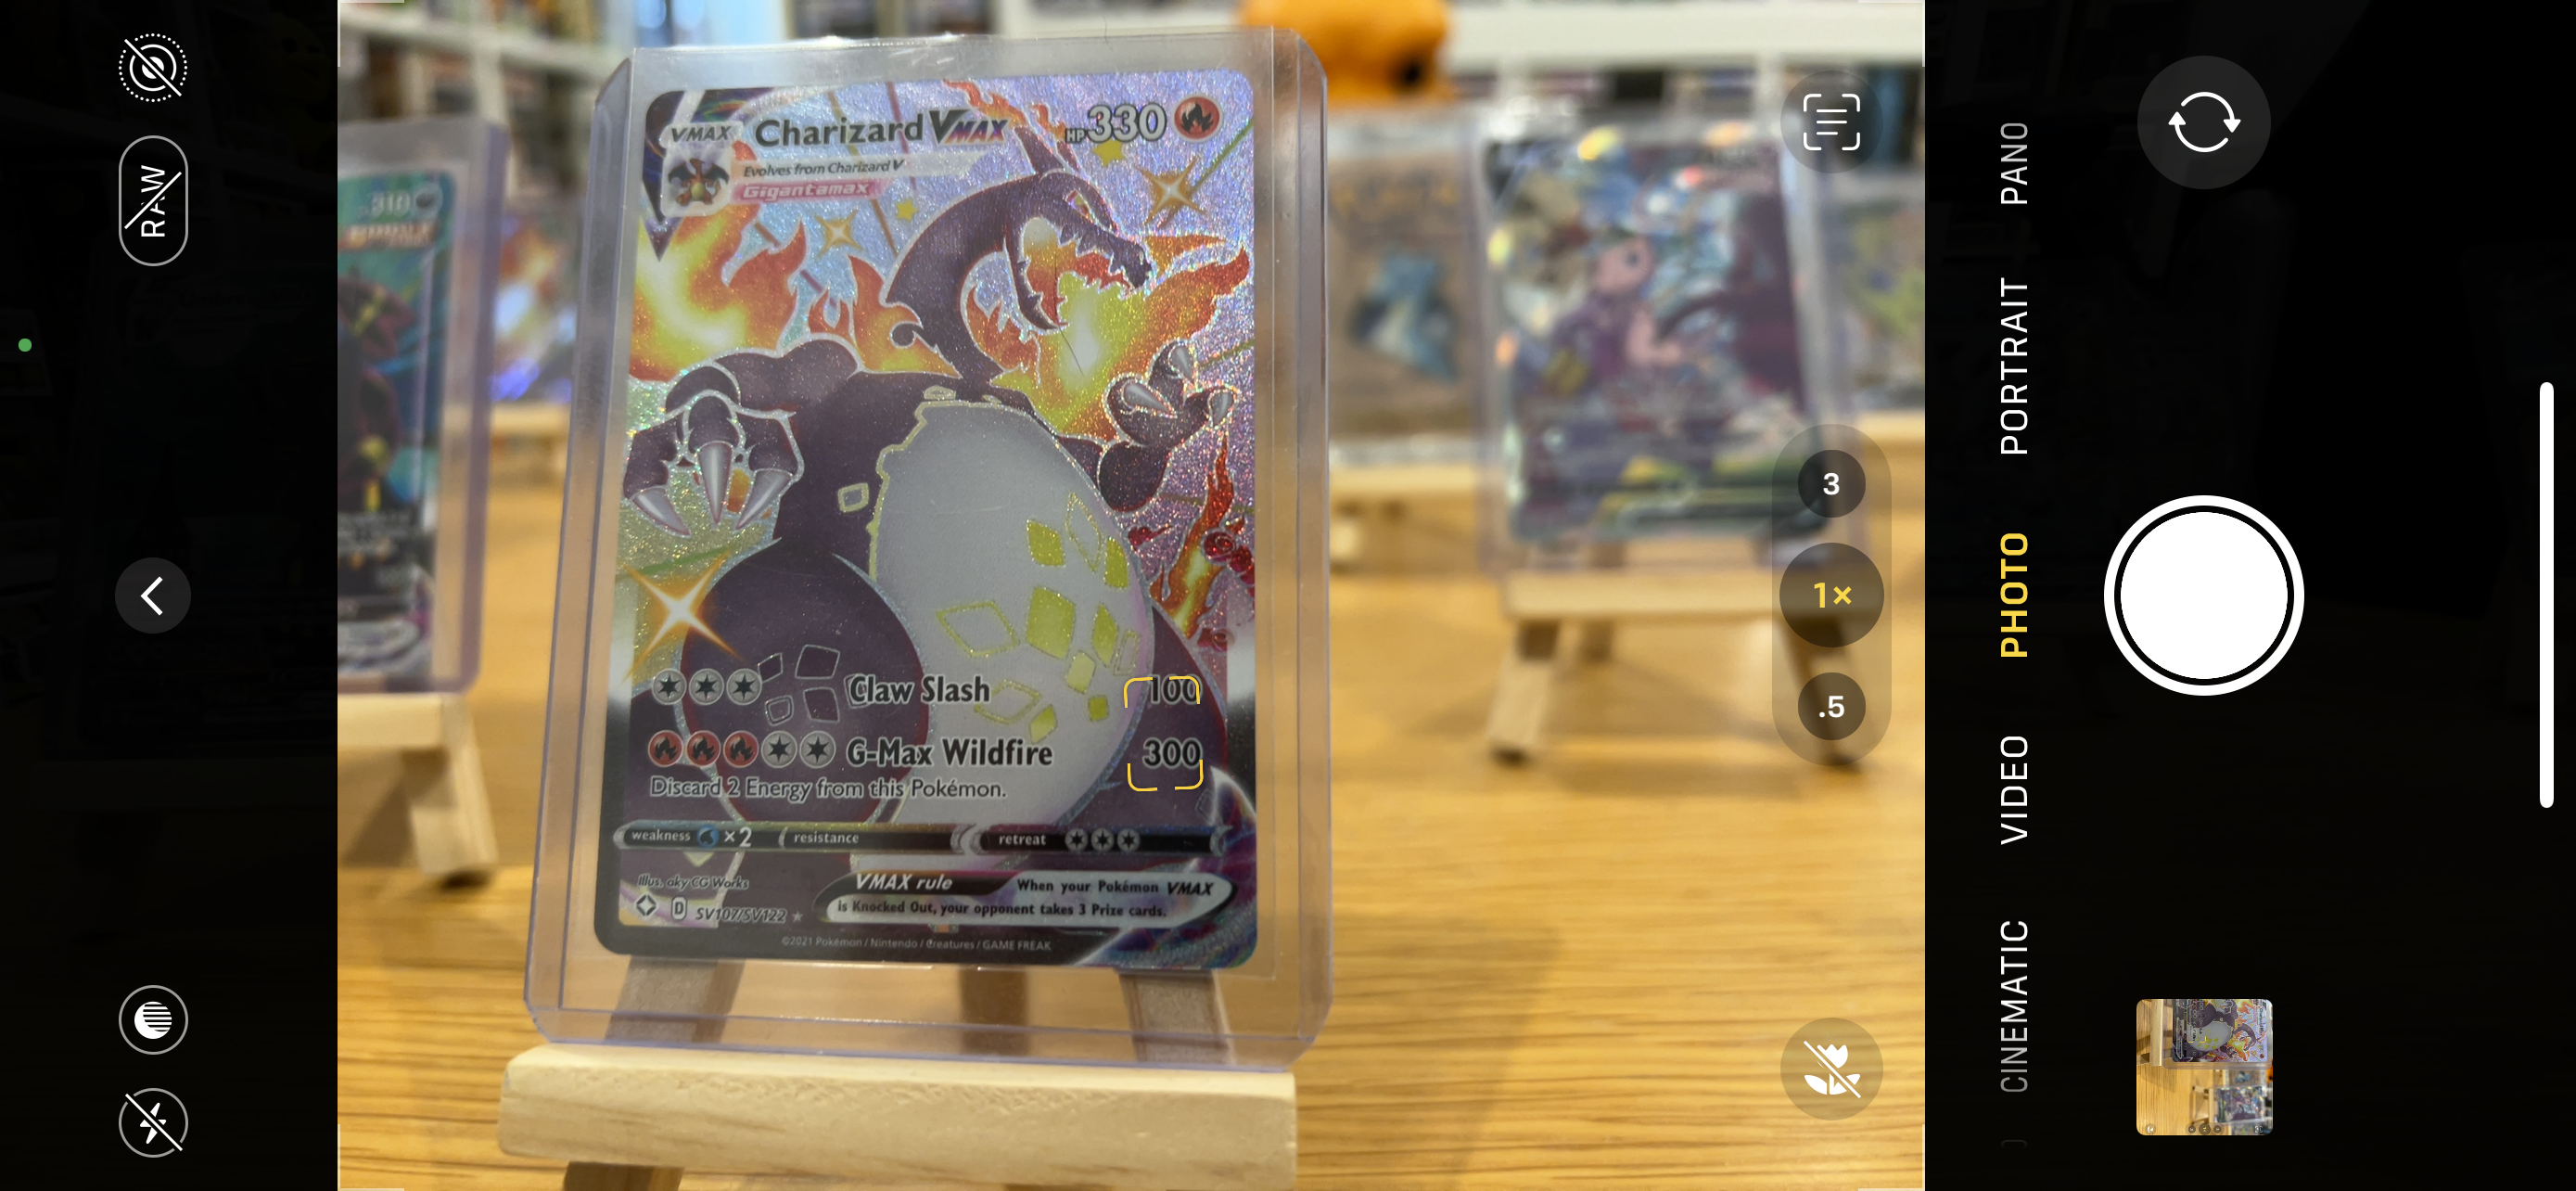
Place the primary point of focus near the centre of the frame, as that’s where the sharpest focus is when shooting in macro on iPhone. The focus point is shown in the yellow square.
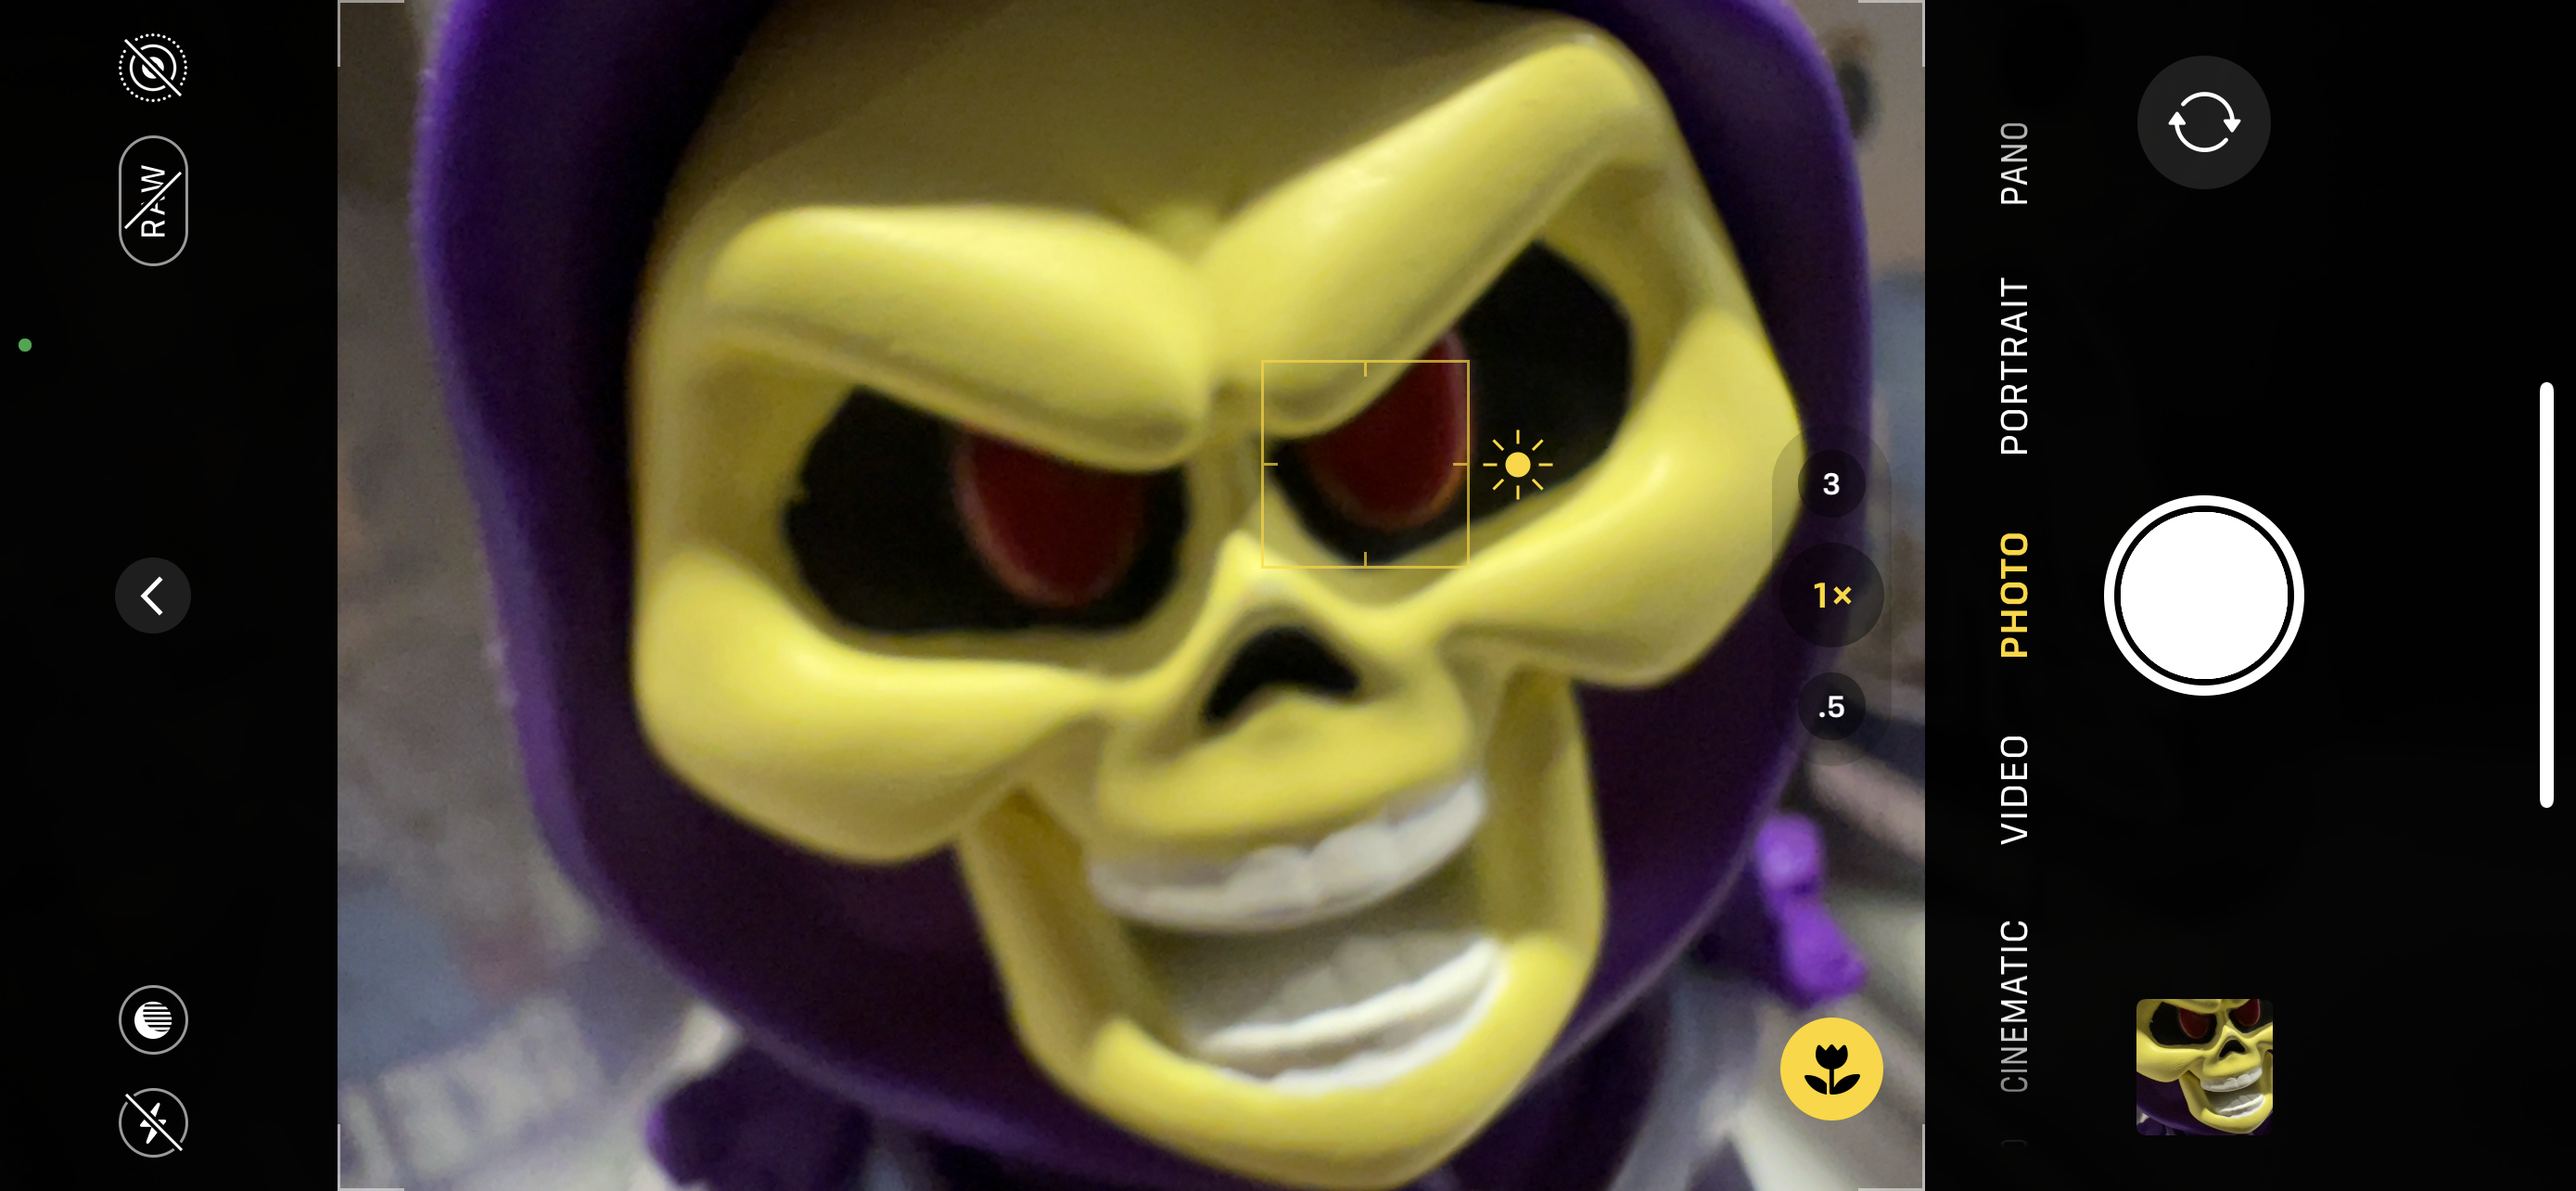
You’ll then want to tap an area in the viewfinder to set a specific focus point. Play around with focus and exposure settings as you reframe. Tap and hold a point on the screen to lock focus and slide the exposure up and down to change the light and shadows in the images. The subject should recalibrate too look like this:

Shoot at .5x to capture an Ultra Wide field of view, or try shooting at 1x for tighter framing — iPhone will automatically switch cameras as you get close while maintaining the 1x framing, but you can tap the .5 or 1x text on the viewfinder, too.
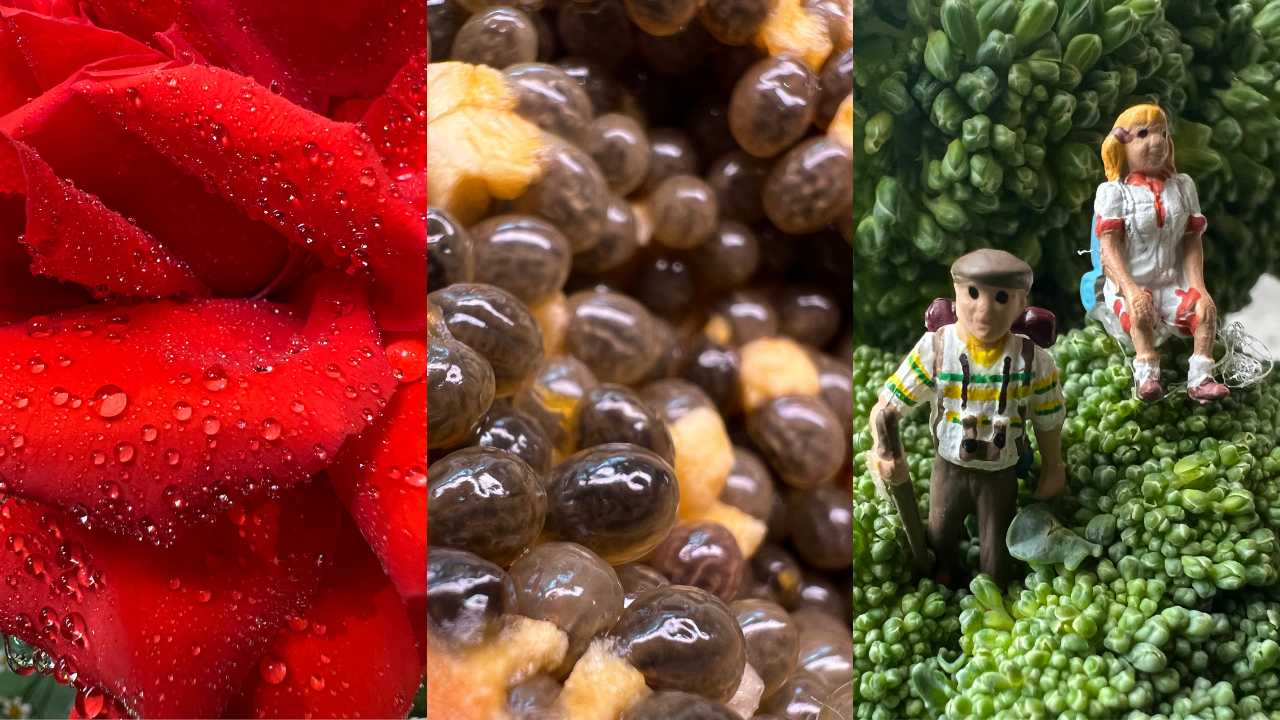
You can push the limits of what you can capture, here’s some water droplets on a rose, close up of some fruit and some little people chilling on broccoli that I snapped:
Controlling macro photos and videos
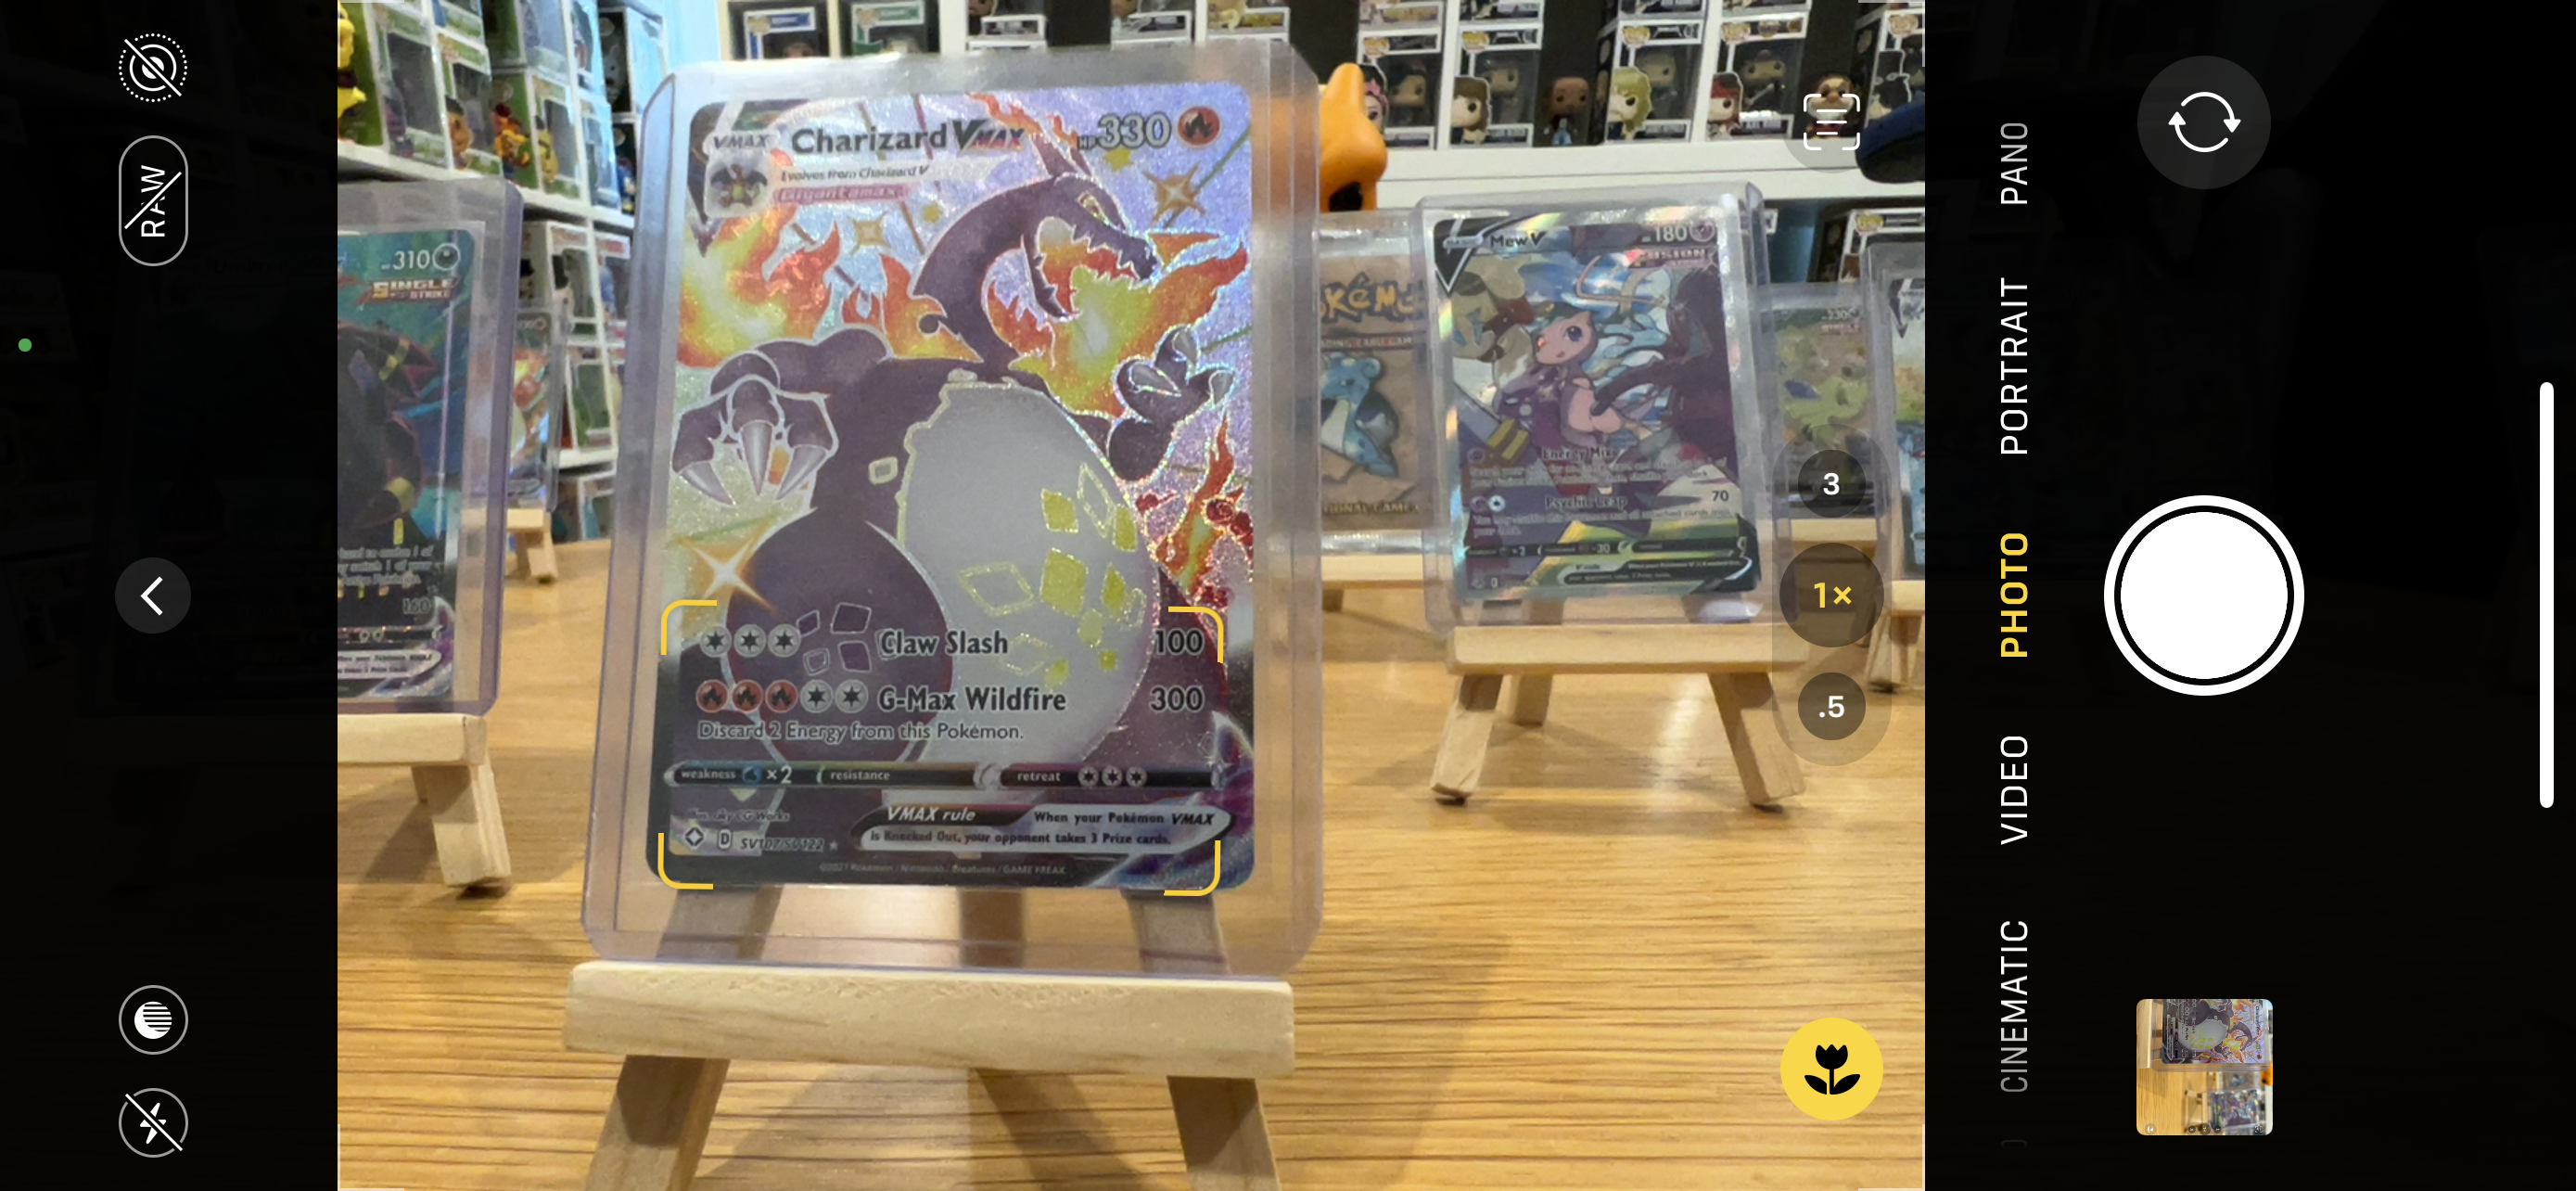
You may have noticed the little flower logo on the screenshot of my viewfinder above. This is how you can see if you’ve turned on Macro Control. But what is Macro Control?
For more control over macro photos and videos, you can choose when Camera automatically switches from the Wide to Ultra Wide camera to capture macro photos and videos. To do this, go to Settings > Camera, then turn on Macro Control (it’s right down the bottom of the screen. Basically, turning on Macro Control is useful so you know when the camera is switching to the ultra-wide lens.
Open Camera, then get close to your subject. Tap the Macro icon when it appears on the screen to remain on the Wide camera.
Tap the Macro Icon to turn automatic switching between the Wide and Ultra Wide camera back on.
Capture macro video
Would you believe this is actually automatic?
To capture macro video, simply move your iPhone close to the subject and the camera will automatically switch to the Ultra Wide camera if it’s not selected, while maintaining your framing. To shoot macro slow-motion or time-lapse videos, select the Ultra Wide camera (.5x) and move close to the subject.
A tripod, or a point of contact between your body and elbows, can be great stabilisers for the iPhone, especially if you’re shooting video.
What else?
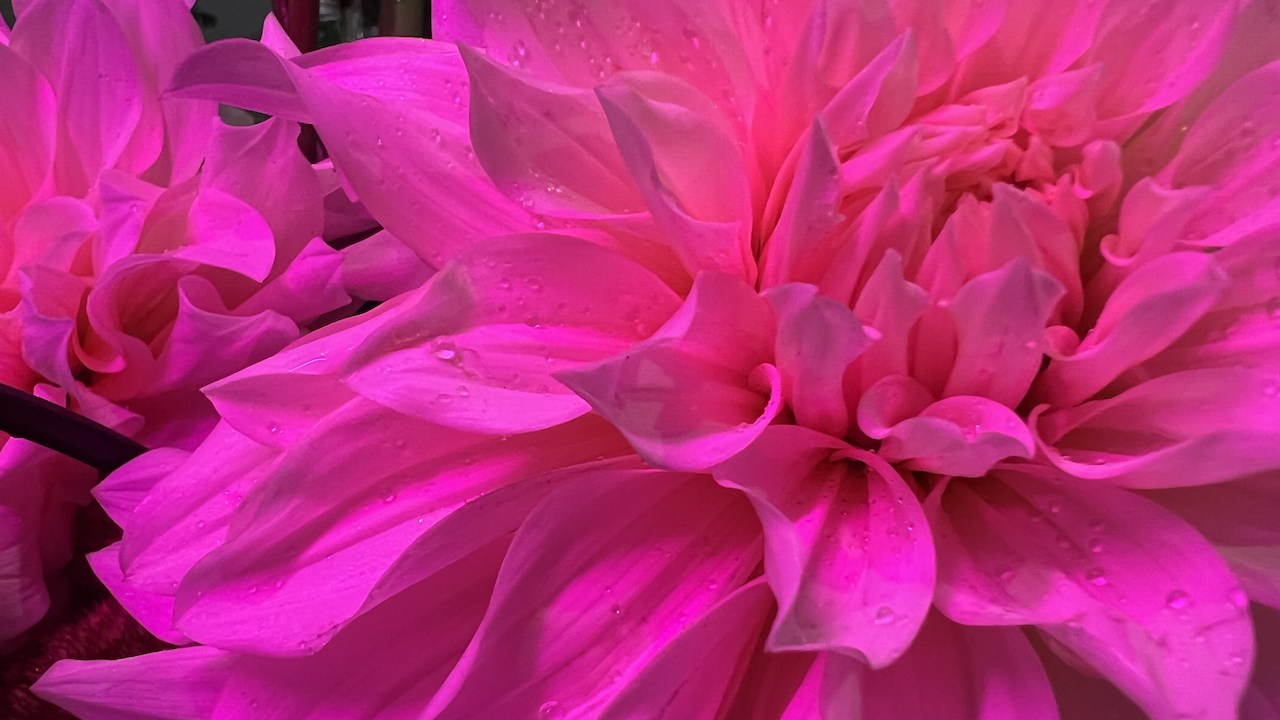
Lighting is fundamental to all photography. Use lots of light, whether it’s windows or additional light sources for your image. This is actually a white dahlia flower – play around with coloured light, too.
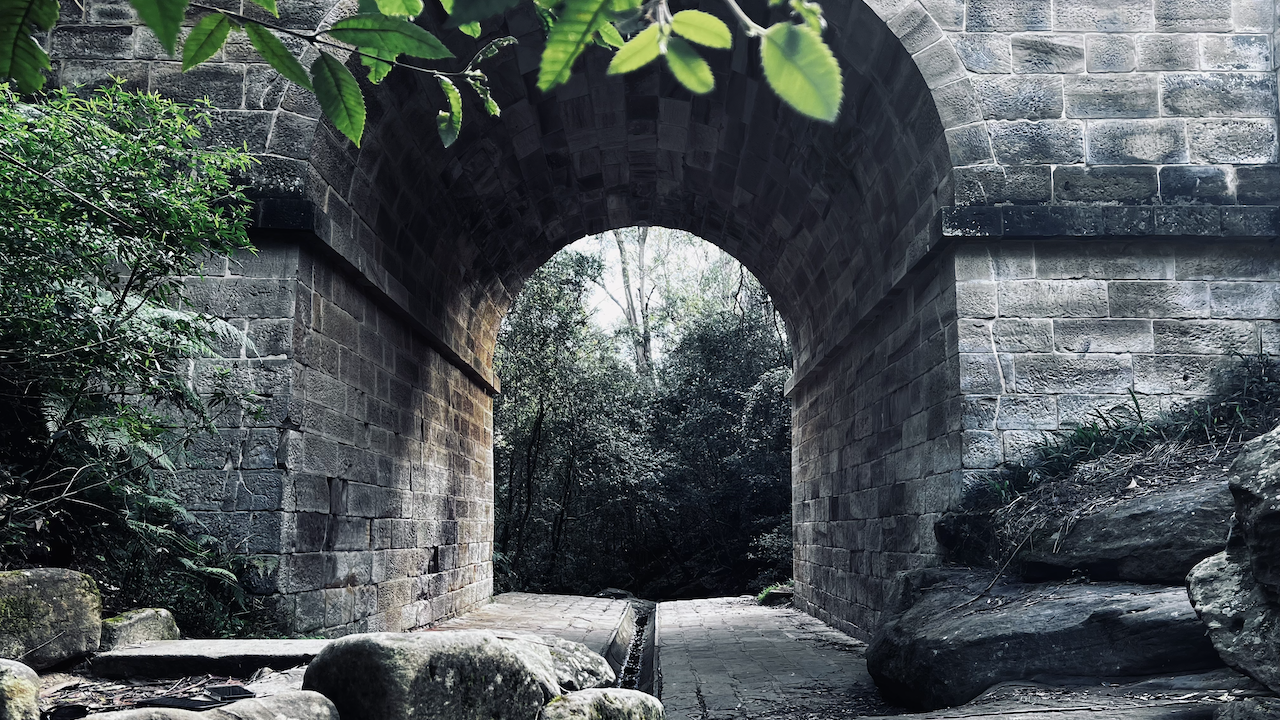
Key, Nguyễn says, is to also experiment with different angles, filling the frame, or moving back to reveal more negative space to create different artistic styles. Get familiar with the camera settings so you get the style that you like. There is a Lens Correction option for the front and ultra-wide lenses and there’s also Photography Styles that you can set a standard for how all of your shots will look. I’ve opted for ‘dark and broody’:
There we go, it’s pretty simple to maximise your iPhone’s macro photography feature, so go forth and snap everything in sight.