
From fake news to fake profiles, it’s important to know where the images that you’re looking at online have come from — and there are several different tools around to do just that. Whether you want to know where in the world a particular place is, who created a certain piece of digital art, or if the dating profile you’re looking at is showing an actual, real life person, here’s how to go about it.
Google Images
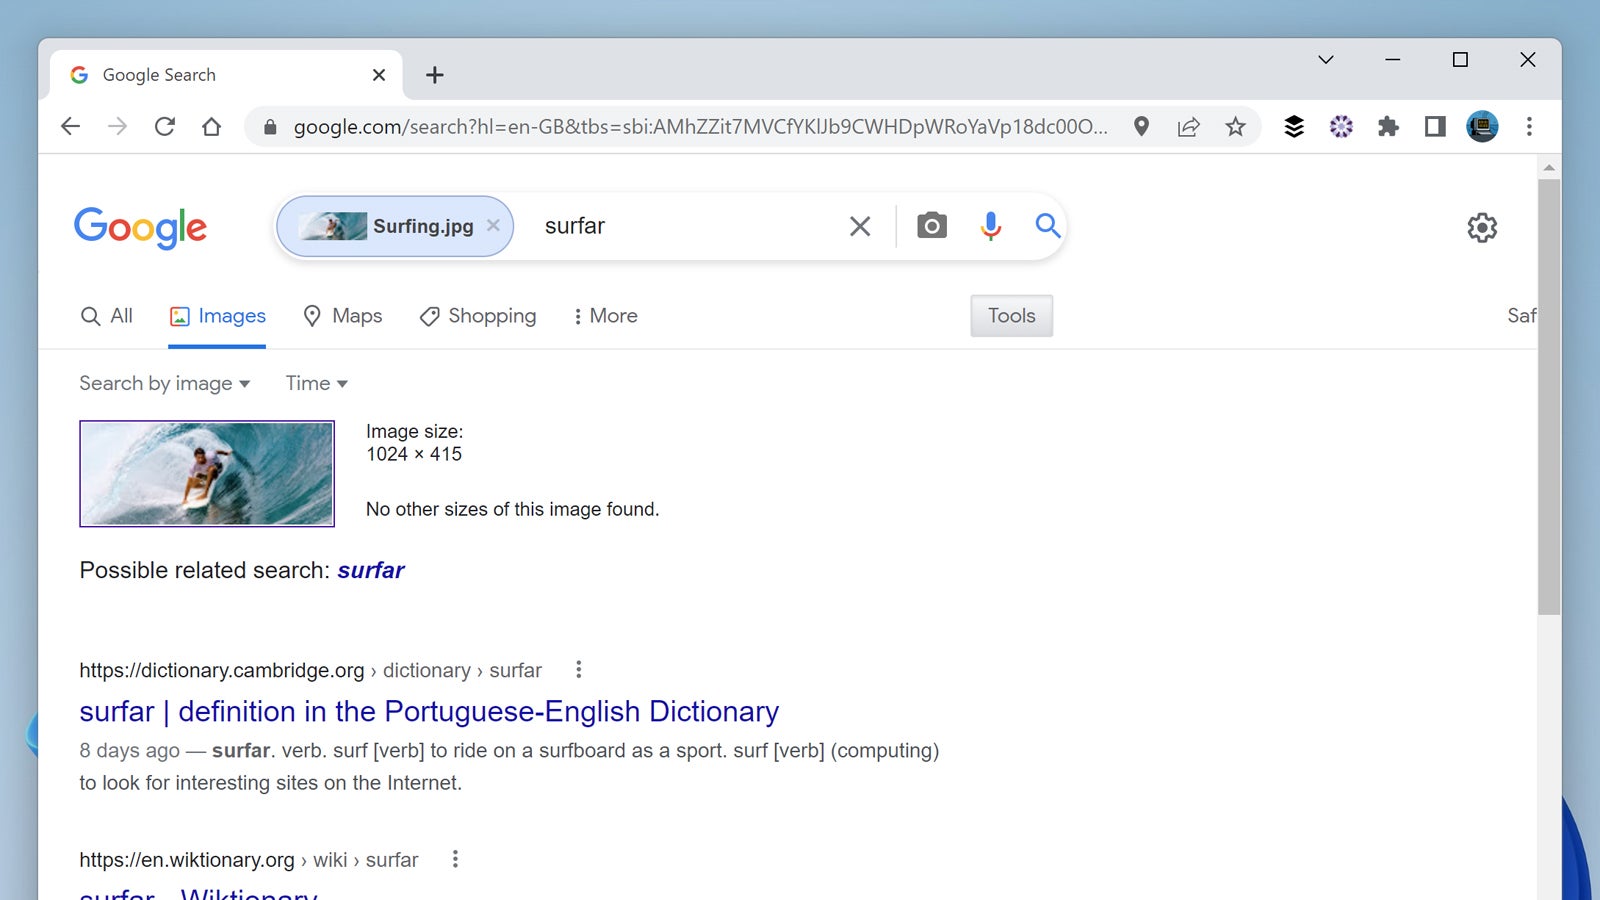
Perhaps the go to source for image search — it must be the global brand recognition for its main search engine that does it — Google Images can run searches based on an image uploaded from your computer or hosted somewhere on the web. To run a reverse image search, you need to click on the camera icon on the right-hand side of the search box.
You can then click Paste image URL (if the image you want to look for is somewhere on the web), click Upload an image (to pick an image from somewhere on your hard drive), or drag an image from File Explorer or Finder into the browser tab. Whichever option you pick, you’ll see a host of results appear on screen, including visually similar images.
The very top result might well be the original source of the image, if Google has done its job. If not, the section of the results to check next is Pages that include matching images, which should give you some idea of where the picture is from and where it’s currently being used — the original source should appear relatively high up in the list of results.
Bing Visual Search

Whatever you think of Microsoft’s main search engine, the Bing Visual Search part of it is well worth investigating for identifying pictures. You can drag an image into your browser, upload one from your computer, or even take a photo with your device — the search engine will then scour the web for matching images, including (hopefully) the original version.
It’s the Pages with this image tab on the main results screen that should lead you to copies of the picture you’ve sent to Bing Visual Search: Click on any of the links to see the page in your browser. If you’re using an image of a person, then you might also see a Looks like tab, which identifies who it is, and that can come in handy in certain situations.
Another panel that sometimes pops up, depending on the source image and the results, is Related content — this is where you can have a look at similar images and related image searches. Microsoft doesn’t waste the chance to try and sell you stuff either, and you can use the same search engine to look for particular chairs, t-shirts, or whatever you need.
Pixsy

Pixsy is a little bit different to the other entries on this list in that it’s been specifically created to help combat image theft. You need to register for an account before you can use it, but it’s free to get started, and it’s comprehensive: Images can be imported from cloud storage accounts, local hard drives, and even social media accounts synced with Pixsy.
Once you’ve imported your photos into Pixsy, it shows you matches currently on the web, together with a host of options for filtering them and finding other similar matches that are out there. Matches are graded by accuracy, and you can quickly jump to the oldest of the bunch to make it easier to identify where a certain picture might have originated from.
For this guide, we’re only interested in finding originals, but for an extra fee you can get help with takedown notices and protecting your work. Plans start at $US19 ($26) a month, and are probably worth the investment if you’ve got photographs or art to guard: For that fee, you can have hits returned to you faster and keep tabs on up to 2,000 of your own images.
TinEye
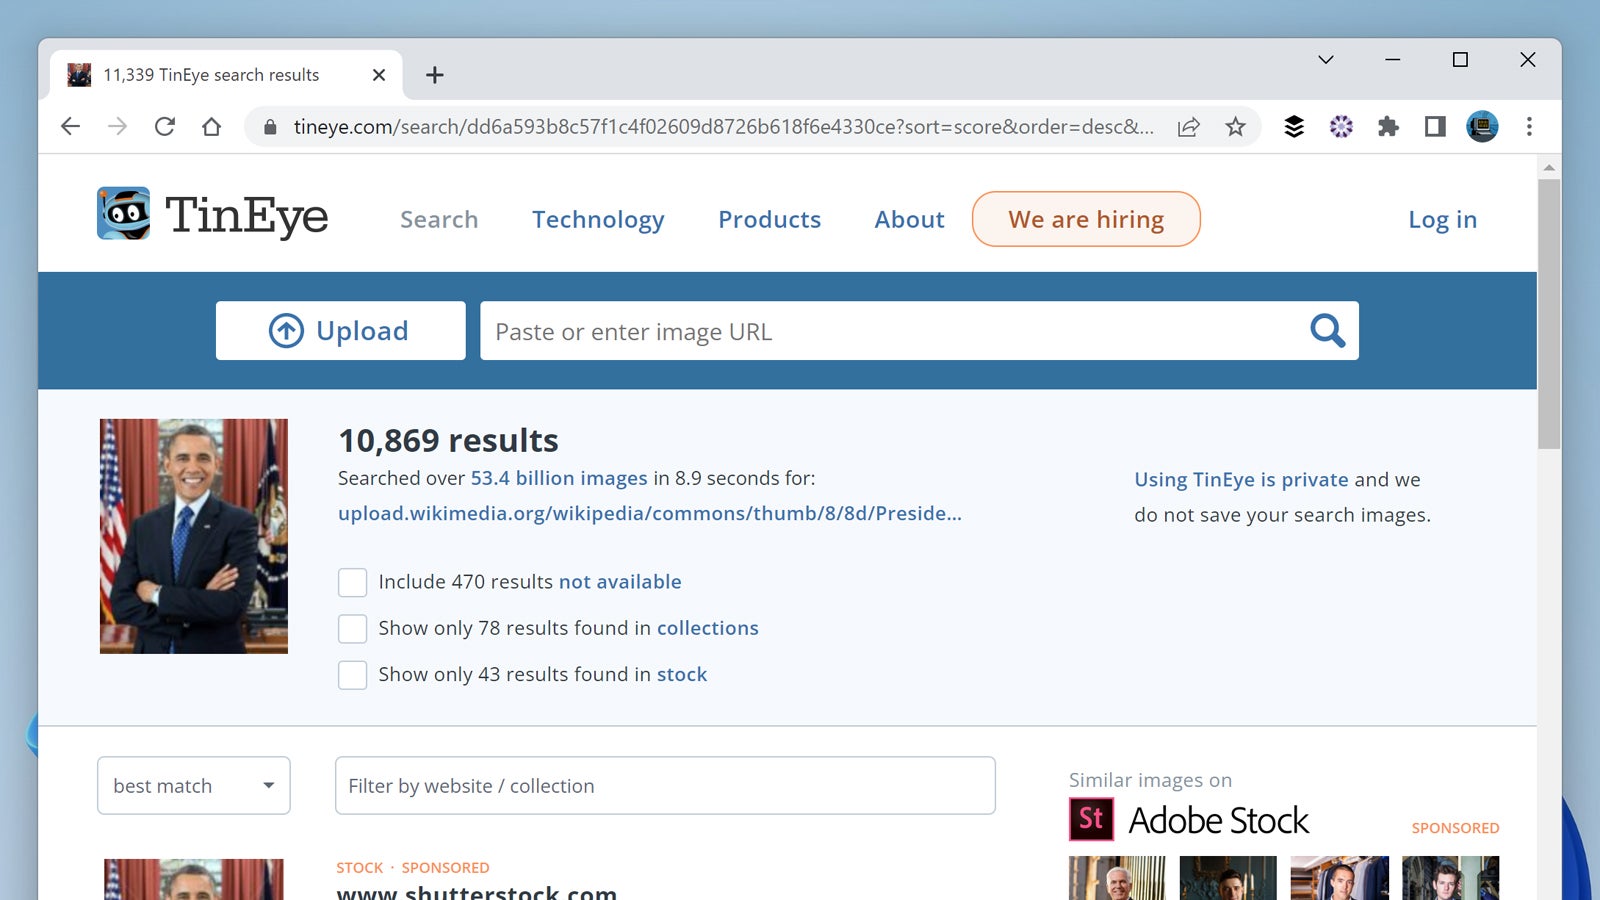
TinEye has earned a reputation as being one of the best reverse image search tools in the business, and it’s not difficult to see why: It’s quick, simple, and smart. You can upload an image stored locally or point TinEye to one stored somewhere on the web via a URL, and once you’ve provided a source image, you’ll be shown matches to it from all over the web.
You can filter the results to show the biggest matches, or the matches most recently posted to the web, or the oldest version of the picture online, and in a variety of other ways as well. At the top of the list, it’s possible to narrow down your results to look at one particular website, which can be useful. Click on any result to see the matching page.
It’s a comprehensive service and perhaps the one most likely to return accurate results from your pictures. Another reason we like TinEye is that it provides browser extensions for Chrome, Edge, Firefox and Opera, which makes hunting for images even easier on the web, because you can just right-click on them in an actual web page to run a search.