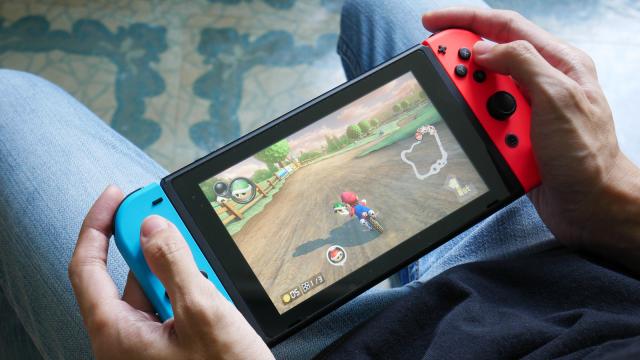
When compared to other current-gen gaming consoles, the Nintendo Switch’s storage leaves a lot to be desired. When the Xbox Series X has a whopping 1TB of storage, and the PlayStation 5 can sport 825GB, the Switch‘s maximum capacity of 32GB is quite weak in comparison. Even with their large storage sizes, it’s not hard to cap the memory space of the PS5 or Xbox Series X either. While the OLED Model attempted to give Switch users double the storage, 64GB still doesn’t quite cut it.
To fix this issue, you have a few options. The first is the most obvious one — you can delete a game or two from your console. But this solution has its own set of problems, namely which games do you delete? And spending your time figuring out proper data management is about as fun as watching paint dry.
The second choice involves taking advantage of the Switch‘s quick archive feature, which will delete the game’s data but maintain its save file data along with its HOME menu icon. So if you do decide to pick up Animal Crossing after a long time away, you’ll be able to reinstall it and jump back into your save file.
The third option, and our choice for the perfect solution to all your internal storage problems, is to buy a micro SD card and install it into your Nintendo Switch.
To help you through this process, here’s everything you need to know about increasing your Nintendo Switch’s storage size.
What micro SD cards are compatible with the Nintendo Switch?
According to Nintendo, these are the types of micro SD cards that are supported by the Nintendo Switch:
- micro SD (up to 2GB)
- micro SDHC (4GB to 32GB)
- micro SDXC (64GB and above)
Considering that micro SDXC cards are the only ones with storage capacities that’ll let you considerably increase your Switch’s storage, anytime we mention “micro SD cards” in this piece, those are what we’re referencing.
Regardless of which memory card you buy, the Nintendo Switch will cap its read speeds at 95MB/s. You can still buy SD cards with read speeds that are greater than 100MB/s, but there’s not really much point in spending the big bucks on a superfast micro SD when you won’t get to make full use of its abilities.
What are the best micro SD cards for the Nintendo Switch?
If you really want a simple and cheap boost (and you don’t have a massive collection of games), a 128GB card should be plenty to tide you over.
A 256GB SD card will let you expand the standard Switch’s memory by 800% and, in most cases, you’ll be able to do it for under $50. That’s a lot of room for games, and there’s a very good chance it’ll be a long time before you ever come close to capping it, if at all.
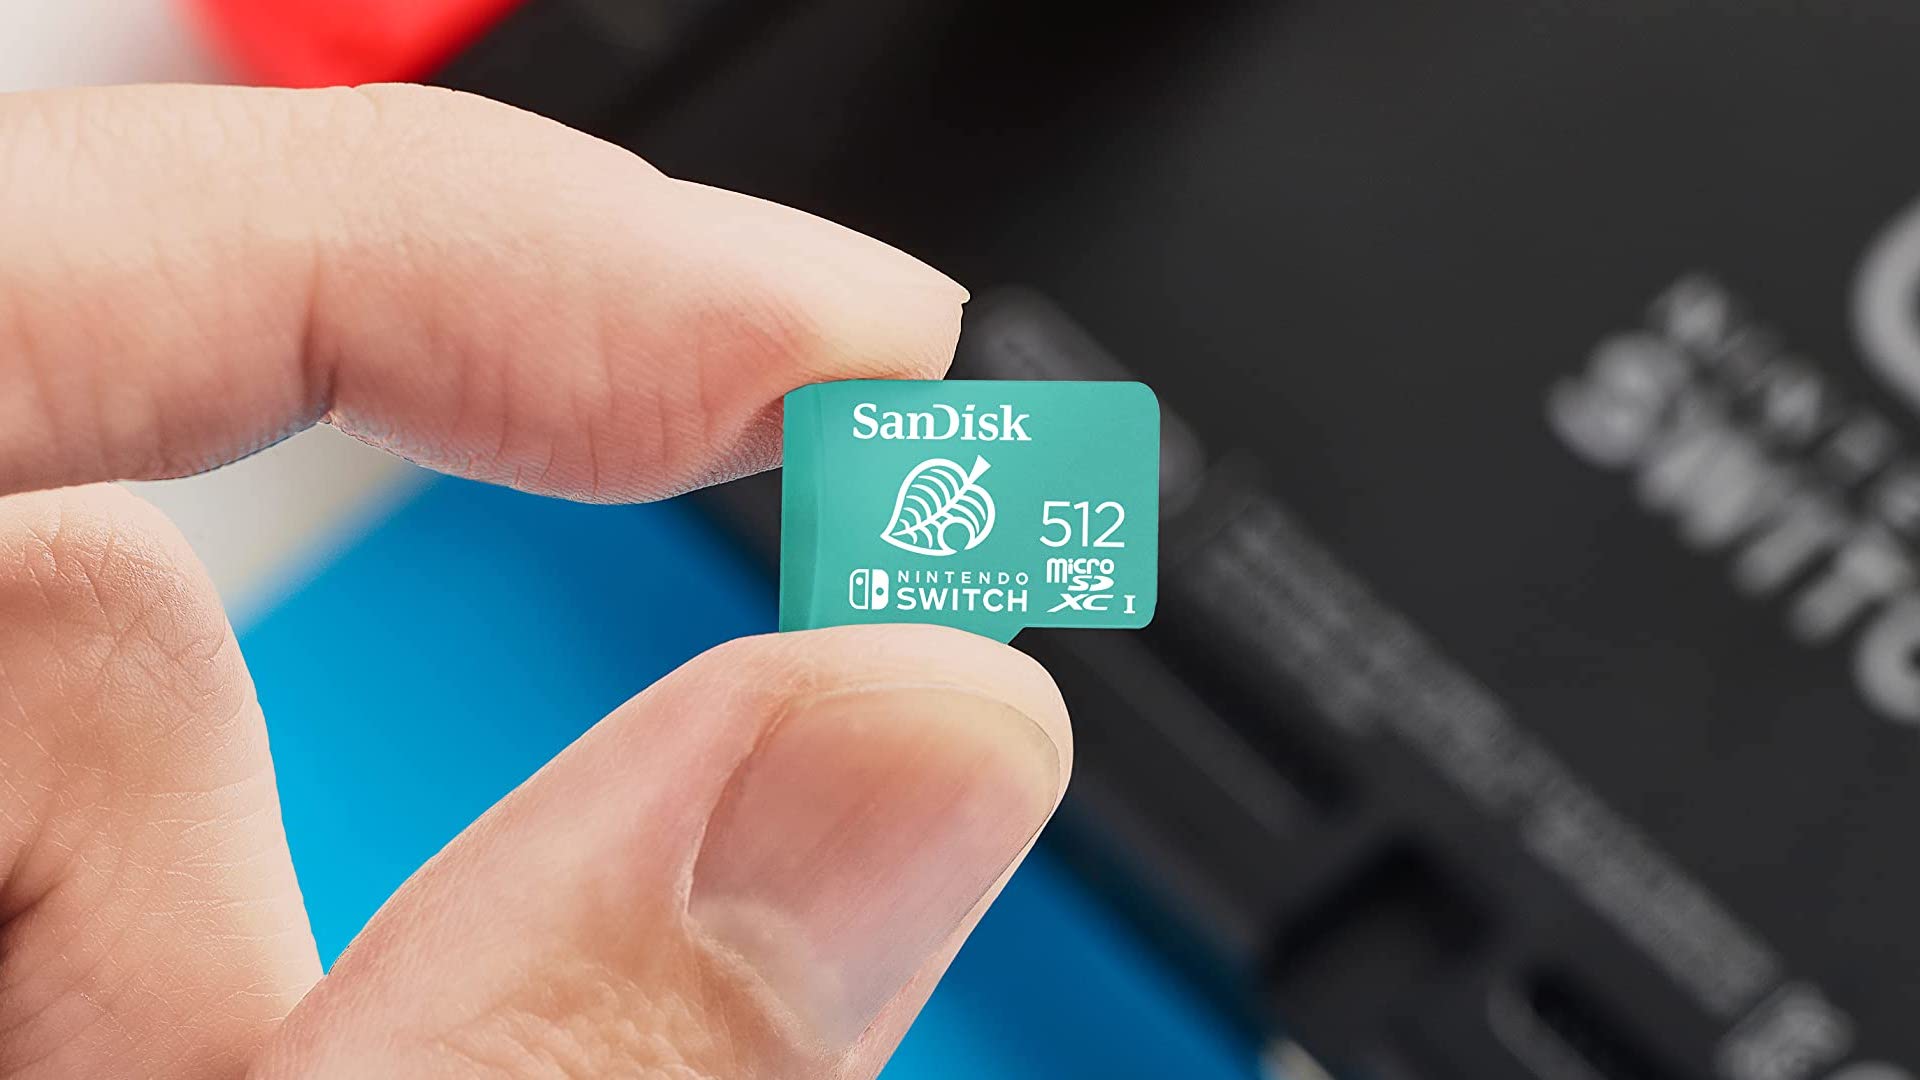
Now, if you’re a hardcore gamer that plays an array of large open-world RPGs such as The Witcher 3: The Wild Hunt or maybe you just really love NBA 2K21, then you might be keen to grab a 512GB SD card with a lot of memory to account for everything. If that isn’t enough storage space for you, we don’t know what is.
Here are a few micro SD cards that we recommend for boosting your Nintendo Switch’s storage.
128GB Micro SD cards for the Nintendo Switch
- Samsung Evo Plus Micro SDXC (128GB) – now $17.99 (usually $30)
- SanDisk Ultra Micro SDXC (128GB) – now $17.30 (usually $39)
- SanDisk x Switch Micro SDXC (128GB) – now $32.99 (usually $59)
256GB Micro SD cards for the Nintendo Switch
- Samsung Evo Plus Micro SDXC (256GB) – now $25 (usually $50)
- SanDisk Ultra Micro SDXC (256GB) – now $31.99 (usually $79)
- SanDisk x Switch Micro SDXC (256GB) – now $52 (usually $79)
512GB Micro SD cards for the Nintendo Switch
- Samsung Evo Plus Micro SDXC (512GB) – now $64.39 (usually $99)
- SanDisk Ultra Micro SDXC (512GB) – now $59 (usually $159)
- SanDisk x Switch Micro SDXC (512GB) – now $93.90 (usually $179)
How do you install a micro SD into your Switch?
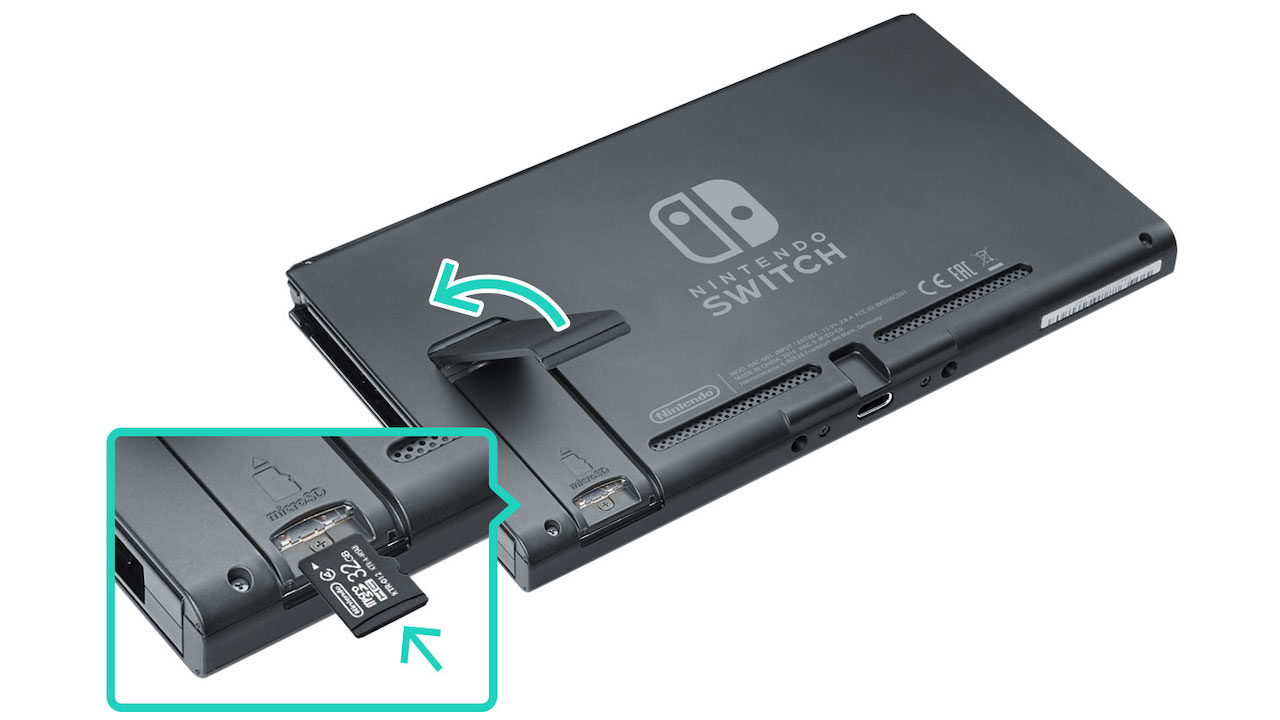
Adding a micro SD to your Nintendo Switch or Switch OLED Model is very easy. First, make sure your Switch is powered off, and then pull it out of its dock. If you flip up the kickstand, you’ll see a tiny slot. Pop your micro SD into this slot, and you’ll be good to go.
If you’re adding a micro SD to your Switch Lite, power off your console and open up the micro SD card slot. This is located on the back, bottom edge of the console, directly under the ZR button.
Once inserted, turn your Switch back on and head to the system settings. Under the Data Management menu, select “Move Data Between System / Micro SD Card”. Select the prompt to move data from the Nintendo Switch’s internal storage to the memory card, and then select the games you want to move.