A growing number of phones now come with camera apps that are packed with options and settings — all in place to help you get the perfect shot every time. While you might be content to just point-and-shoot your way around, it’s worth at least knowing what these extra features can do, just in case you need to make use of them: They might be the difference between a memorable shot and an unusable one.
Of course with so many different handsets out there, we can’t give you instructions specific to your particular handset, but we can guide you through some of the features and settings that you’re most likely to come across (you might find your phone uses slightly different labels and terms to ours). In most cases, you’ll need to look for a Pro or Advanced mode inside the camera app before all the available settings will appear.
HDR
Found on most phone cameras now, even at the budget end, High Dynamic Range or HDR will balance out the darkest and lightest areas of a photo — you won’t have to choose between details in the clouds in the sky and details in the trees on the ground, because you’ll be able to have both (the same technology is deployed on many phone screens to keep Netflix looking well balanced). HDR is usually enabled by default on most phones, because most of the time you’re going to need it, but if you think it’s working too aggressively or you want to experiment, then you can usually disable it with a tap.
ISO
The ISO setting (International Organisation of Standardization, if you were wondering) is the first of three settings that work in tandem to control shot exposure — basically how much light gets in. Increasing the exposure allows in more light (as with night mode shots), but can also introduce more noise. Increase the ISO to increase the camera’s sensitivity to light, but make sure you’re keeping the phone still when taking photos; or decrease it if you want a grainier, grungier look. It’s a setting that’s often left on automatic, but some phones let you adjust it manually, and you can get some decent artistic effects as a result.
Aperture or F-Stop
The second of three settings contributing to the exposure of a shot, or the amount of light captured. The f-stop shows the aperture size, or how wide the camera lens opens, and the smaller the f-stop, the wider the aperture (so the more light gets in) — it’s not on the newest Samsung handsets, but the Galaxy series has previously offered a dual aperture mode, switching between f/1.5 for dark conditions and f/2.4 for better focus and clarity in bright conditions. On digital cameras, a wider aperture (smaller f-stop) can also be used for a shallow depth of field effect, though phones tend to use different techniques for this.
Shutter Speed
The third of three settings controlling exposure, or how much light hits the camera lens, shutter speed is exactly what it sounds like — how long the shutter stays open for. You’ll notice that many night modes make use of a longer shutter speed to allow more light into the lens, and you’ll notice that these same night modes ask you to keep the camera very still: a longer shutter speed means more likelihood of blur being introduced into shots, if the subjects (or the camera) move around. If your smartphone camera lets you adjust shutter speed manually, you can get creative with it to introduce intentional blurs.

Exposure Value (or Exposure Compensation)
Some cameras come with an EV or exposure value setting, which combines the f-stop number and the shutter speed together in one option (you’ll typically see the f-stop number as you adjust it) — again, this is used to control the amount of light that’s let into the camera lens, so move it in one direction for darker shots and in the other direction for lighter shots (the button might actually be labelled with plus and minus symbols). Like all of these settings, it’s a term borrowed from actual cameras, though the versions of these technologies that you get on your smartphone are going to be simplified.
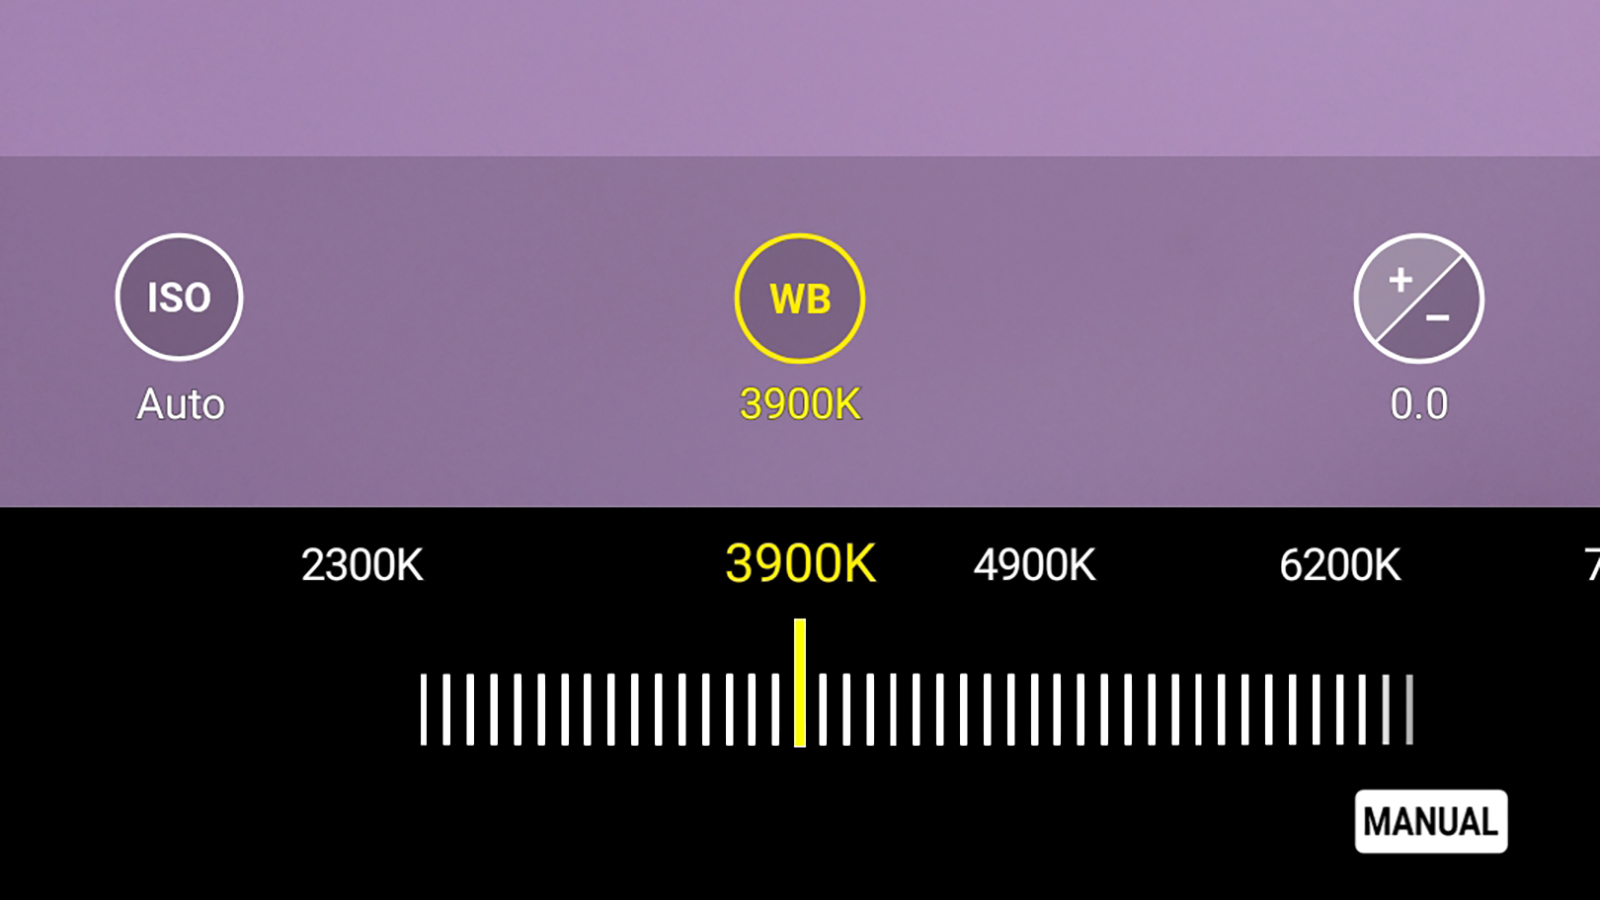
White Balance
If the colours you’re seeing in your phone pictures aren’t the colours you’re seeing in the real world, then you might need to make some adjustments to the white balance (WB). In simple terms, different lighting can confuse your phone’s camera as to what it’s actually seeing, producing a colour cast, and so you may need to reset what it’s idea of white actually is: As you do this, the other colours will adjust to match. This is often set in K or Kelvin, a unit of measurement for temperature — as you make adjustments inside the camera app, you should see the scene go cooler or warmer in terms of the colours used.
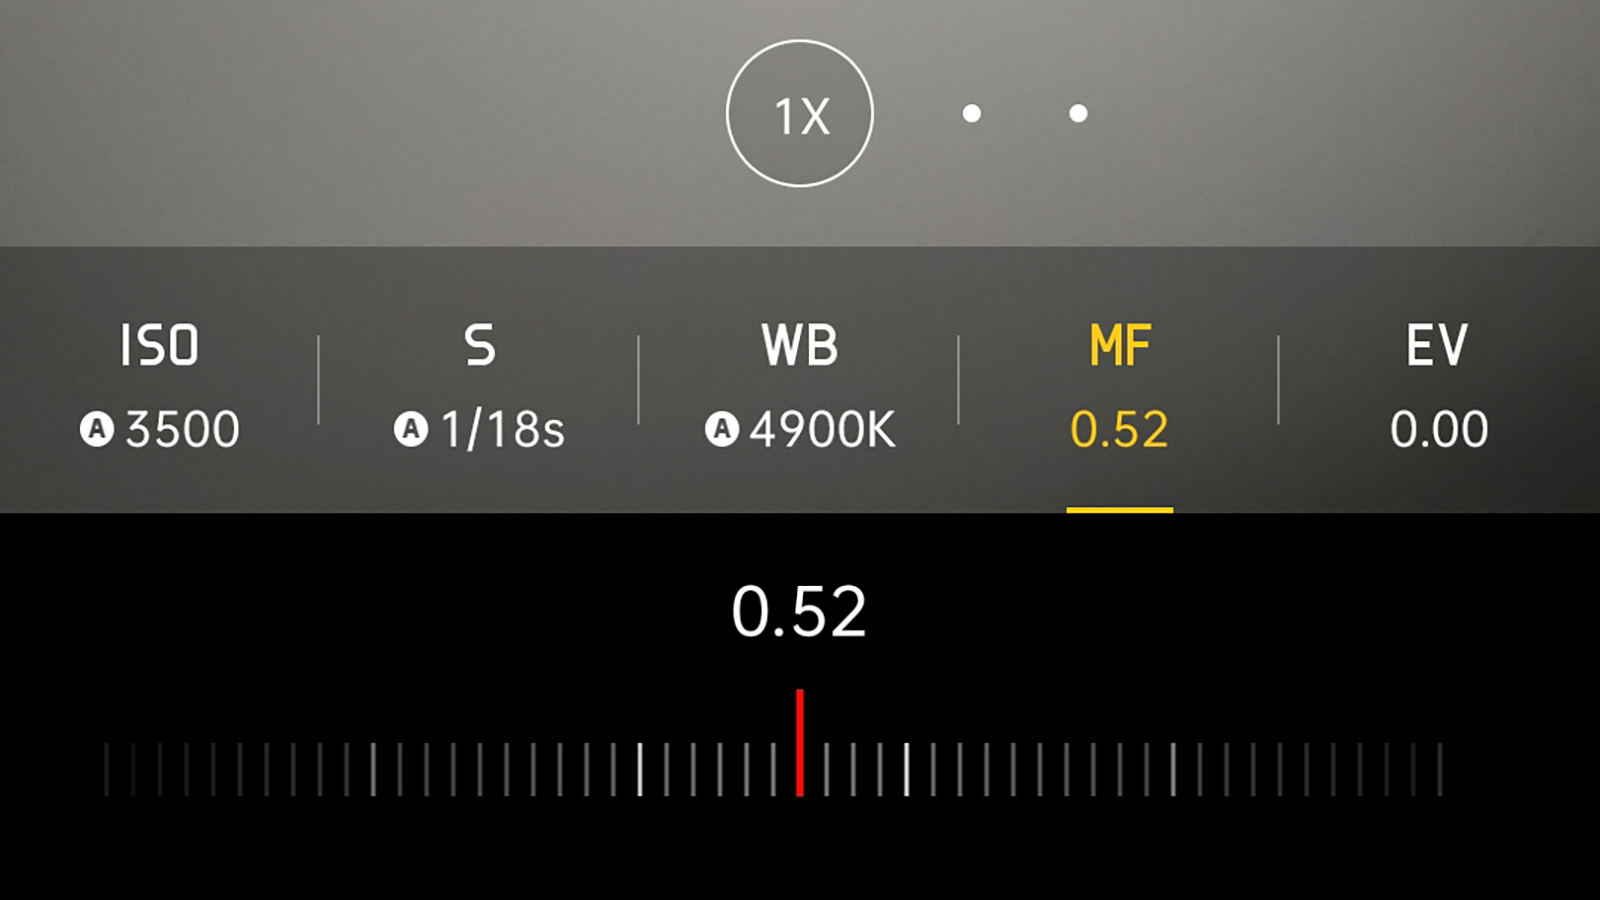
Manual Focus
Should you see an AF (auto-focus) or MF (manual focus) setting inside your camera app, this can be used to control the point of focus in a scene: Many phones also let you tap on the scene and the subject inside the viewfinder to set focus, but with this manual setting you can adjust it more precisely if needed. It can come in handy for close-up shots, or shots where you want the background blurred but the foreground sharp (or vice versa), though the built-in auto-focus will work fine for most of your snaps. This is usually measured in mm or millimetres, to match the lens configurations on digital cameras.
Save as RAW
Phones with more advanced cameras may well give you the option to save images in RAW format, which is useful if you’re planning some heavy duty image editing afterwards. RAW format saves much more information about a shot, and applies minimal compression (so these pictures take up more room on your phone) — when you move the pictures to your computer, you can apply your own tweaks to saturation, contrast, colour, sharpness and so on, rather than relying on the automatic compression options applied when your phone creates a standard JPEG (which can still be edited, just not to the same extent or detail).