If you own an iPhone, or pretty much any other smartphone, it’s likely to be your go-to camera, always in your pocket ready to go. The iPhone camera is quick and simple to use, and you won’t have a problem snapping dozens of pictures at any given opportunity — but problems start when you eventually want to organise the pile of digital pictures you’ve amassed.
With phone cameras getting better, storage prices coming down, and social media sharing now easier than ever, there are few limits when it comes to the number of pictures you can take. If you’re not careful though, your iPhone photo library can quickly become an unwieldy mess. That’s what we’re here to prevent.
You probably don’t want to lose days to organising your iPhone photos (and videos), but there are some simple, relatively quick steps you can take to keep everything in order. For the purposes of this guide we’re going to assume you’re using Apple’s own iCloud Photos to keep everything backed up, though of course alternatives are available (including Dropbox and Google Photos).
We’re also going to concentrate on steps you can do on your phone. In iCloud Photos, you can perform the same tasks in more or less the same way on macOS or iPadOS if you prefer to work on a larger screen. You can also access a limited number of functions via iCloud on the web.
Check your library
First of all, make sure everything is working as it should: Open Settings on your iPhone, tap the name at the top, then tap iCloud and Photos to make sure everything is being synced as it should be (the iCloud Photos toggle switch should be turned on). You get 5GB for free, and everything else needs to be paid for.
Open up the Photos app to see your library, which might be extensive. If you spot individual images that you can live without, press and hold on them and choose Delete from Library from the menu that pops up. To wipe more than one picture at once, tap Select (top right), make your selection, then tap the trash can icon.
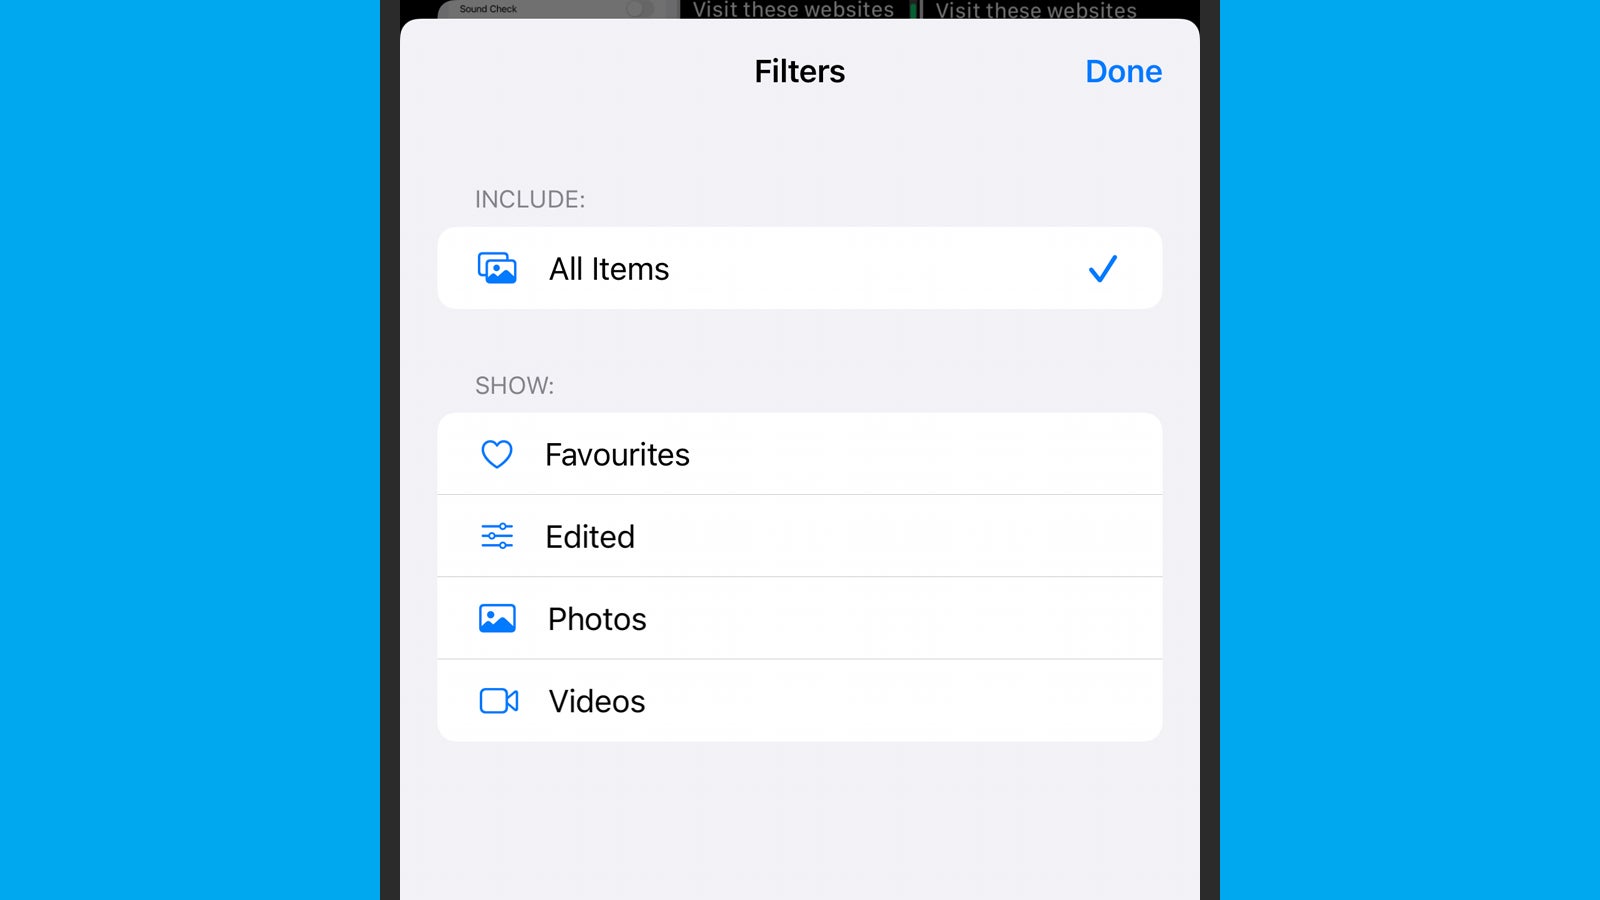
To make it slightly easier to see pictures that you might want to get rid of, tap the three dots (top right), then choose Filters. You can, for example, hide all the videos so you’ve only got photos on screen. It’s also possible to only show pictures that have been edited, if you want to clear out everything except original images. There’s a Show Map option on the same menu if you’d like to delete pictures by place.
Set up some albums
Albums can make your photo library much easier to get around, and iCloud Photos actually makes automatic albums for you. Tap Albums and scroll down to see them: Screenshots is one folder of pictures that you might want to wipe on a regular basis, for example, assuming you don’t want to keep them for posterity.
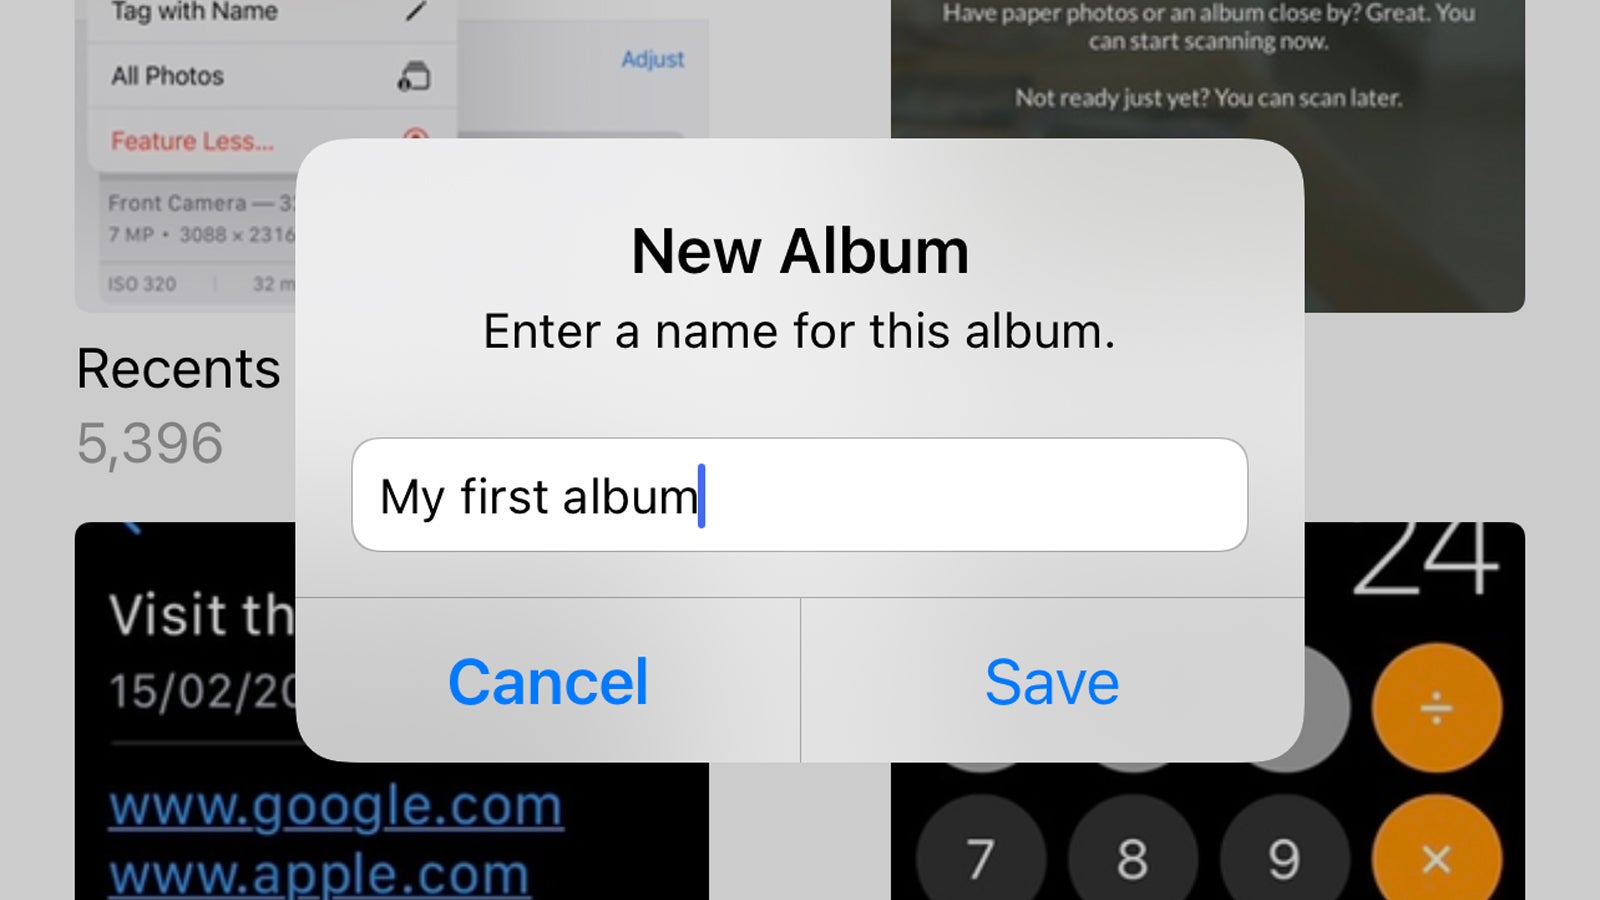
To make an album of your own, tap the + (plus) icon in the top left corner, then choose New Album. You’ll be asked to give your album a name, and then asked to select the images to put into it. You can also choose New Folder instead of New Album: Folders can hold multiple albums, so they’re a way of adding some more structure and a proper hierarchy to your photo library.
Adding photos to albums means a little bit more work in terms of organisation (either when you take the images or sometime later), but it can save you a lot of time when you need to find pictures again, or delete a certain group of images. To delete an album (which won’t erase the pictures inside it), tap Albums, then See All, then Edit.
Look for specific people
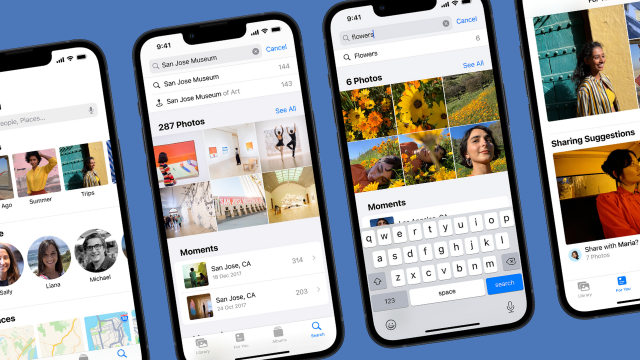
The Photos app on your iPhone tries to identify faces in your pictures, which can save you a significant amount of time and effort when it comes to looking for particular photos — whether you want to favourite them or erase them. From the Photos app, tap Albums and then People to see the faces that the app has identified.
Tap on a face to see all of the pictures of that person stored in your library. You can give a specific name to a person by tapping on the Add Name button at the top of the screen. You can also tap the three dots (top right) and then Review Confirmed Photos to make sure this particular person is being matched with the right images.
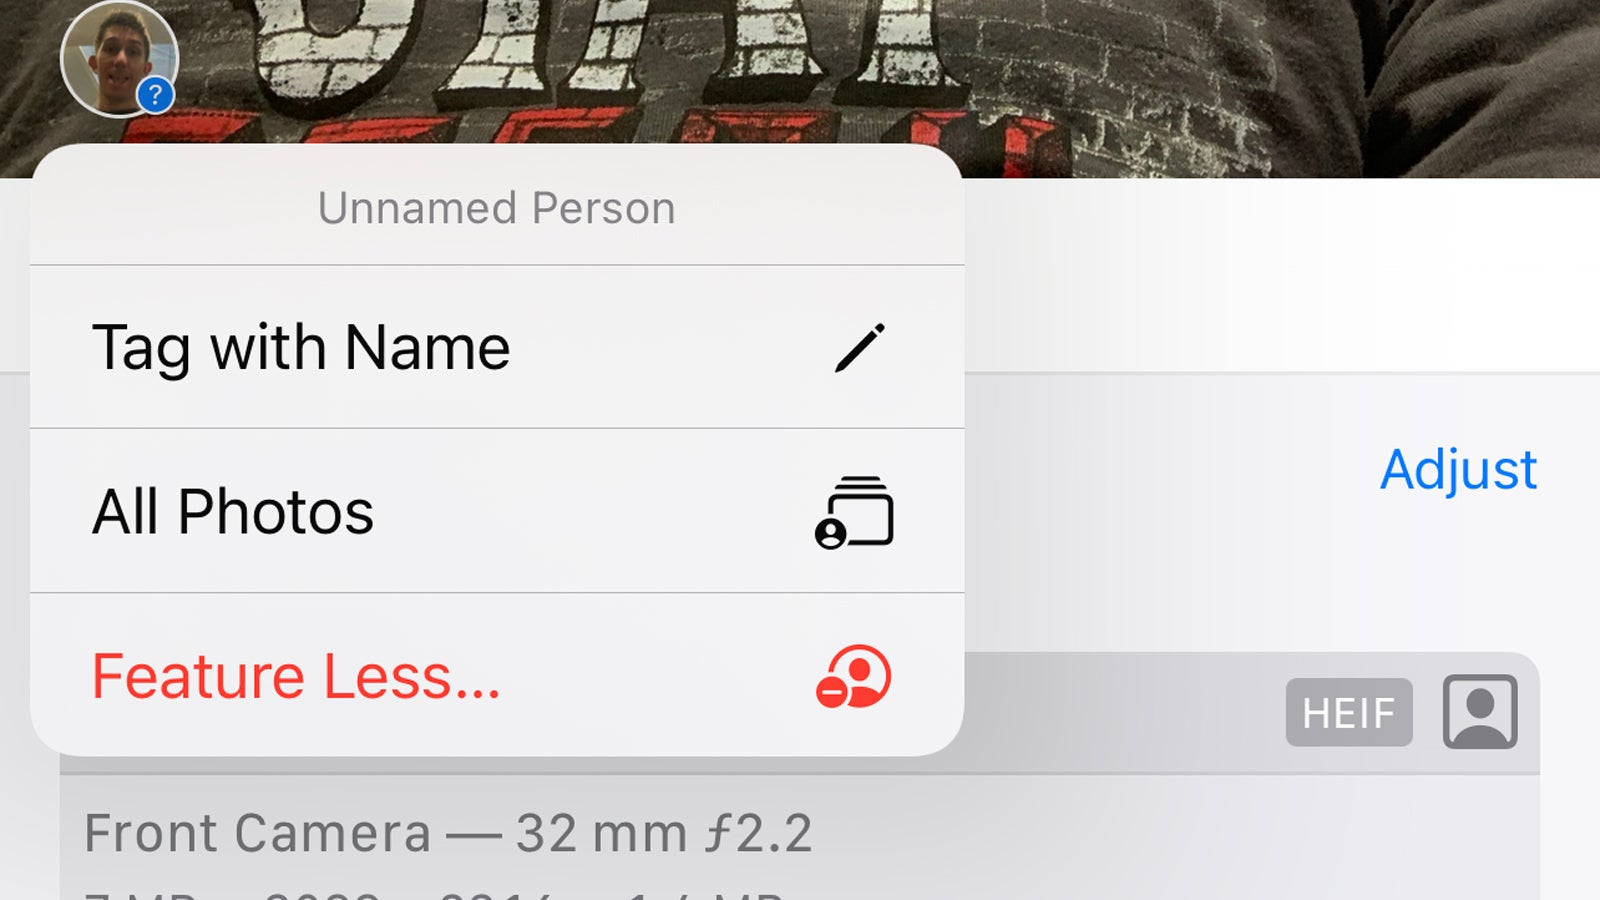
You can tag faces in pictures if Photos hasn’t done it for you. Open the image in question in the Photos app, tap the info button at the bottom (the “i” inside a circle), select the face you want to tag, then select Tag with Name. Faces that the app has identified should be shown in a series of small thumbnails ready for selection.
Free up internal storage
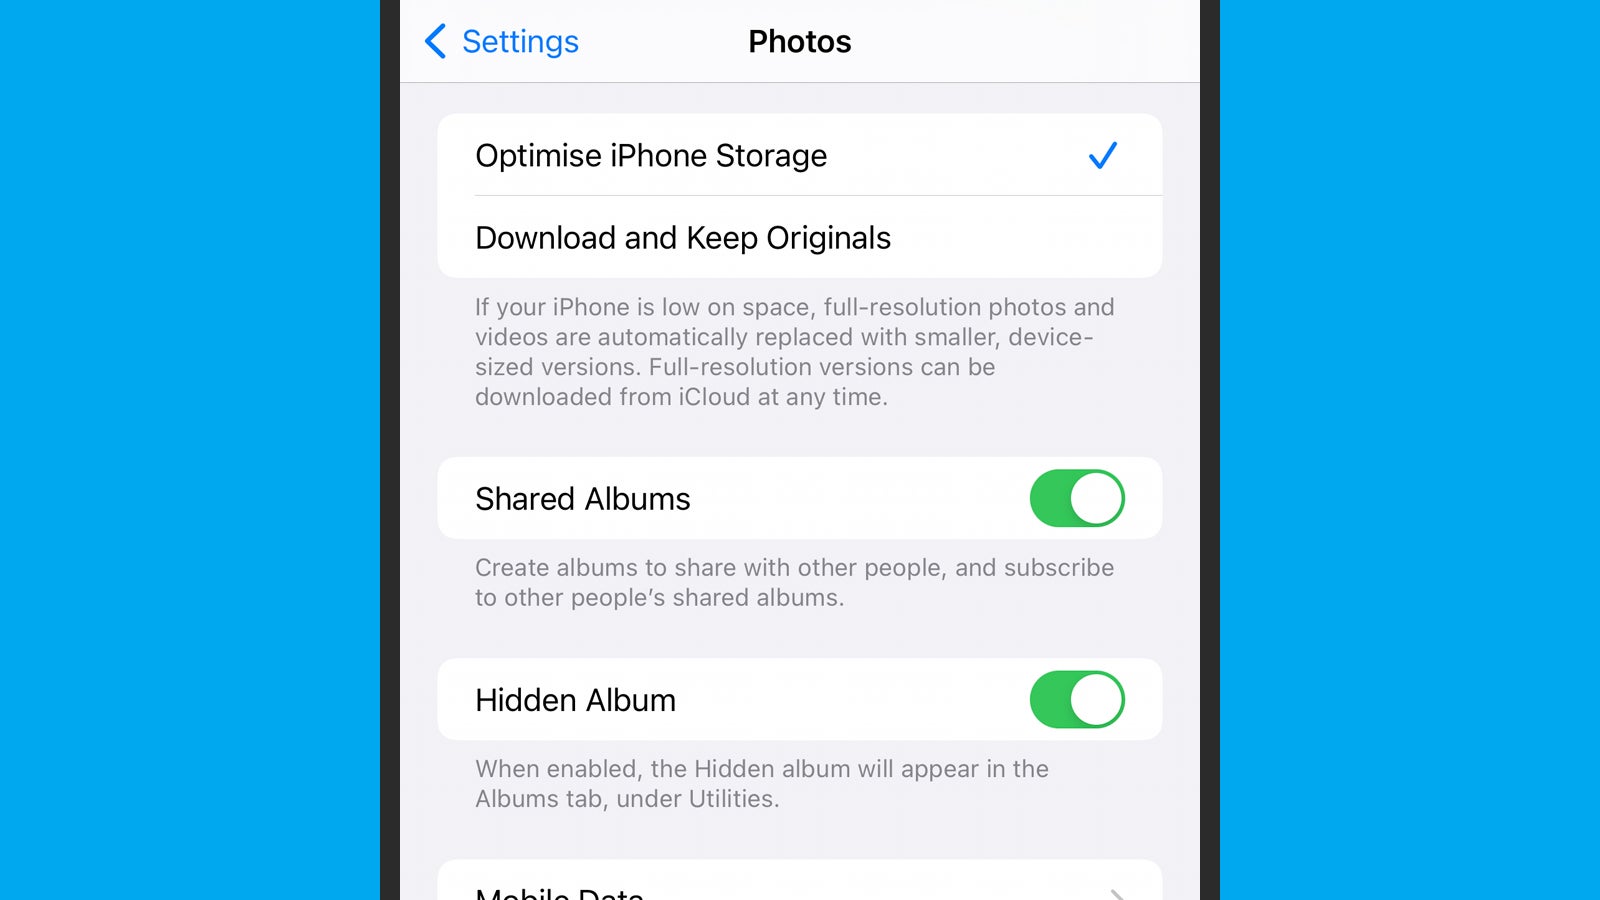
With your precious photos safely syncing to the cloud, you don’t necessarily need full size versions of these pictures taking up room on your iPhone. Open Settings in iOS, then tap Photos and Optimise iPhone Storage to give your smartphone permission to only keep low-resolution copies of pictures on your actual device.
This setting only starts being put into action when your iPhone is running out of room in terms of internal storage, and the original, full resolution copies of your pictures are safe and sound on the iCloud servers. Whenever you need to get the original photos back, they’re only a quick download away.
Your iPhone is actually quite smart when it comes to deciding which photos (and videos) to compress. Once space starts running out, it’ll optimise the files you access least first — chances are you might never notice that certain pictures are no longer being stored locally in their full resolution.
Check individual app settings

You may not want images from your other apps taking up room in your iCloud Photos library, especially GIFs that you’ve posted to your group chats and pictures that you’ve snapped and then sent through a third-party app — which might result in you ending up with two copies of the same image.
It’s a good idea to hunt through the various apps you have installed on your iPhone to make sure that images and videos aren’t being saved unless you want them to. We can’t cover all of the individual apps you might have installed, but the setting shouldn’t be too difficult to find: Image editing and instant messaging apps are good places to start.
In WhatsApp, for example, tap Settings, then Chats, then turn the Save to Camera Roll toggle switch to off — this ensures that pictures you get sent through the app aren’t automatically saved to your device, and from there uploaded to iCloud (where they can quickly clutter up your carefully curated library).
Sync photos from everywhere
You’re going to want to sync photos to and from your iPhone, as that’s the device that’s going to be doing most of the photo taking, but there might be times when you want to add pictures from other sources. If you have a Mac, you can import photos from other locations (like memory cards) by choosing File and Import. These files are then synced to your iPhone too.
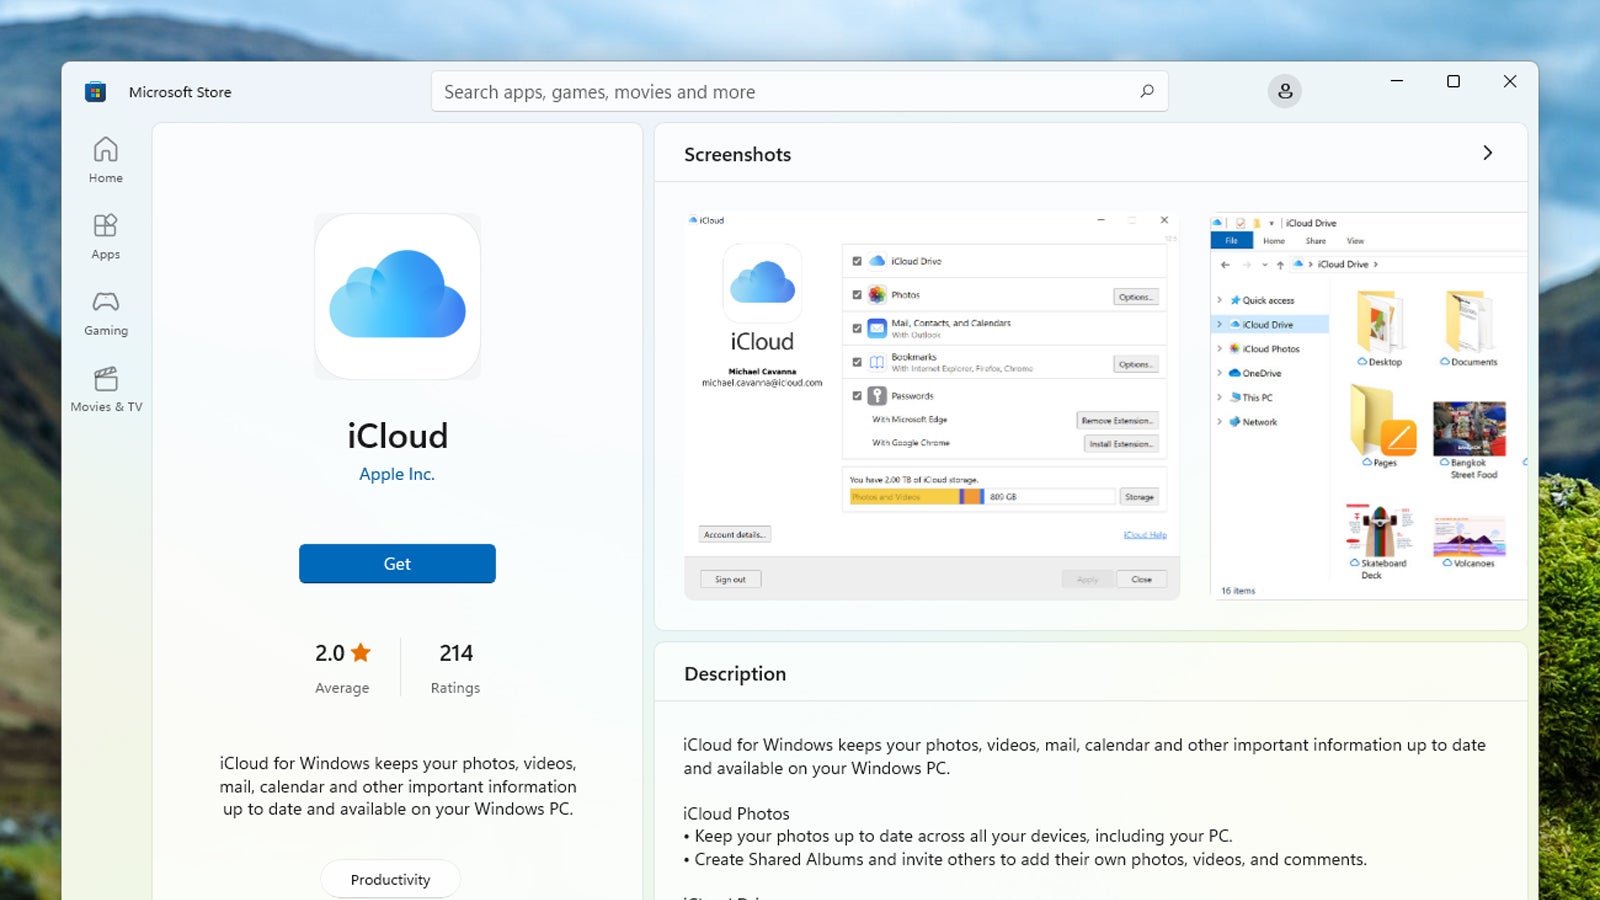
If you do a lot of your photo management on Windows, then give iCloud for Windows a look: It’s pretty basic in terms of its functionality, but it does make it easy to drag and drop photos into your iCloud Photos library and sync them to the rest of your devices. Images can also be uploaded from certain folders automatically.
Images can be uploaded from just about anywhere via iCloud on the web as well, and there’s an import option available right on your iPhone too: You just need to attach a camera adaptor or card reader into the Lightning connector on the phone, and when you next open the Photos app, an import option should appear.
This article has been updated since it was first published.