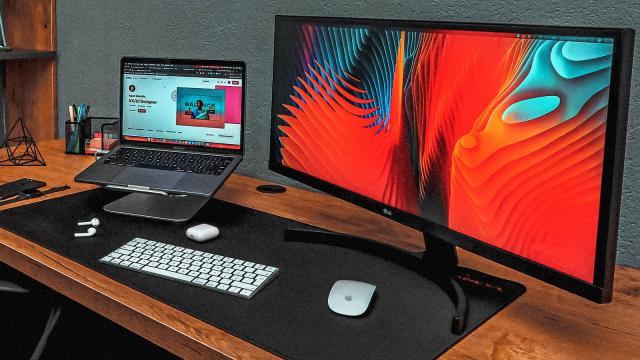
Having two displays hooked up to your computer instead of one can seriously boost your productivity and open up all kinds of new options for gaming, web browsing, and creative tasks — but you don’t necessarily need to go out and buy yourself a new monitor. From Apple’s Sidecar to Google’s Chromecasting, you’ve got a choice of wired and wireless options when it comes to getting all kinds of screens attached as a second display.
And more options are arriving all the time. Apple just announced Universal Control for macOS Monterey, which will let you use a single keyboard and mouse to control multiple Macs and iPads together, just as if they were chained together as displays. We’ll have to wait to test this out, but early demos make it appear seamless.
Let’s dive into the options that are available right now.
Wired
In theory, connecting a second display to your laptop or desktop should be as simple as connecting a cable between the two devices, and if you have a monitor and a computer that talk nicely to each other — via HDMI, DisplayPort, or Thunderbolt perhaps — then this is exactly what you can do.
In reality, this can be more difficult than it needs to be. Even with the instantly recognisable, widely supported HDMI standard there are numerous variations to know about. HDMI 2.1 is the latest version, bringing with it features such as 10K resolution support, and the way it’s been implemented so far has been less than ideal.
To make sure you’re getting the best picture possible, you need to make sure that your computer, your display, and the connecting cable all support the latest standard of whatever connection type you’re using. Start with the outputs available on your computer — it’s worth checking the spec in as much detail as you can online or via the bundled documentation — and then figure it out from there.
Common display protocols like HDMI are to some extent backwards compatible, though. In other words, any laptop with an HDMI output will work with any monitor with an HDMI input — you just might not get the highest resolutions or the fastest refresh rates. Unless you have a particular use case, like gaming or professional photo-editing work, that won’t matter, which makes the setup process much more straightforward.
Assuming you’re not going out to buy a new screen and instead are looking to set up a monitor or TV you’ve already got, you might need to enlist the help of an adaptor as well as a connecting cable. A common scenario here would be having a modern, sleek laptop with a USB-C port and an older monitor with an HDMI port. There are plenty of adaptor options, but again double-check the specs to make sure you’re working with the right standards and the right iterations of those standards.
There are combinations of computer and screen that simply will not work together when connected, especially if you’re trying to do something unusual (like connect an ancient TV to a brand new laptop). That’s not such a big deal if you’re trying to use whatever equipment you already have, but it can be really annoying if you’ve spent a significant chunk of money. If you are buying new when it comes to your second screen, as we’ve said, start with the computer outputs and work from there.
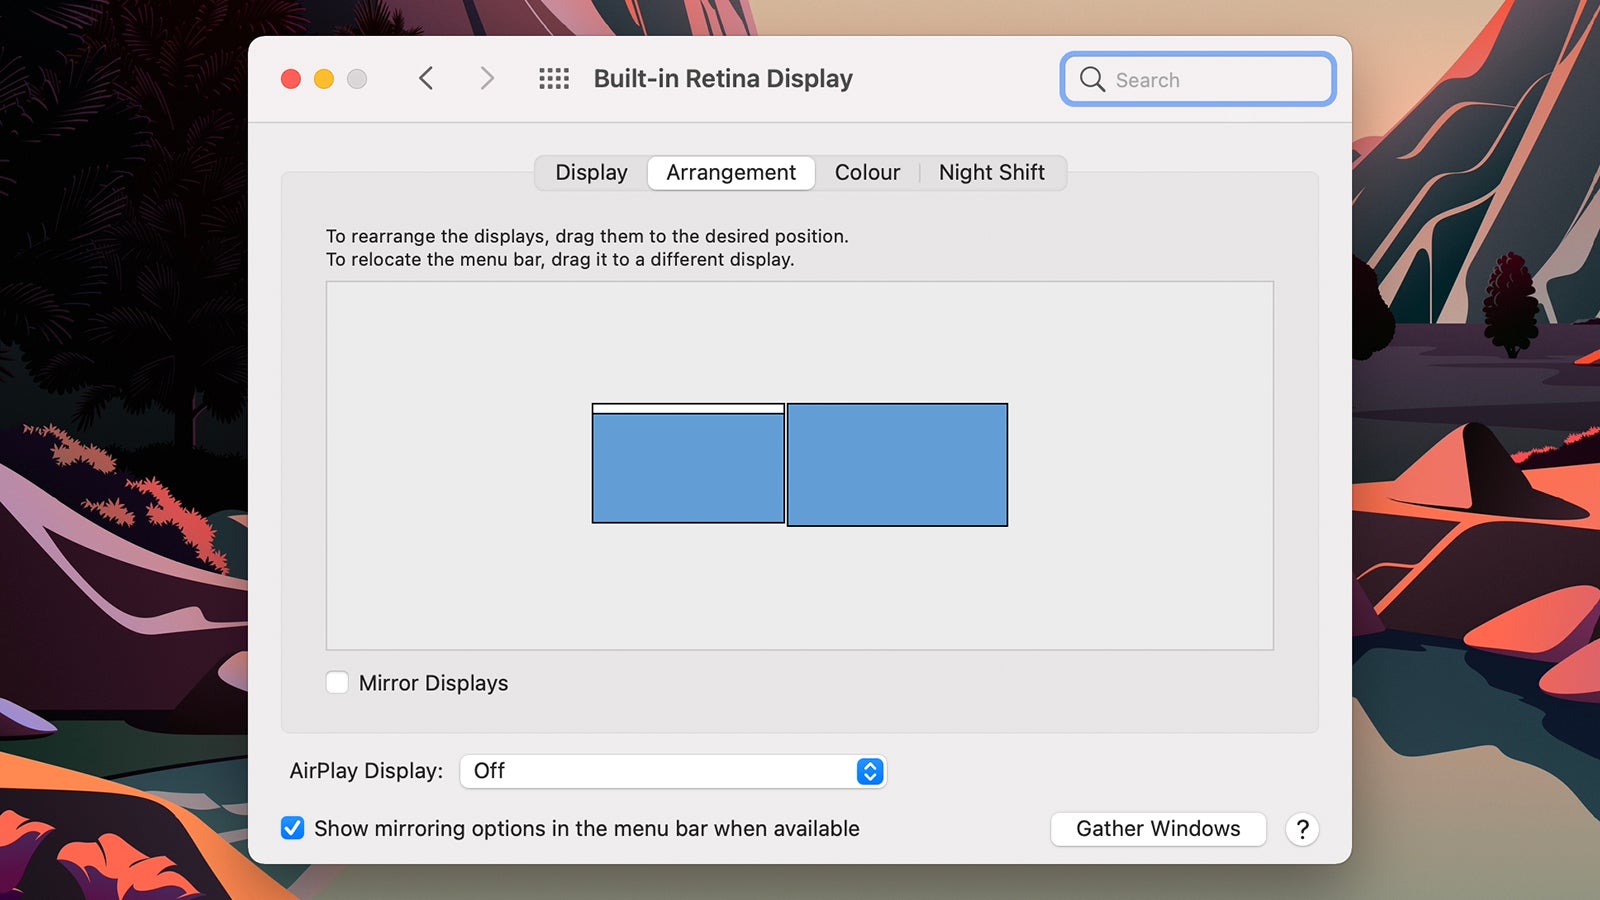
Your other option is to use a tablet. If you have an iPad and a Mac made in the last few years (see here for a full list of compatible devices), then the built-in Sidecar feature turns the tablet into a second screen, either via a cable or wirelessly. For the wired option, you don’t need to do much more besides connect the devices together, make sure they are set to trust each other, then open Control Centre and click Display. As we’ve said, Apple is looking to improve this functionality later this year with Universal Control.
If you want to turn an Android tablet into a second screen, or want to use a Windows PC with an iPad, Splashtop Wired XDisplay will do the job for $13 (you can try it for free first). You install software on both your Windows or macOS computer and on your tablet, and the programs take care of all the necessary communication once a connection has been established. As far as your laptop or desktop is concerned, you’ve connected a standard secondary display.
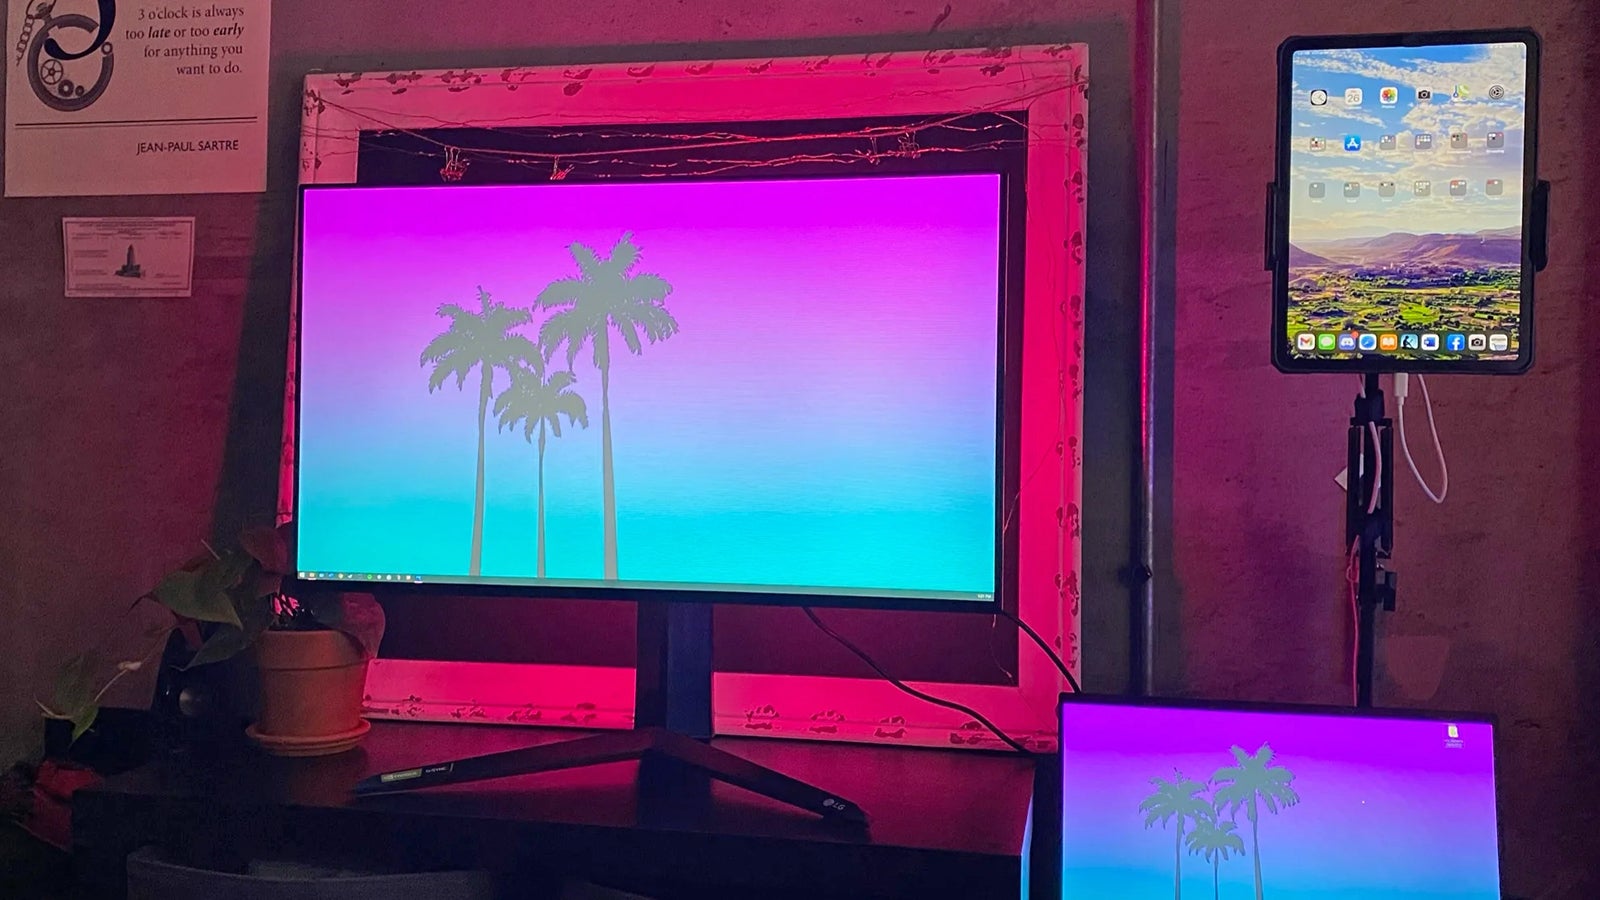
Wireless
Leave behind the constraints of wiring and you can get a bit more creative with how you configure your second screen, though you might not always get such a stable connection when you go wireless. Depending on what you’ve already got at the home or office, or what you’re planning to buy, wireless might be the best option for you.
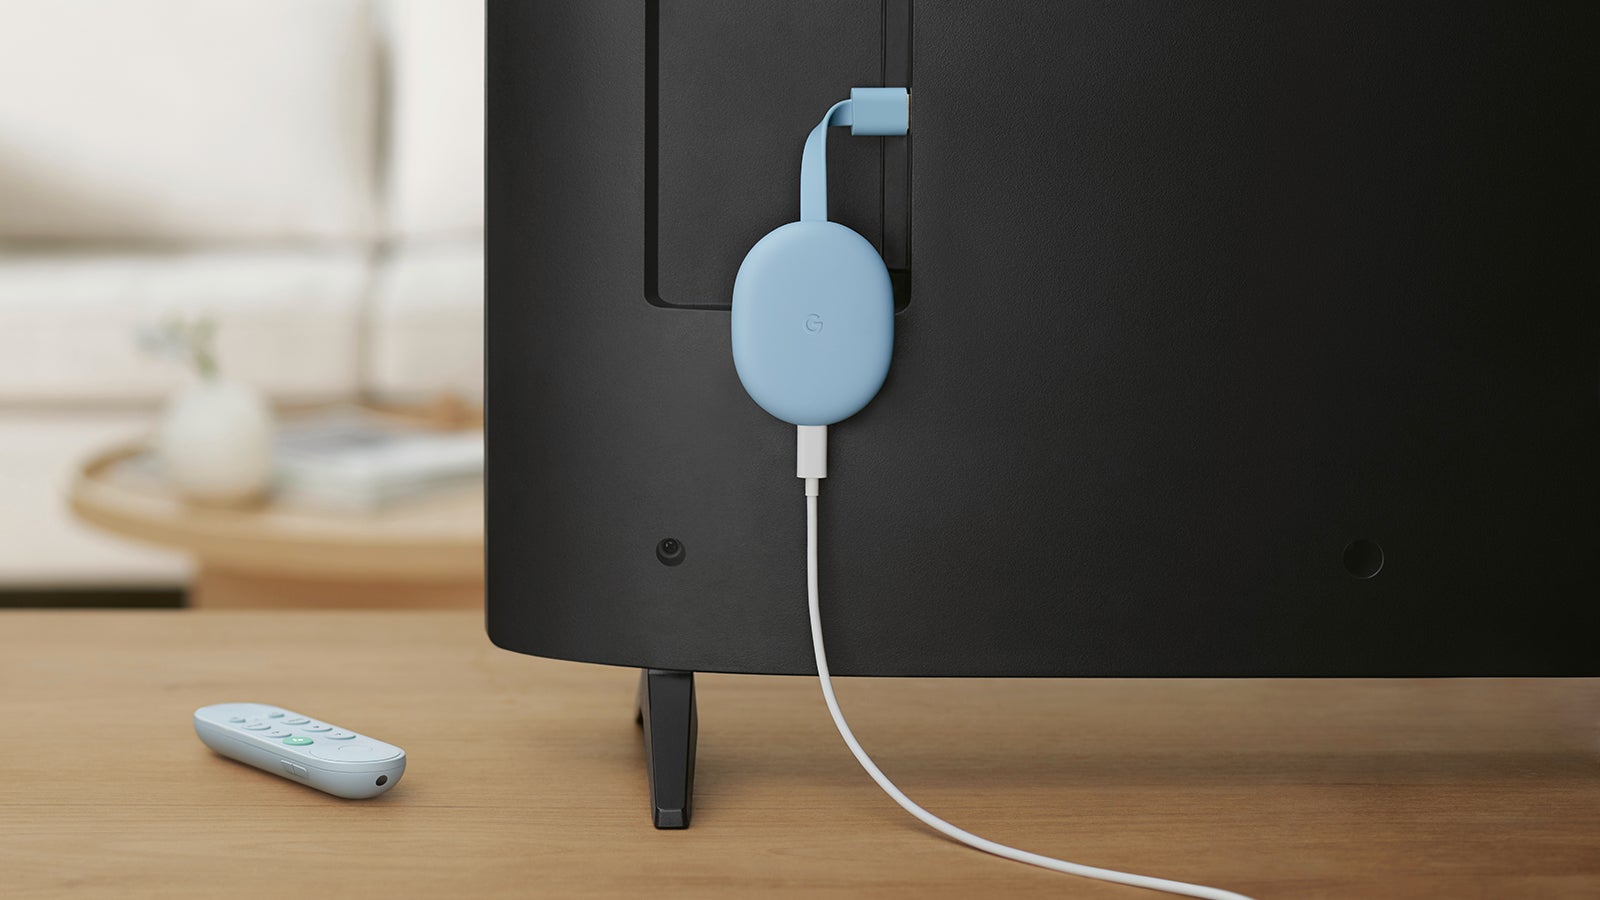
One option is a Chromecast. Any screen with an HDMI input can run the streaming dongles, and any computer with Google Chrome installed can beam the screen over to these dongles on a local wifi network. From Chrome, click the three dots menu button (top right), then choose Cast — select Sources and Cast desktop, then choose your Chromecast from the list.
This only works as a screen mirroring method, so it’s not like a true secondary display. However, if you pick Cast tab instead of Cast desktop then you can have one browser tab open on your other screen while you do everything else on your main computer. It’s not perfect, but it works.
If the hardware you have available to you is mainly made by Apple, then an Apple TV box can plug into any screen with an HDMI input and turn it into a secondary display for your Mac. This works through the magic of AirPlay: From your Mac, click the AirPlay button on the menu bar (the arrow pointing into a rectangle), and if your Apple TV is on the same wifi network it will appear as an option. Screen mirroring is enabled by default, but to use the Apple TV as a second display, select Use As Separate Display from the same AirPlay drop-down menu.

You can use Roku devices and Windows computers in a similar way, using a standard called Miracast. From Windows, you need to open the Action Centre (via the speech bubble button on the far right of the taskbar), click Project then Connect to a wireless display, and any compatible Rokus on the local network should appear (open the Project menu again to choose whether to extend or duplicate the desktop). Newer Rokus also support AirPlay now as well, giving you another connection option for Macs.
We mentioned Apple Sidecar above, which lets you connect recent iPads to recent Macs as secondary displays — this works wirelessly too for extra convenience (though you might notice a bit more lag). Again, open the Control Centre from the menu bar, then choose Display. Universal Control in macOS Monterey — where one keyboard and mouse can control multiple iPads and Macs as if they were linked displays — will also support features like file dragging and dropping.
There are several other options out there, although you might be covered by the tools that we’ve already mentioned. AirParrot is an excellent third-party software package that sits on your Windows or macOS machine and can wireless extend or mirror your display to another computer, a Chromecast, or an Apple TV. It will set you back $20, but you can try it out for free.
Then there’s Duet Display, which works in a similar way to Sidecar, but supports Windows as well as macOS, and Android as well as iPadOS. It can function with a cable or over wifi, though you’ll need to pay a $26-per-year subscription fee for the wireless option, on top of the $15 up-front cost of the app. If you want the maximum flexibility with the maximum number of devices, you might consider it worth the investment.
This article has been updated since it was first published.