I learned from a young age how dirty computers could get after enough time in a common area bordering the kitchen and the living room — especially the keyboard. Dust, grease, food crumbs, and everything in between get caught in the crevices of the keys, in places you’d never even thought possible. And now that I’m into mechanical keyboards, including customising them, I’ve had to craft a cleaning routine to ensure every keeb in my vicinity is always ready for its closeup.
My methods are pretty standard, and they rely on tools you might already have around the house. I’m talking Q-tips, dish soap, and isopropyl alcohol. I’ve also bought a couple of things over the years that I found to be particularly helpful, like a keycap puller with a metal handle and a handheld keyboard vacuum. The vacuum ensures other parts of my desk also remain free of dust.
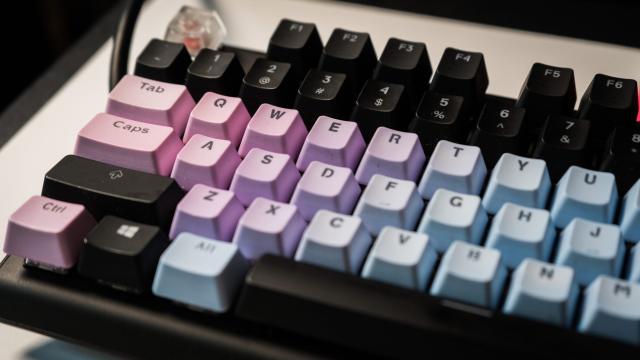
Here’s how to clean your mechanical keyboard if you’ve felt like it’s time to tackle the grime taking the sheen out of your fancy kit. Even if you’re using a standard, run-of-the-mill mechanical keyboard, you’ll want to keep it maintained so that the springs stay sprung and the keys are as shiny as day one. Note that this method won’t work for a membrane keyboard, where each key is tethered to the board.
Always Unplug
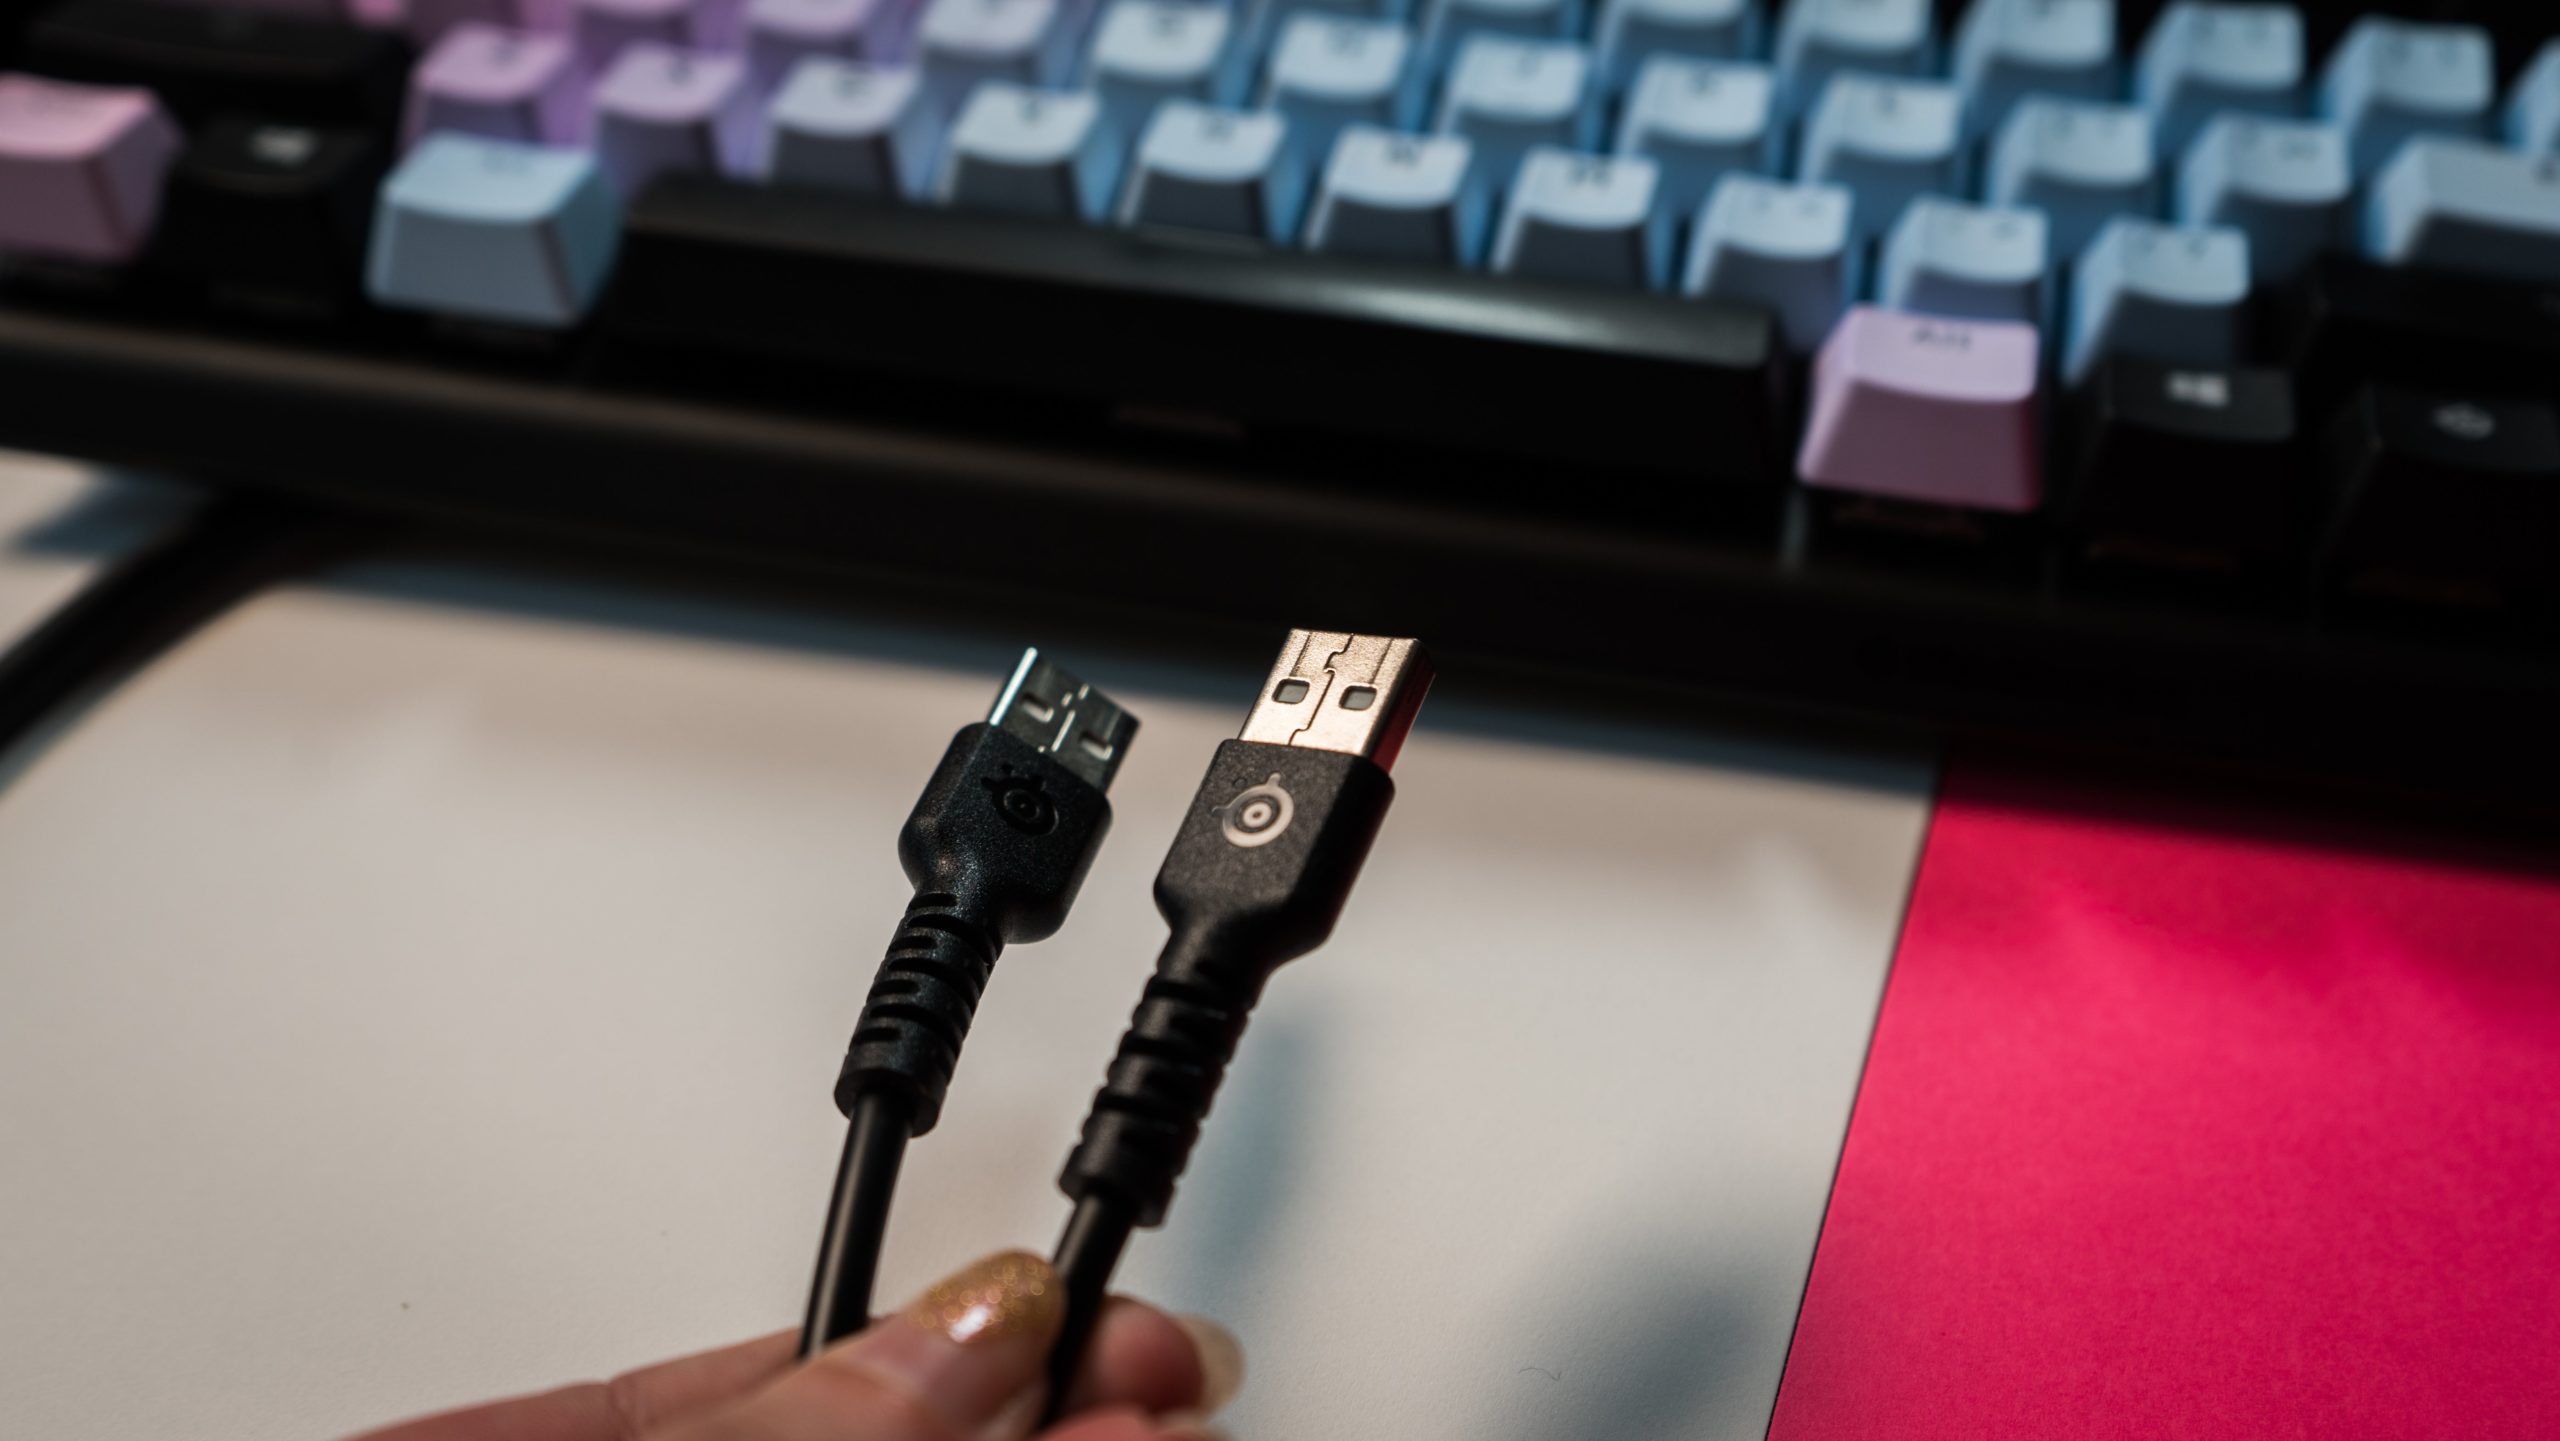
First, if you’re using a wired keyboard, you’ll want to unplug it from your computer, so there’s no power pulsating through it. If you have one of those keyboards where the cable disconnects entirely, take it out. It will make life easier for you without having to wrangle a cord. And if you’re using a wireless device like the Razer BlackWidow V3 Mini, make sure the connection switch is off. The last thing you want to deal with is accidentally hitting random keys while the board is actively connected to your computer.
Vacuum the Dust
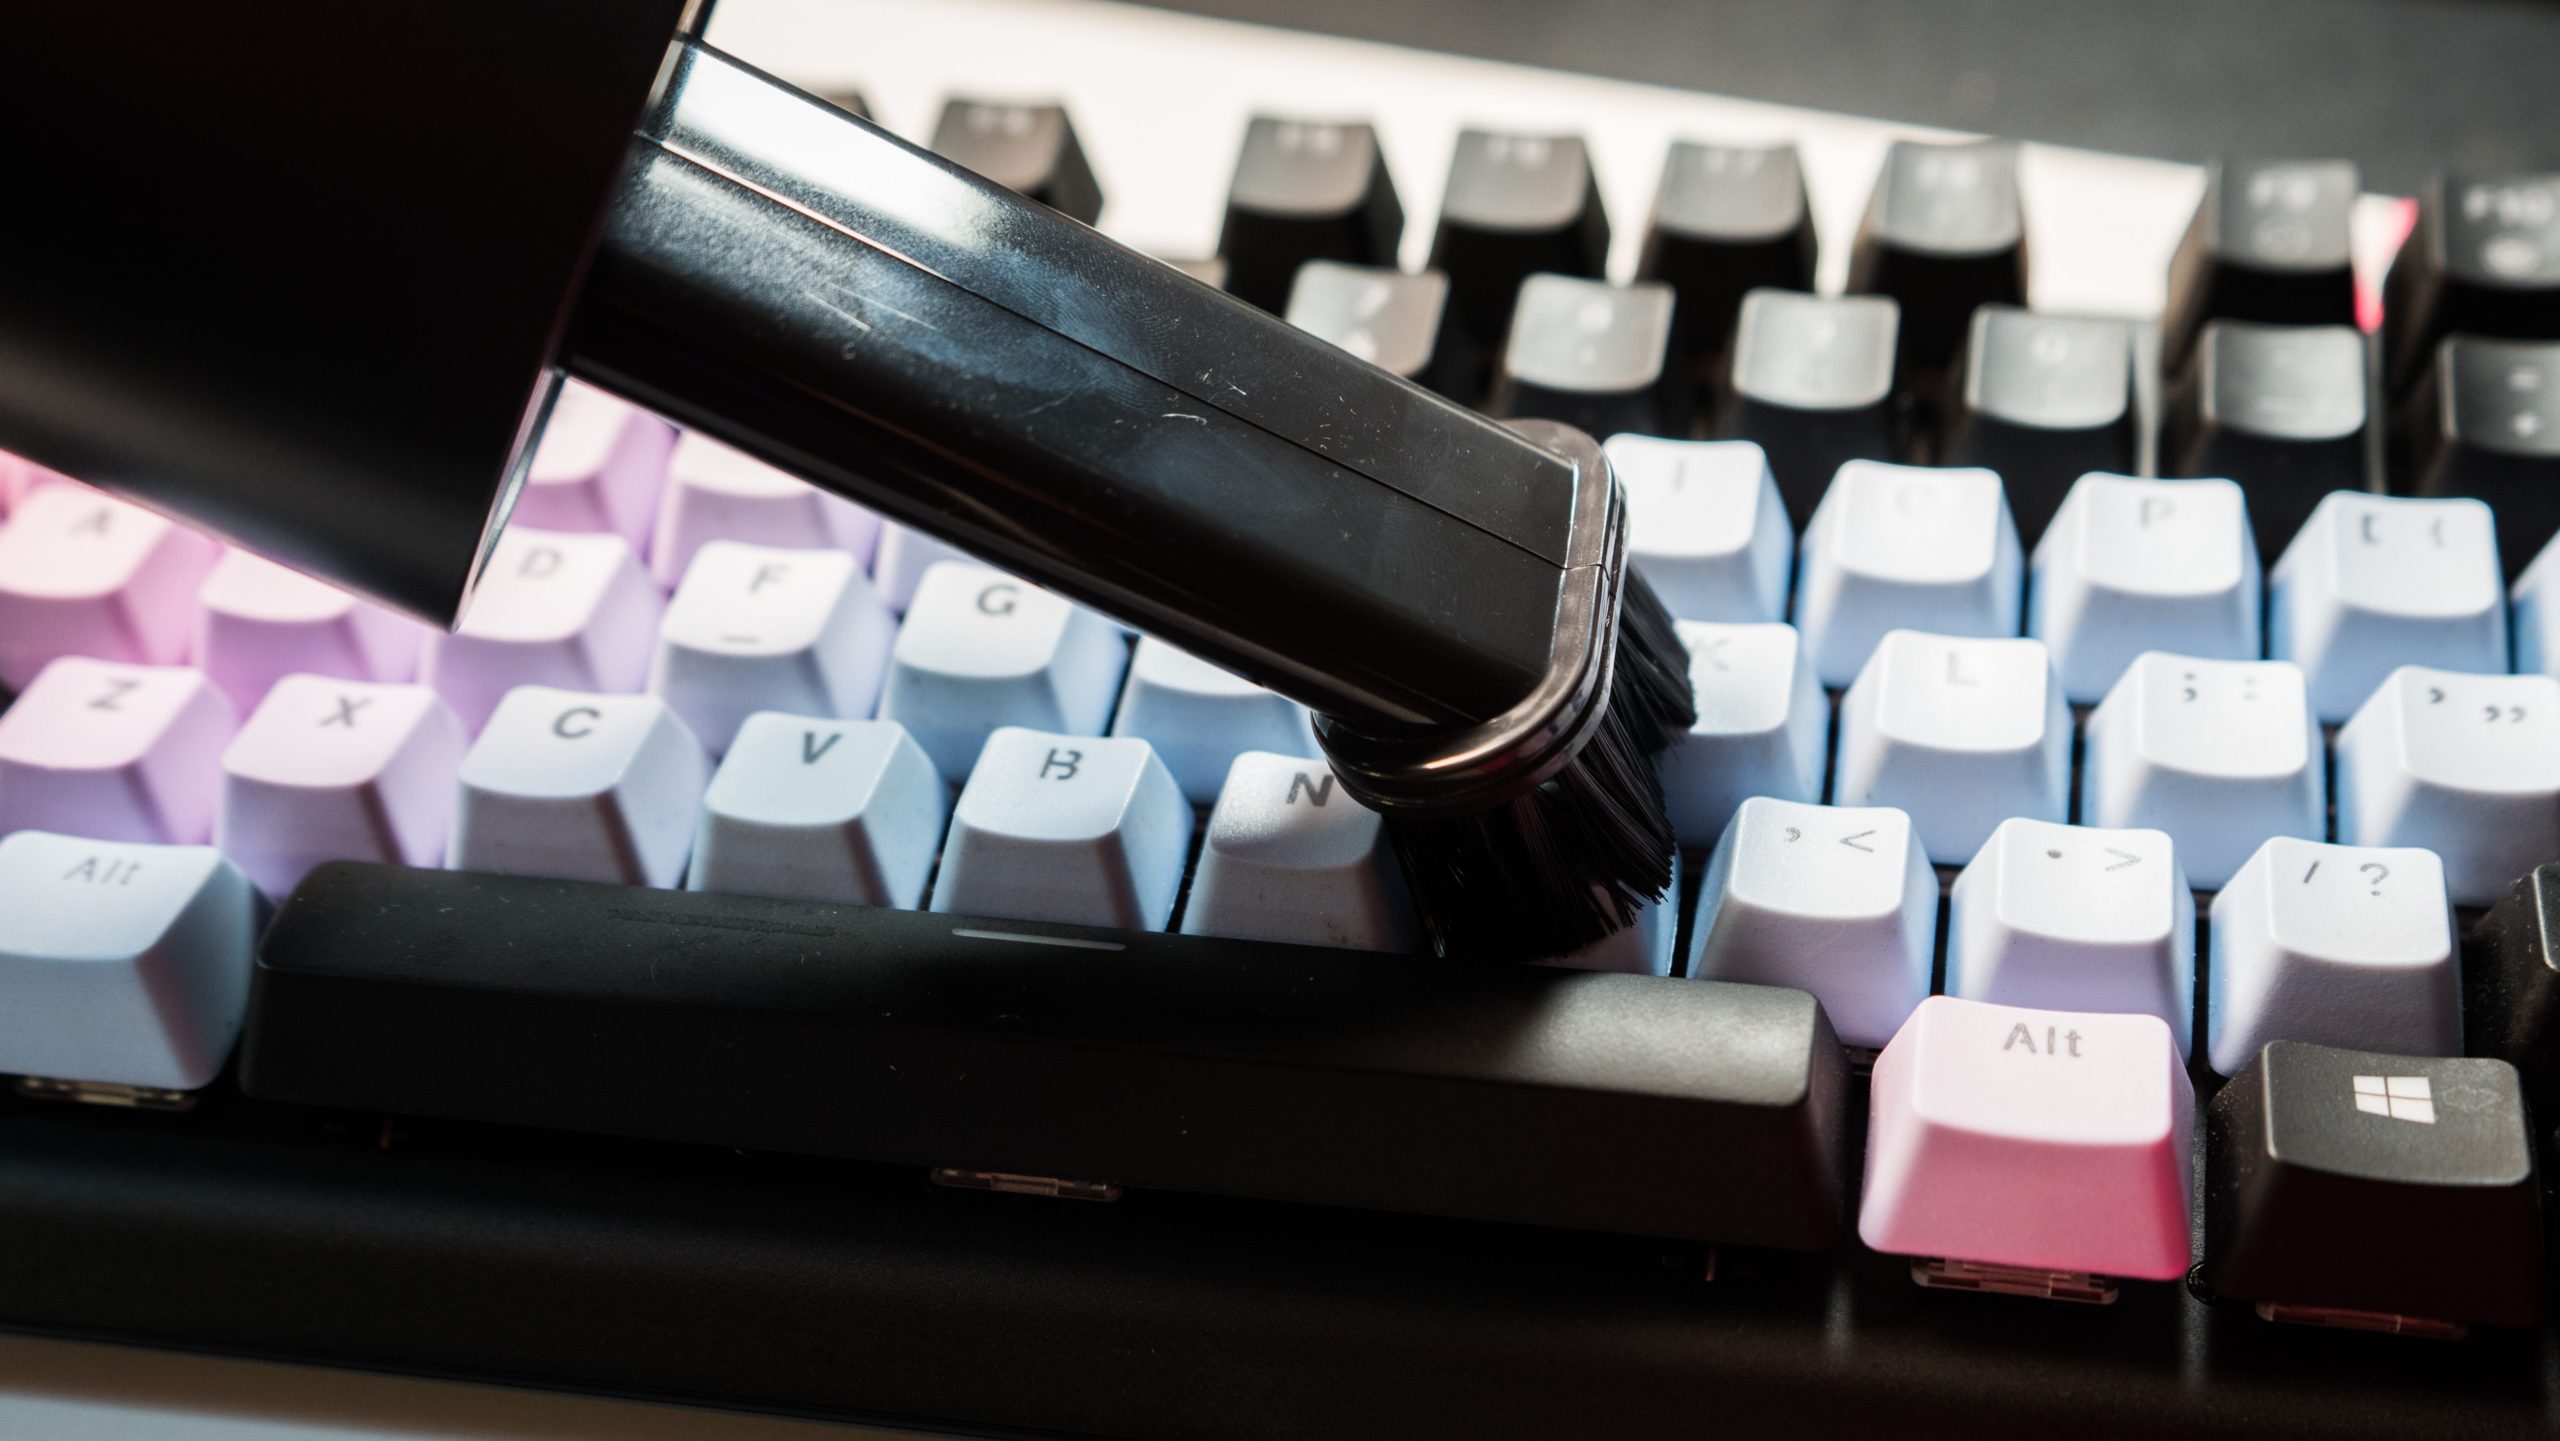
The best decision I made for my tinkering life is a small vacuum/blower. Its relative size is perfect for vacuuming the little stuff. It’s also more economical than buying individual cans of compressed air, though you should avoid those anyway, as they can cause condensation and blow dust into the crevices of the keyboard.
I have this Brigii mini vacuum from Amazon, which I bought based on user reviews. It’s loud, but it comes with attachments and charges via microUSB. I used to use a Dyson V7 Trigger vacuum to clean my keyboard. But one time, I sucked up a keycap into a dustbin with dead insect bodies. It’s best to have separate tools for your hobbies.
Use the vacuum to remove dust from the exterior of the keyboard. If your vacuum has a nozzle with a brush attachment, that works the best. Gently press and guide the nozzle around the edges where debris usually settles in.
Wipe It Down
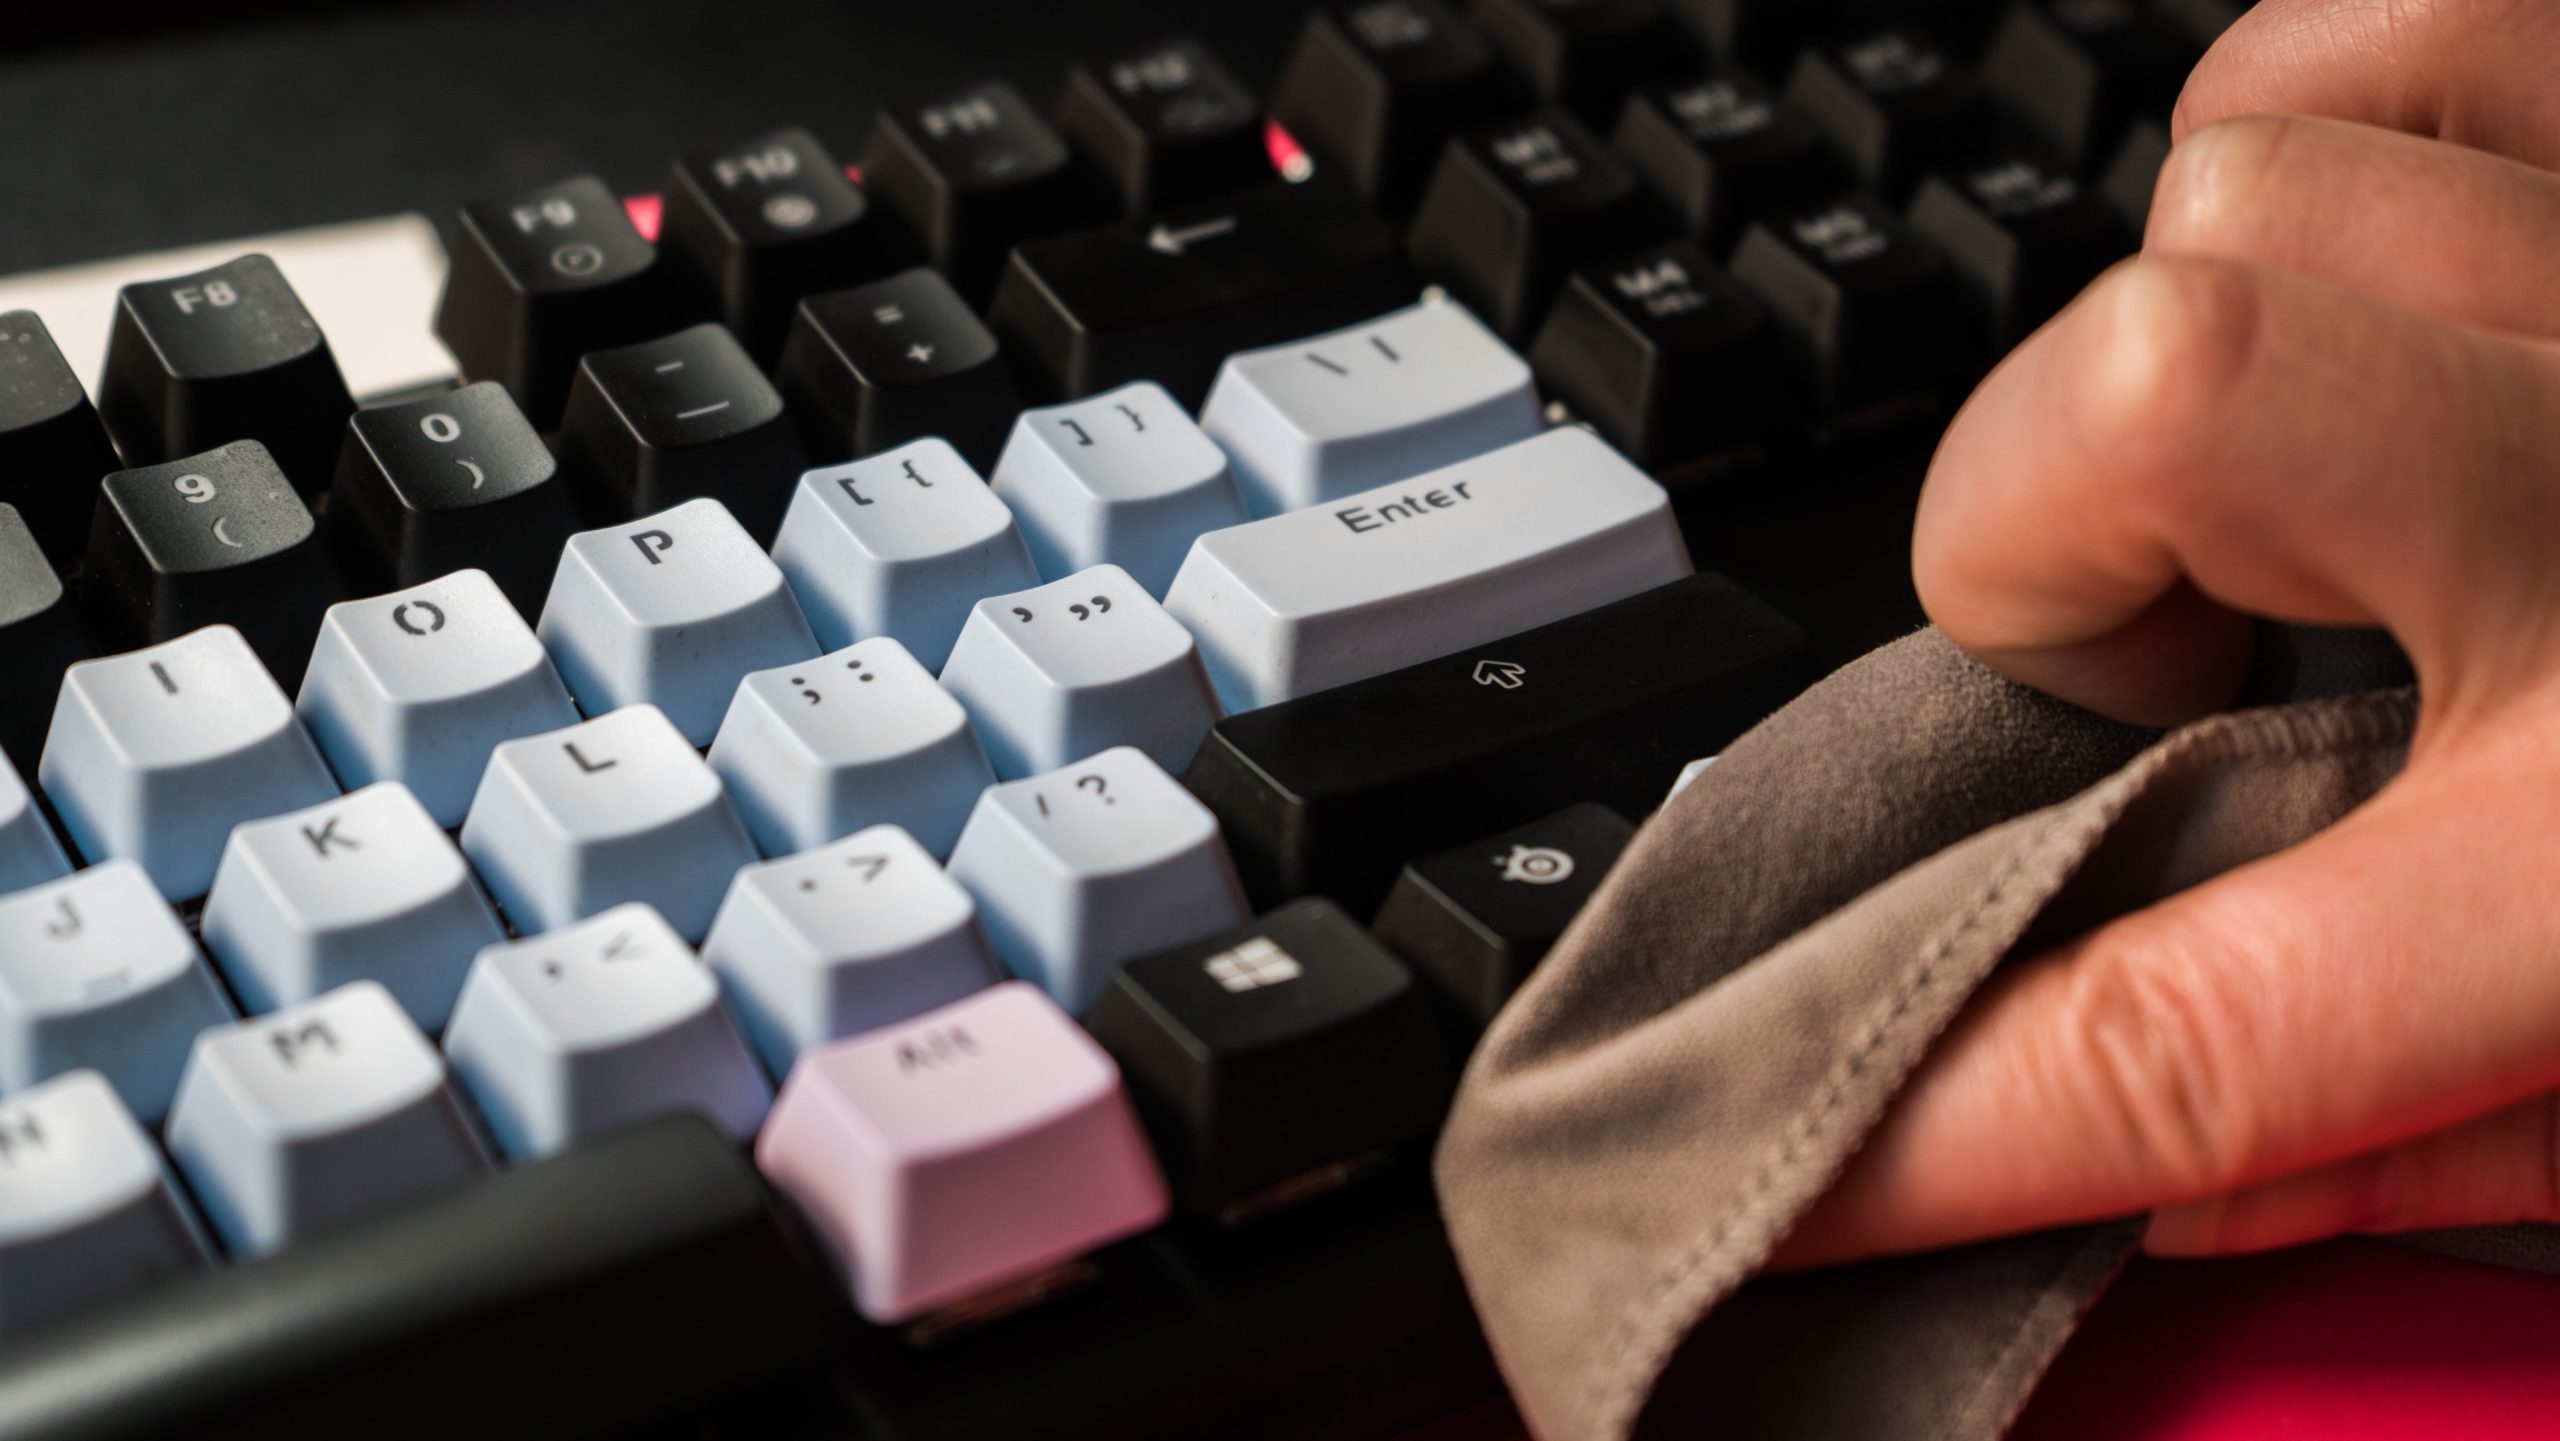
Grab a microfiber cloth and dampen it with a bit of water and a tiny bit of distilled dish soap — you want enough that you can see there’s water streaking across, but not too much that you’re drowning the board in liquid.
Run the dampened cloth across your board, the keycaps, and any nooks and crannies that might need a personal touch. Then, dry it off with another microfiber cloth. Avoid paper towels as they can shred into the board. They’re also slightly textured, which can introduce scratches and nicks to your keyboard and caps.
Get a Keycap Puller
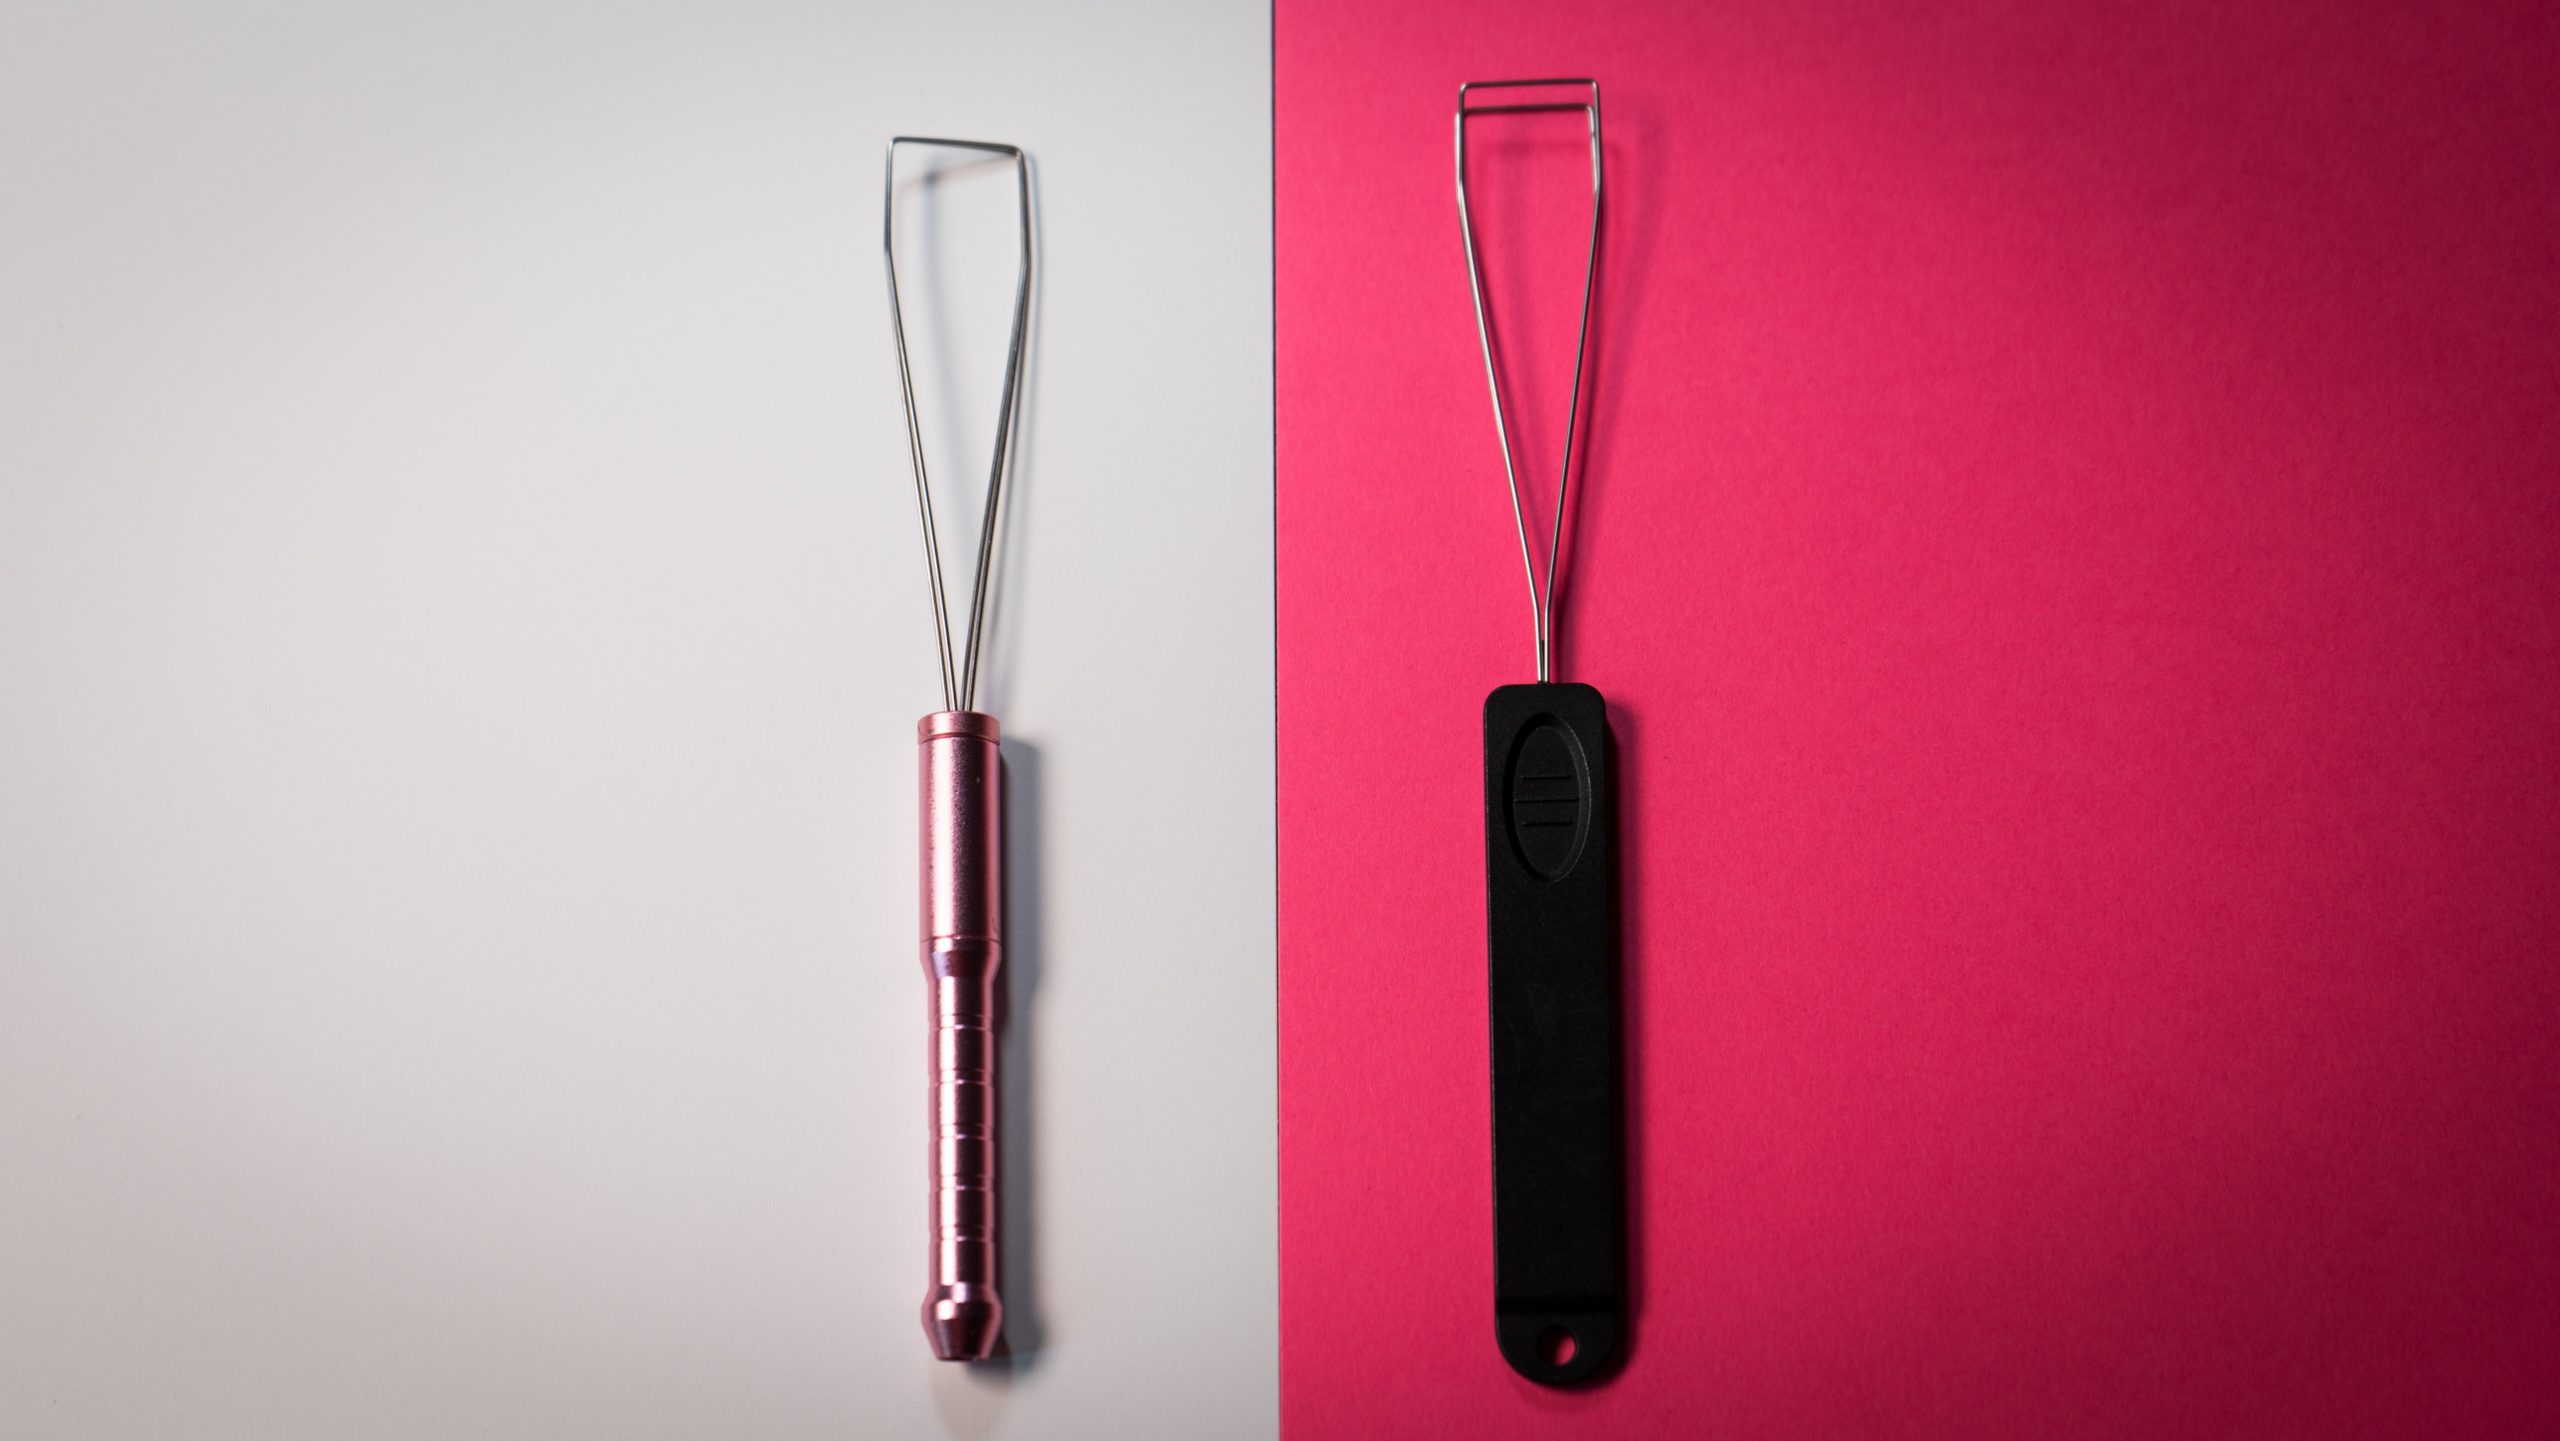
If you’re a mechanical keyboard hobbyist, I would suggest investing in a solid keycap puller. They’re available on Amazon for as much as a fancy cup of coffee, though you can buy them through specialty sites, too. I have pullers with both plastic and metal handles, though I prefer the latter for their durability.
Avoid the plastic keycap pullers with the thumb-hole (they look like this). They’re fine for dealing with one keycap at a time, but they’re a little hard to use for significant keyboard projects. It can get exhausting to try to undress a whole board with just that little tool. If the keys are too close together, the tool might not latch on to the bottom of the keycap to pull it out.
If you don’t have a keycap puller, you can use a pair of tweezers in a bind. Remember that you run the risk of scratching your keycaps if they can’t grab on underneath.
How to Pull Off Keycaps
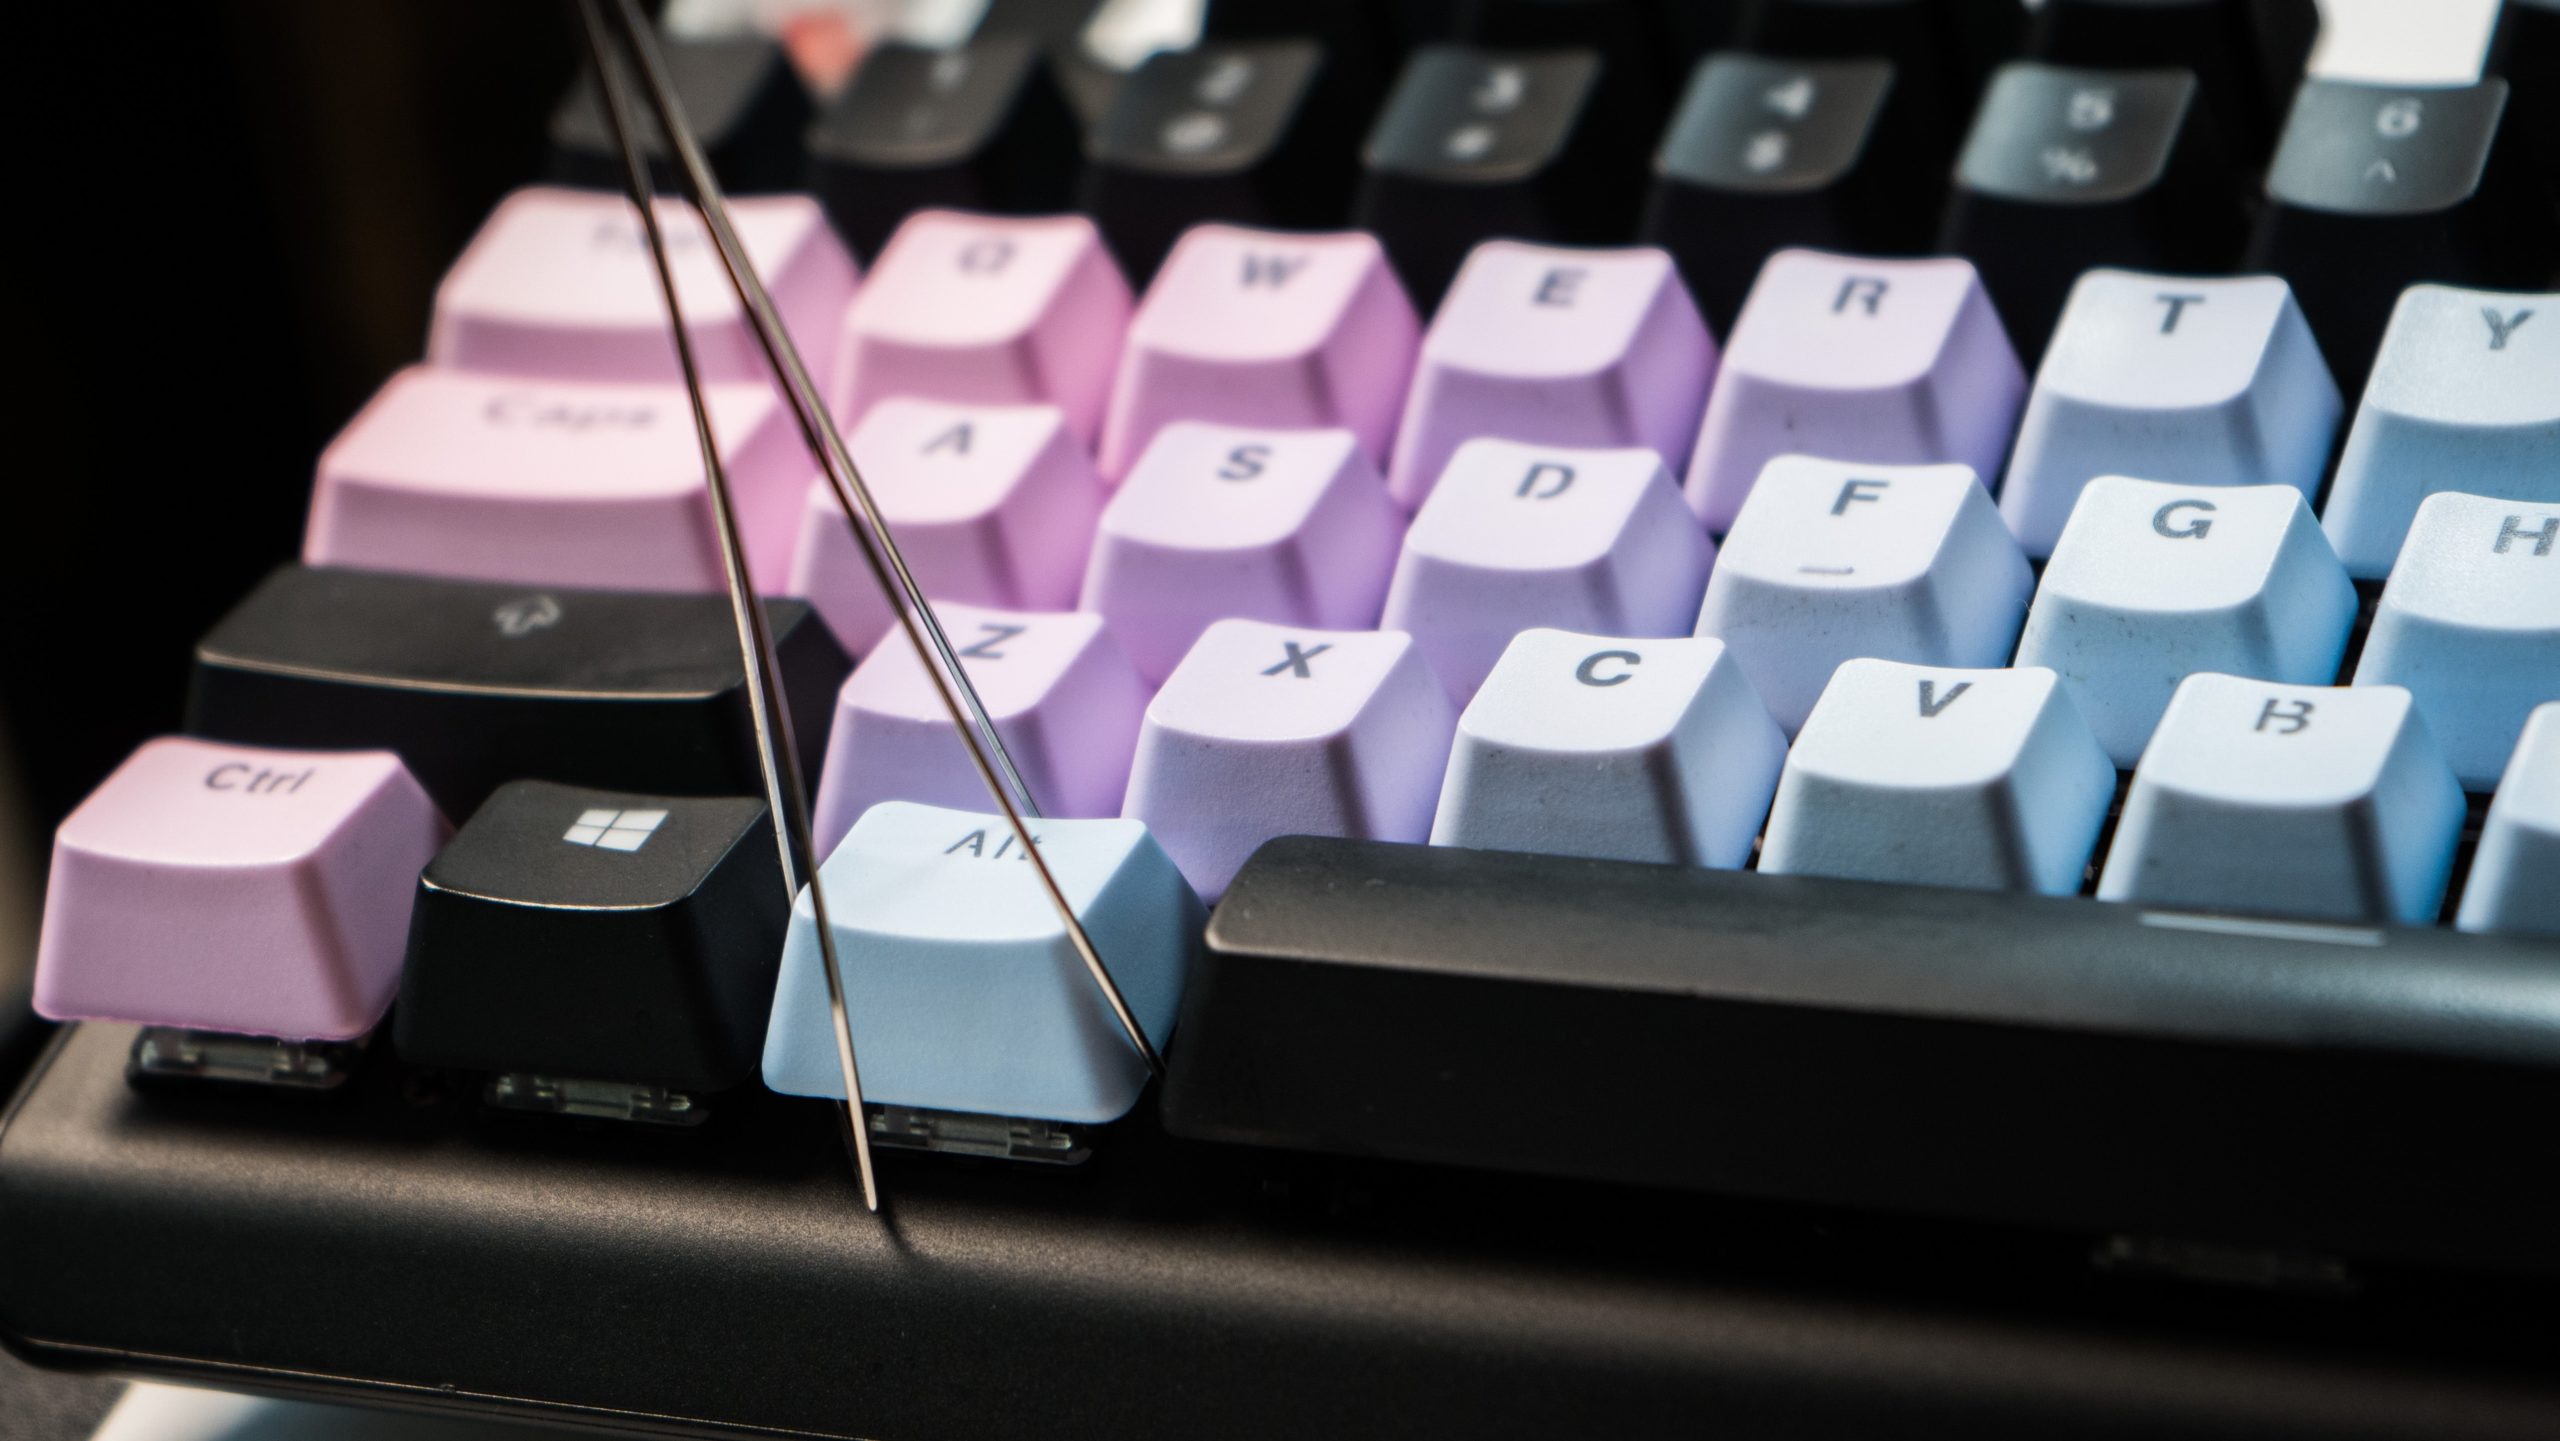
We’re going to go through the rest of this with the assumption that you’re using the keycap puller I suggested in the last slide. Honestly, if you’re doing anything with mechanical keyboards, get yourself that cheap little tool. It will save you a world of headaches.
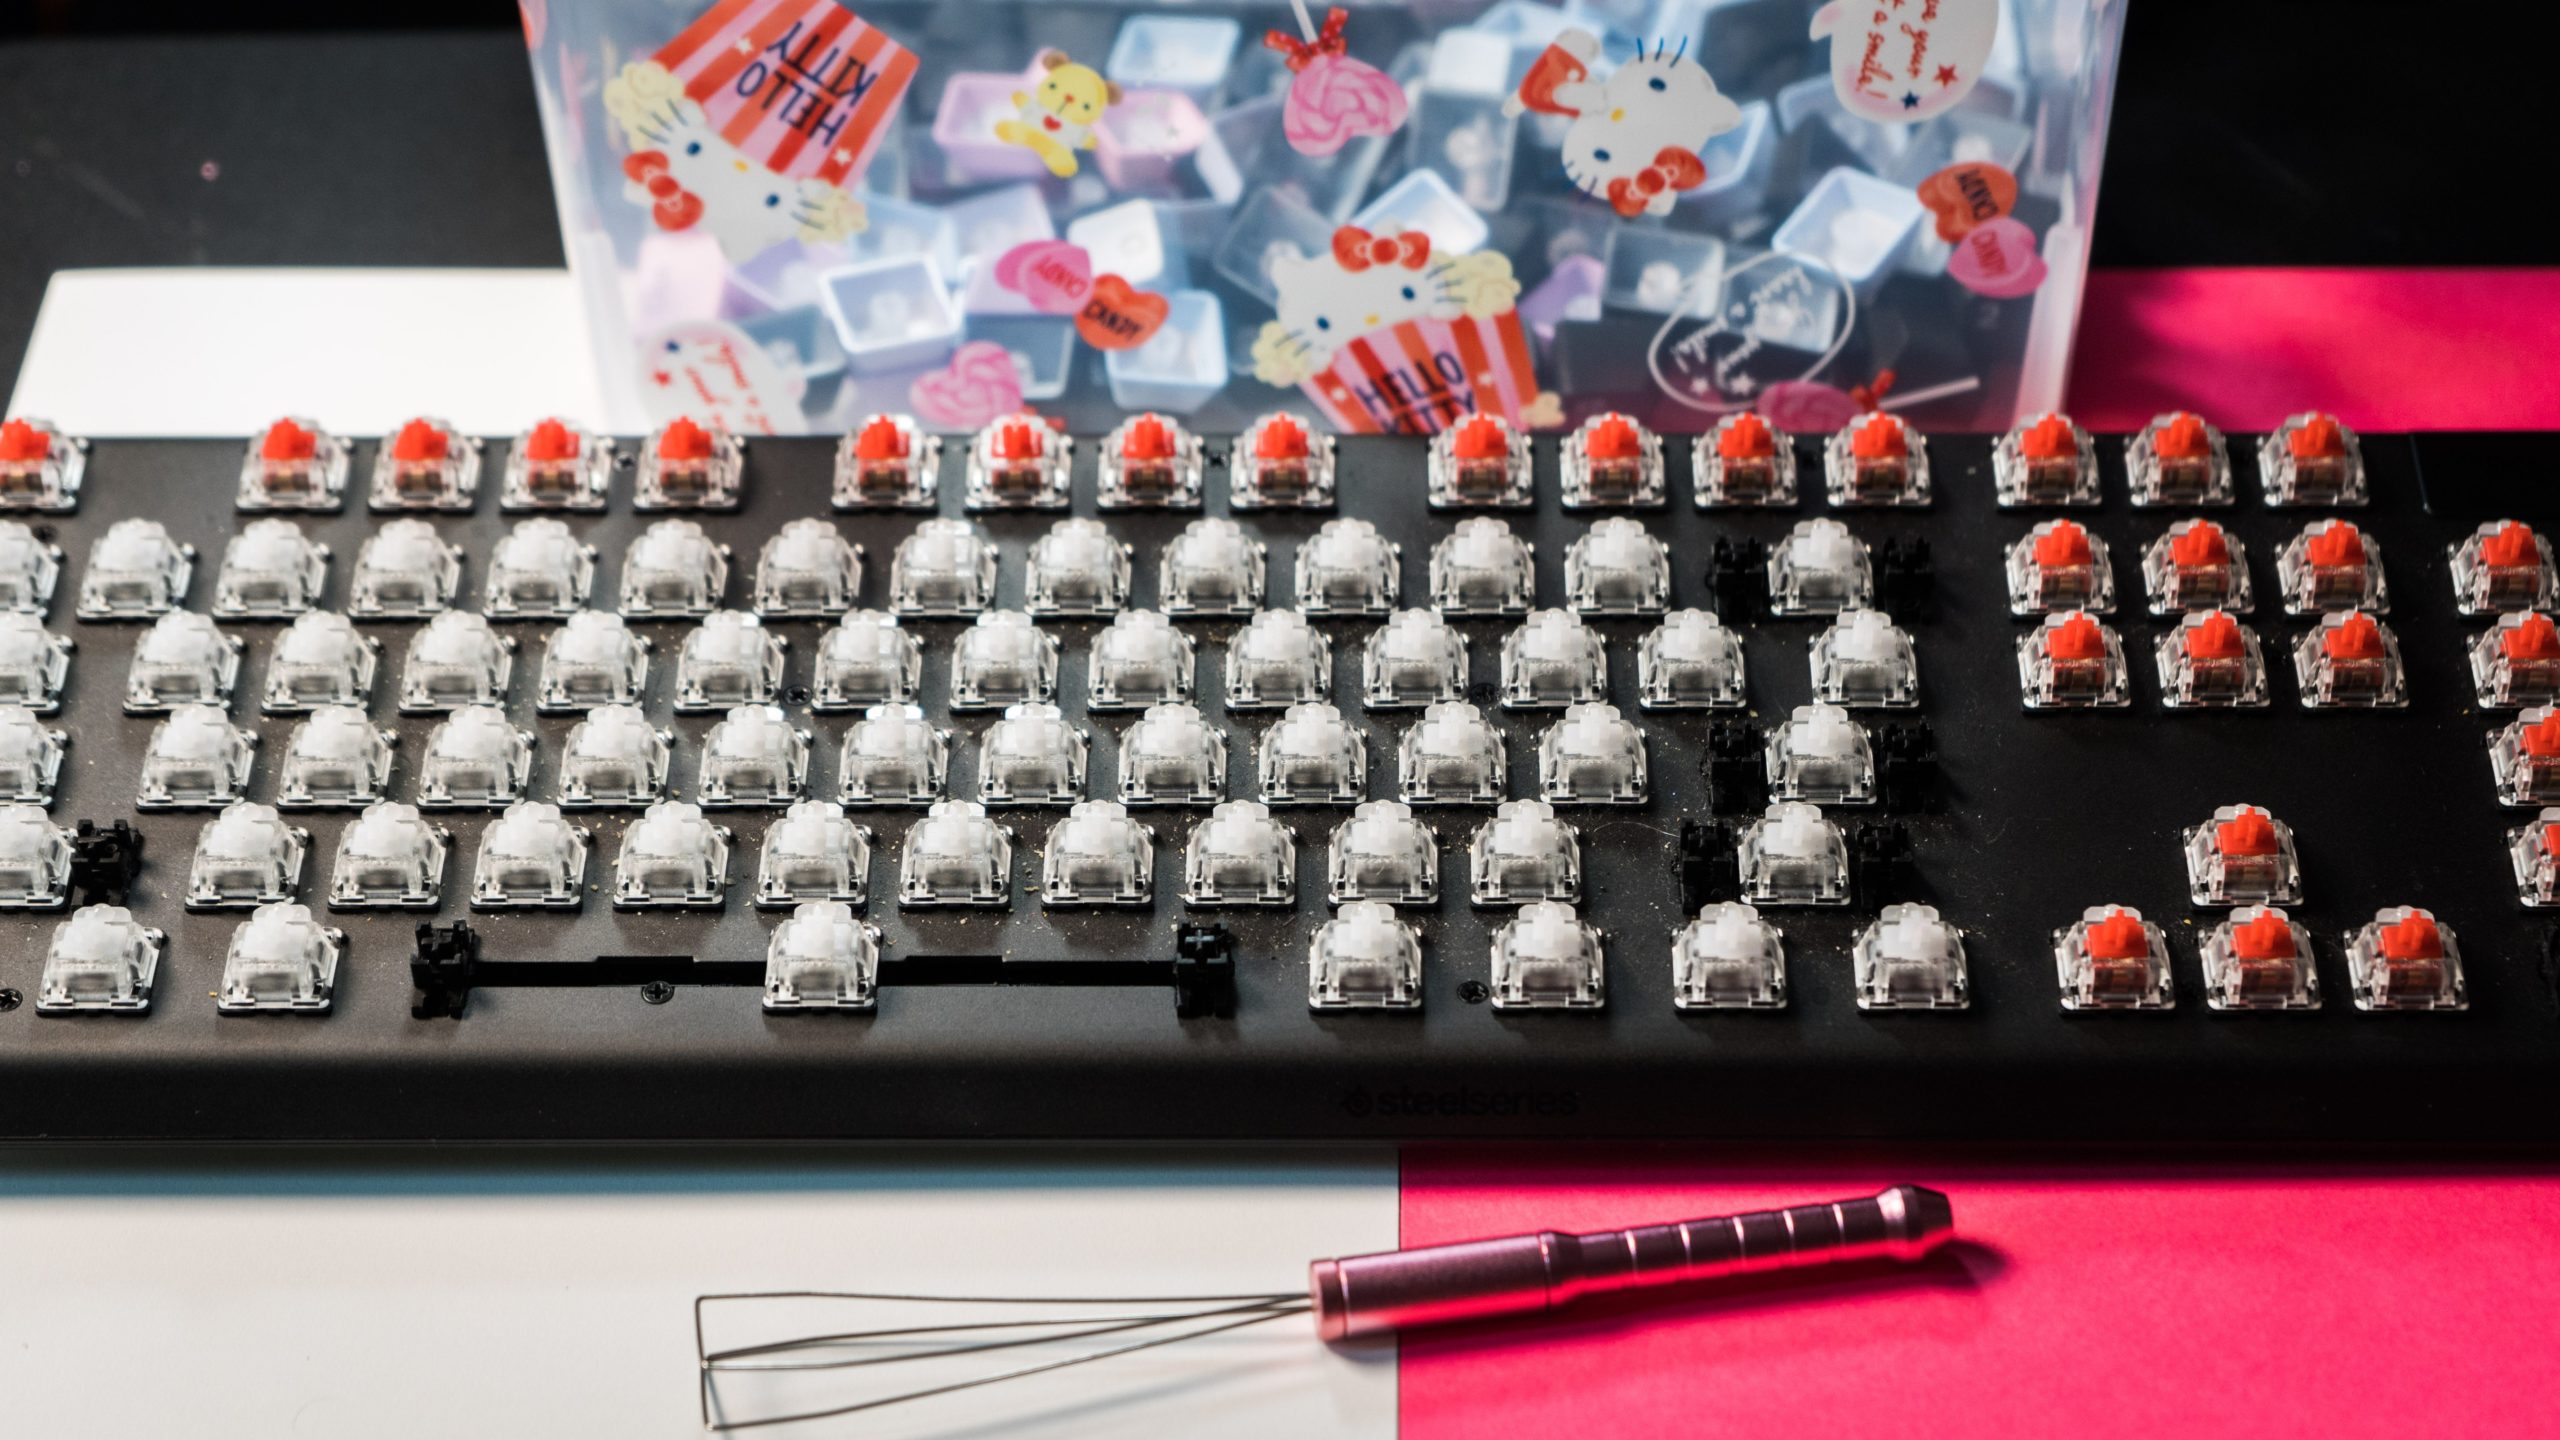
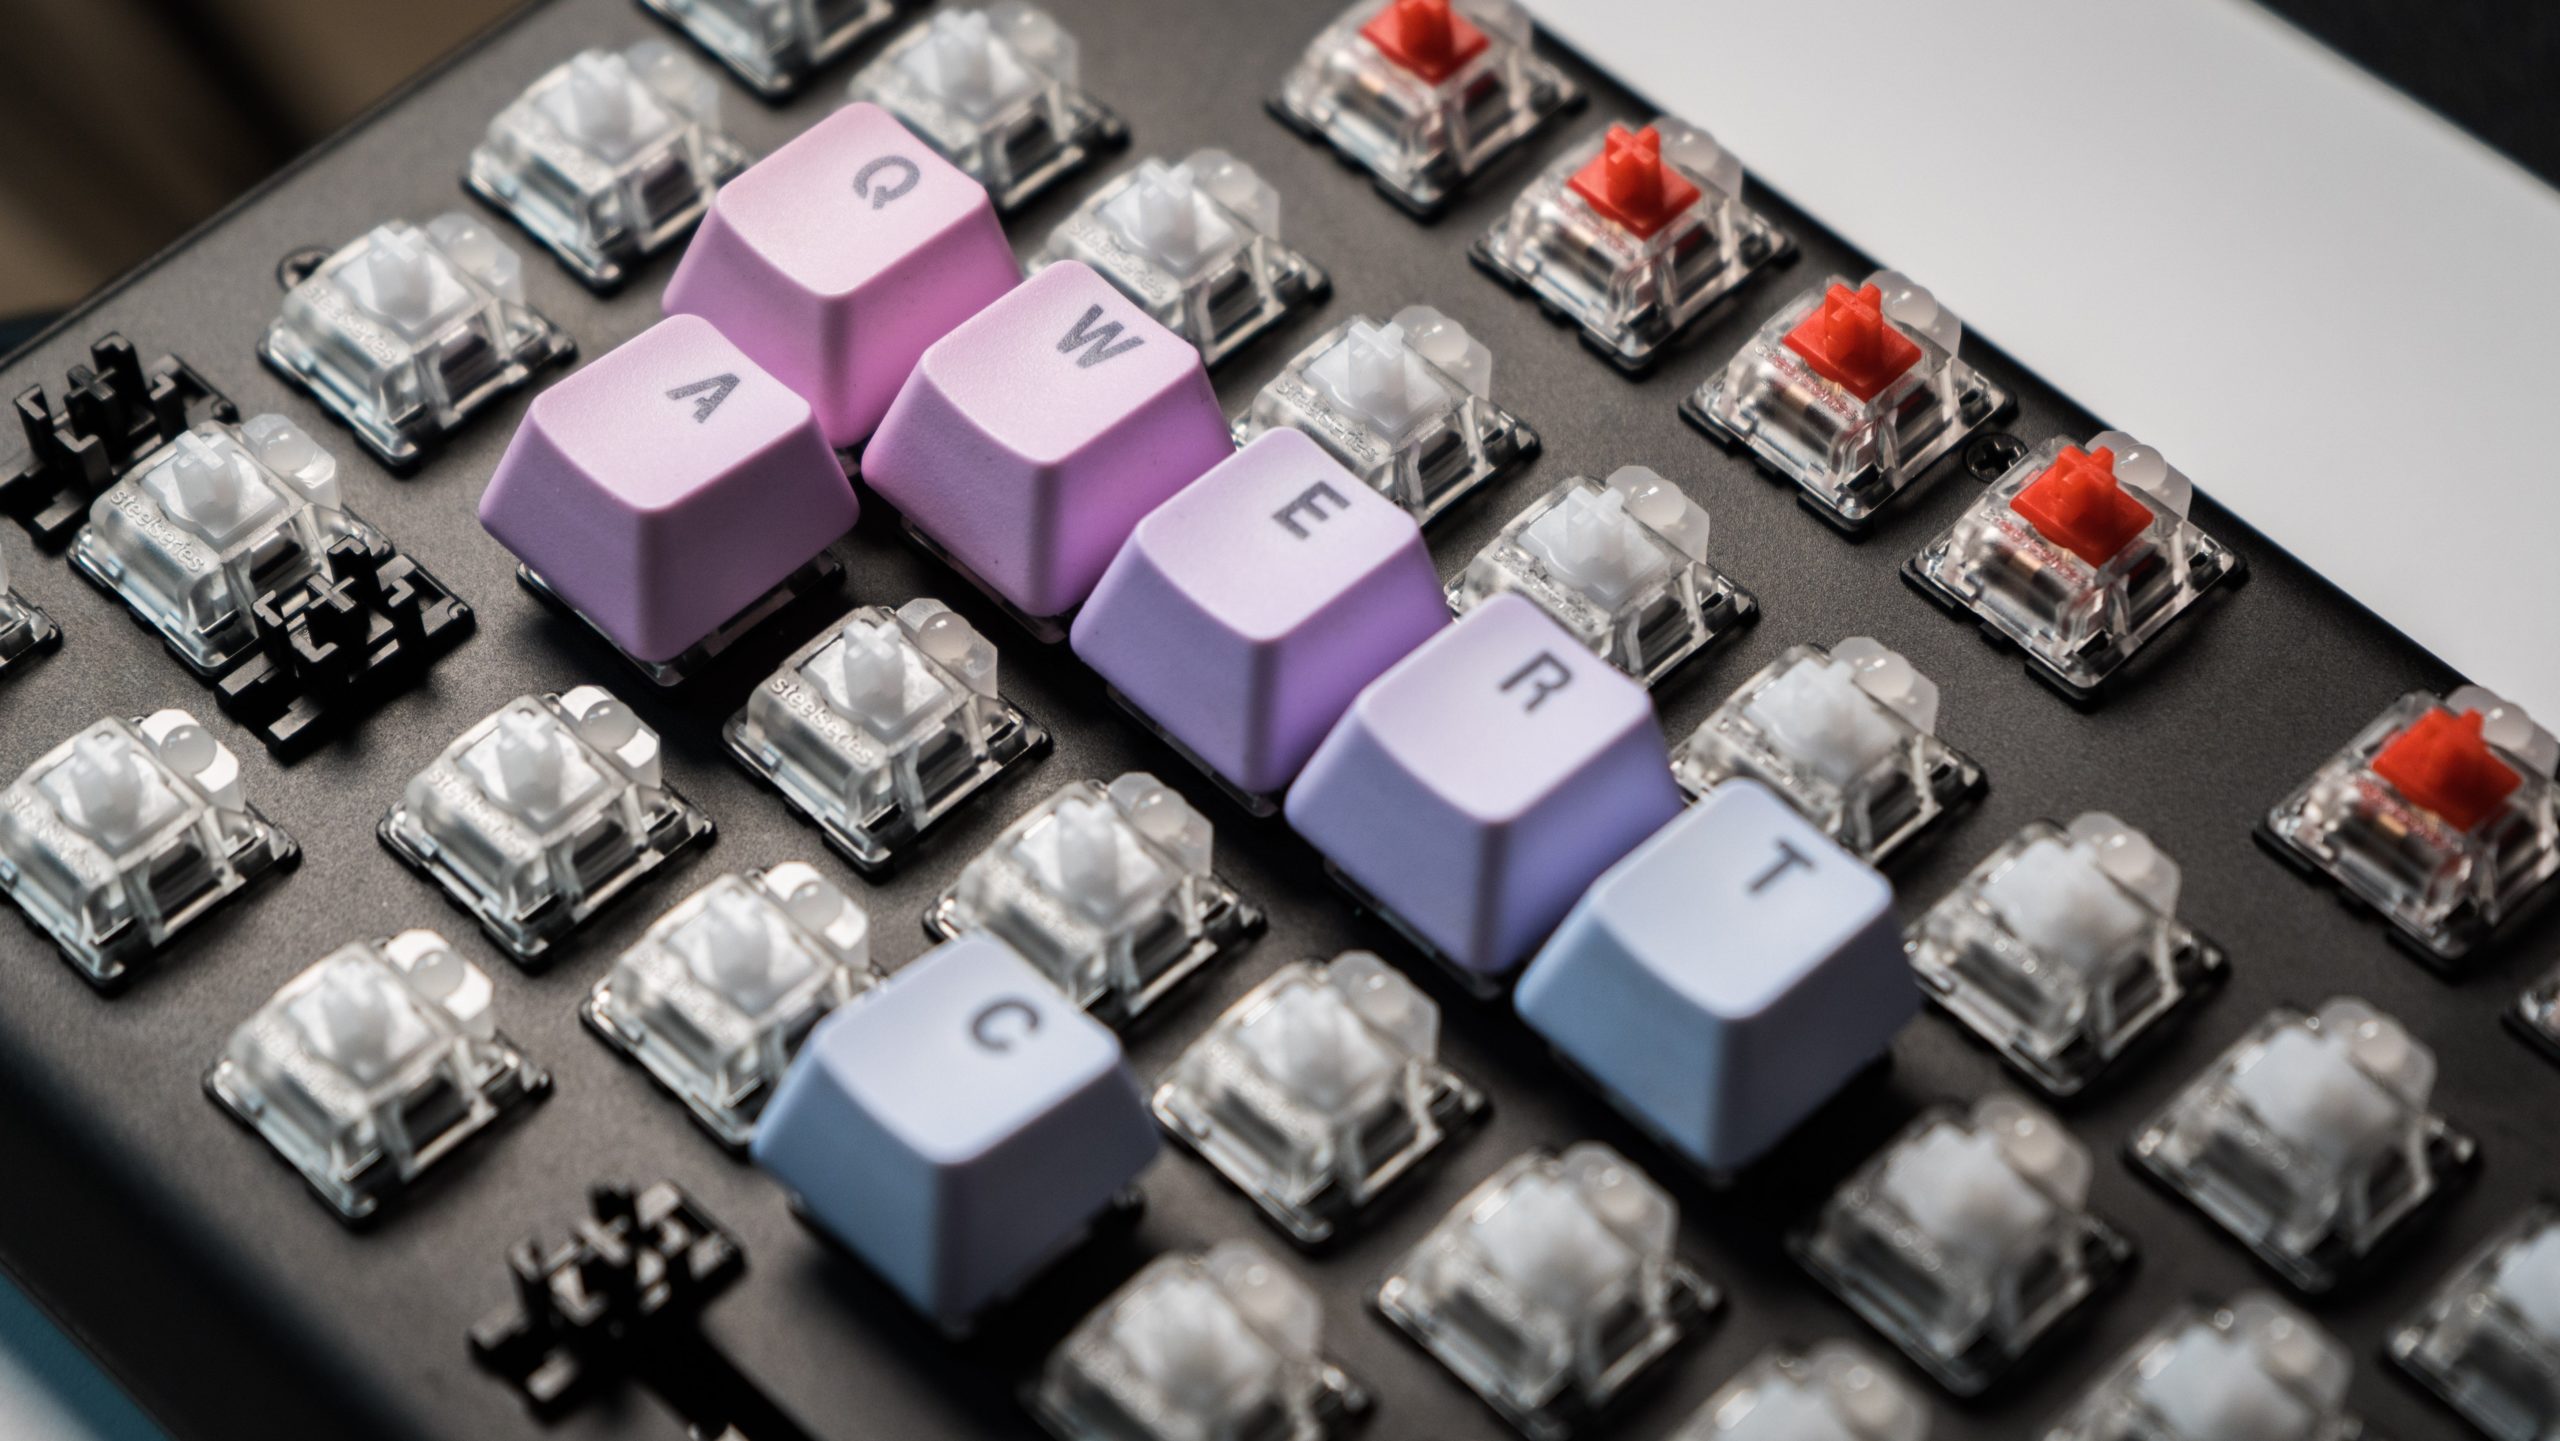
You’ll want to start pulling out each of the individual keycaps to tackle the grittiness that lives below. Before you start, make sure you have a separate area to place your keys down in a way that mirrors the exact alignment you have on your keyboard. You should also snap a photo of the keyboard before it’s stripped clean. The worst is trying to remember where every key goes from memory.
Start with the Spacebar
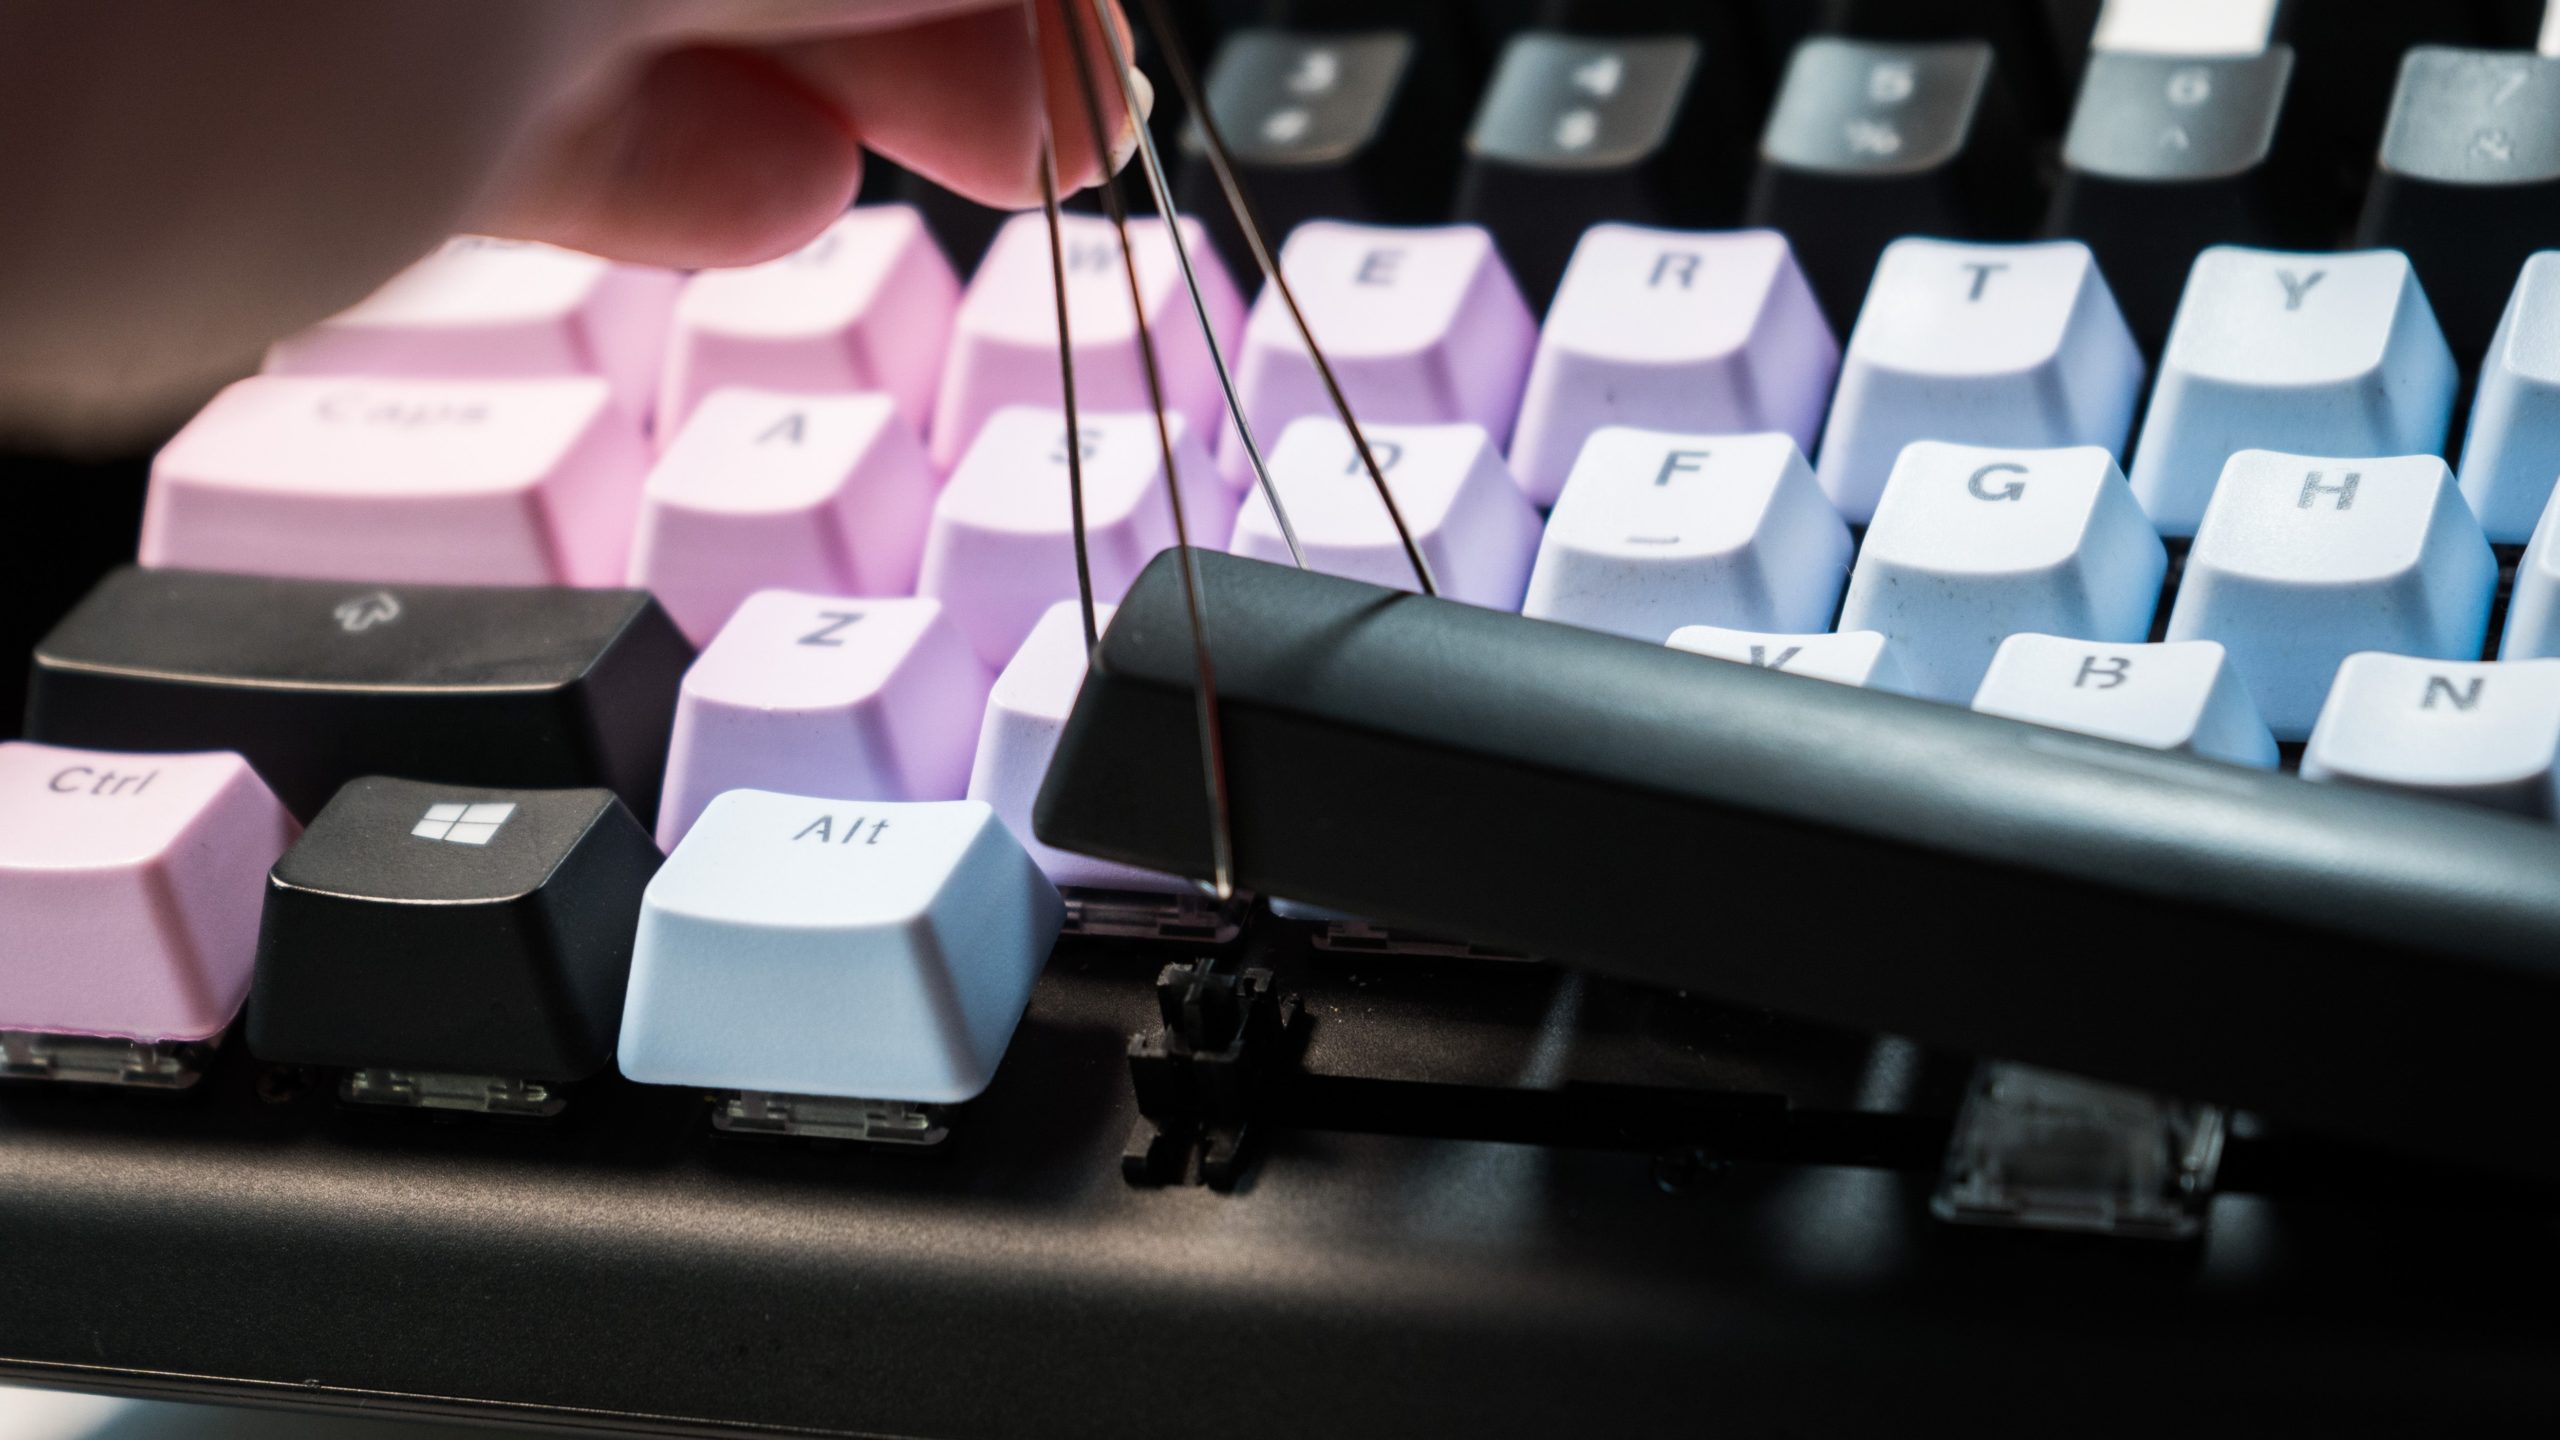
As you go through the stripping process, align your keycap puller so that the wires clasp diagonally across the square or rectangular key. However, we’re starting with the spacebar, as that will make stripping the rest of the board a little easier. Since it’s the biggest key, you’ll pull it out a little differently than the rest. Gently slide the keycap puller underneath each corner and then pull upwards. Repeat this step for the three other corners of the spacebar. Depending on your board, it may take a bit of effort to pull it up since the spacebar typically relies on stabilizers to stay pinned to the board.
Vacuum and Wipe Some More
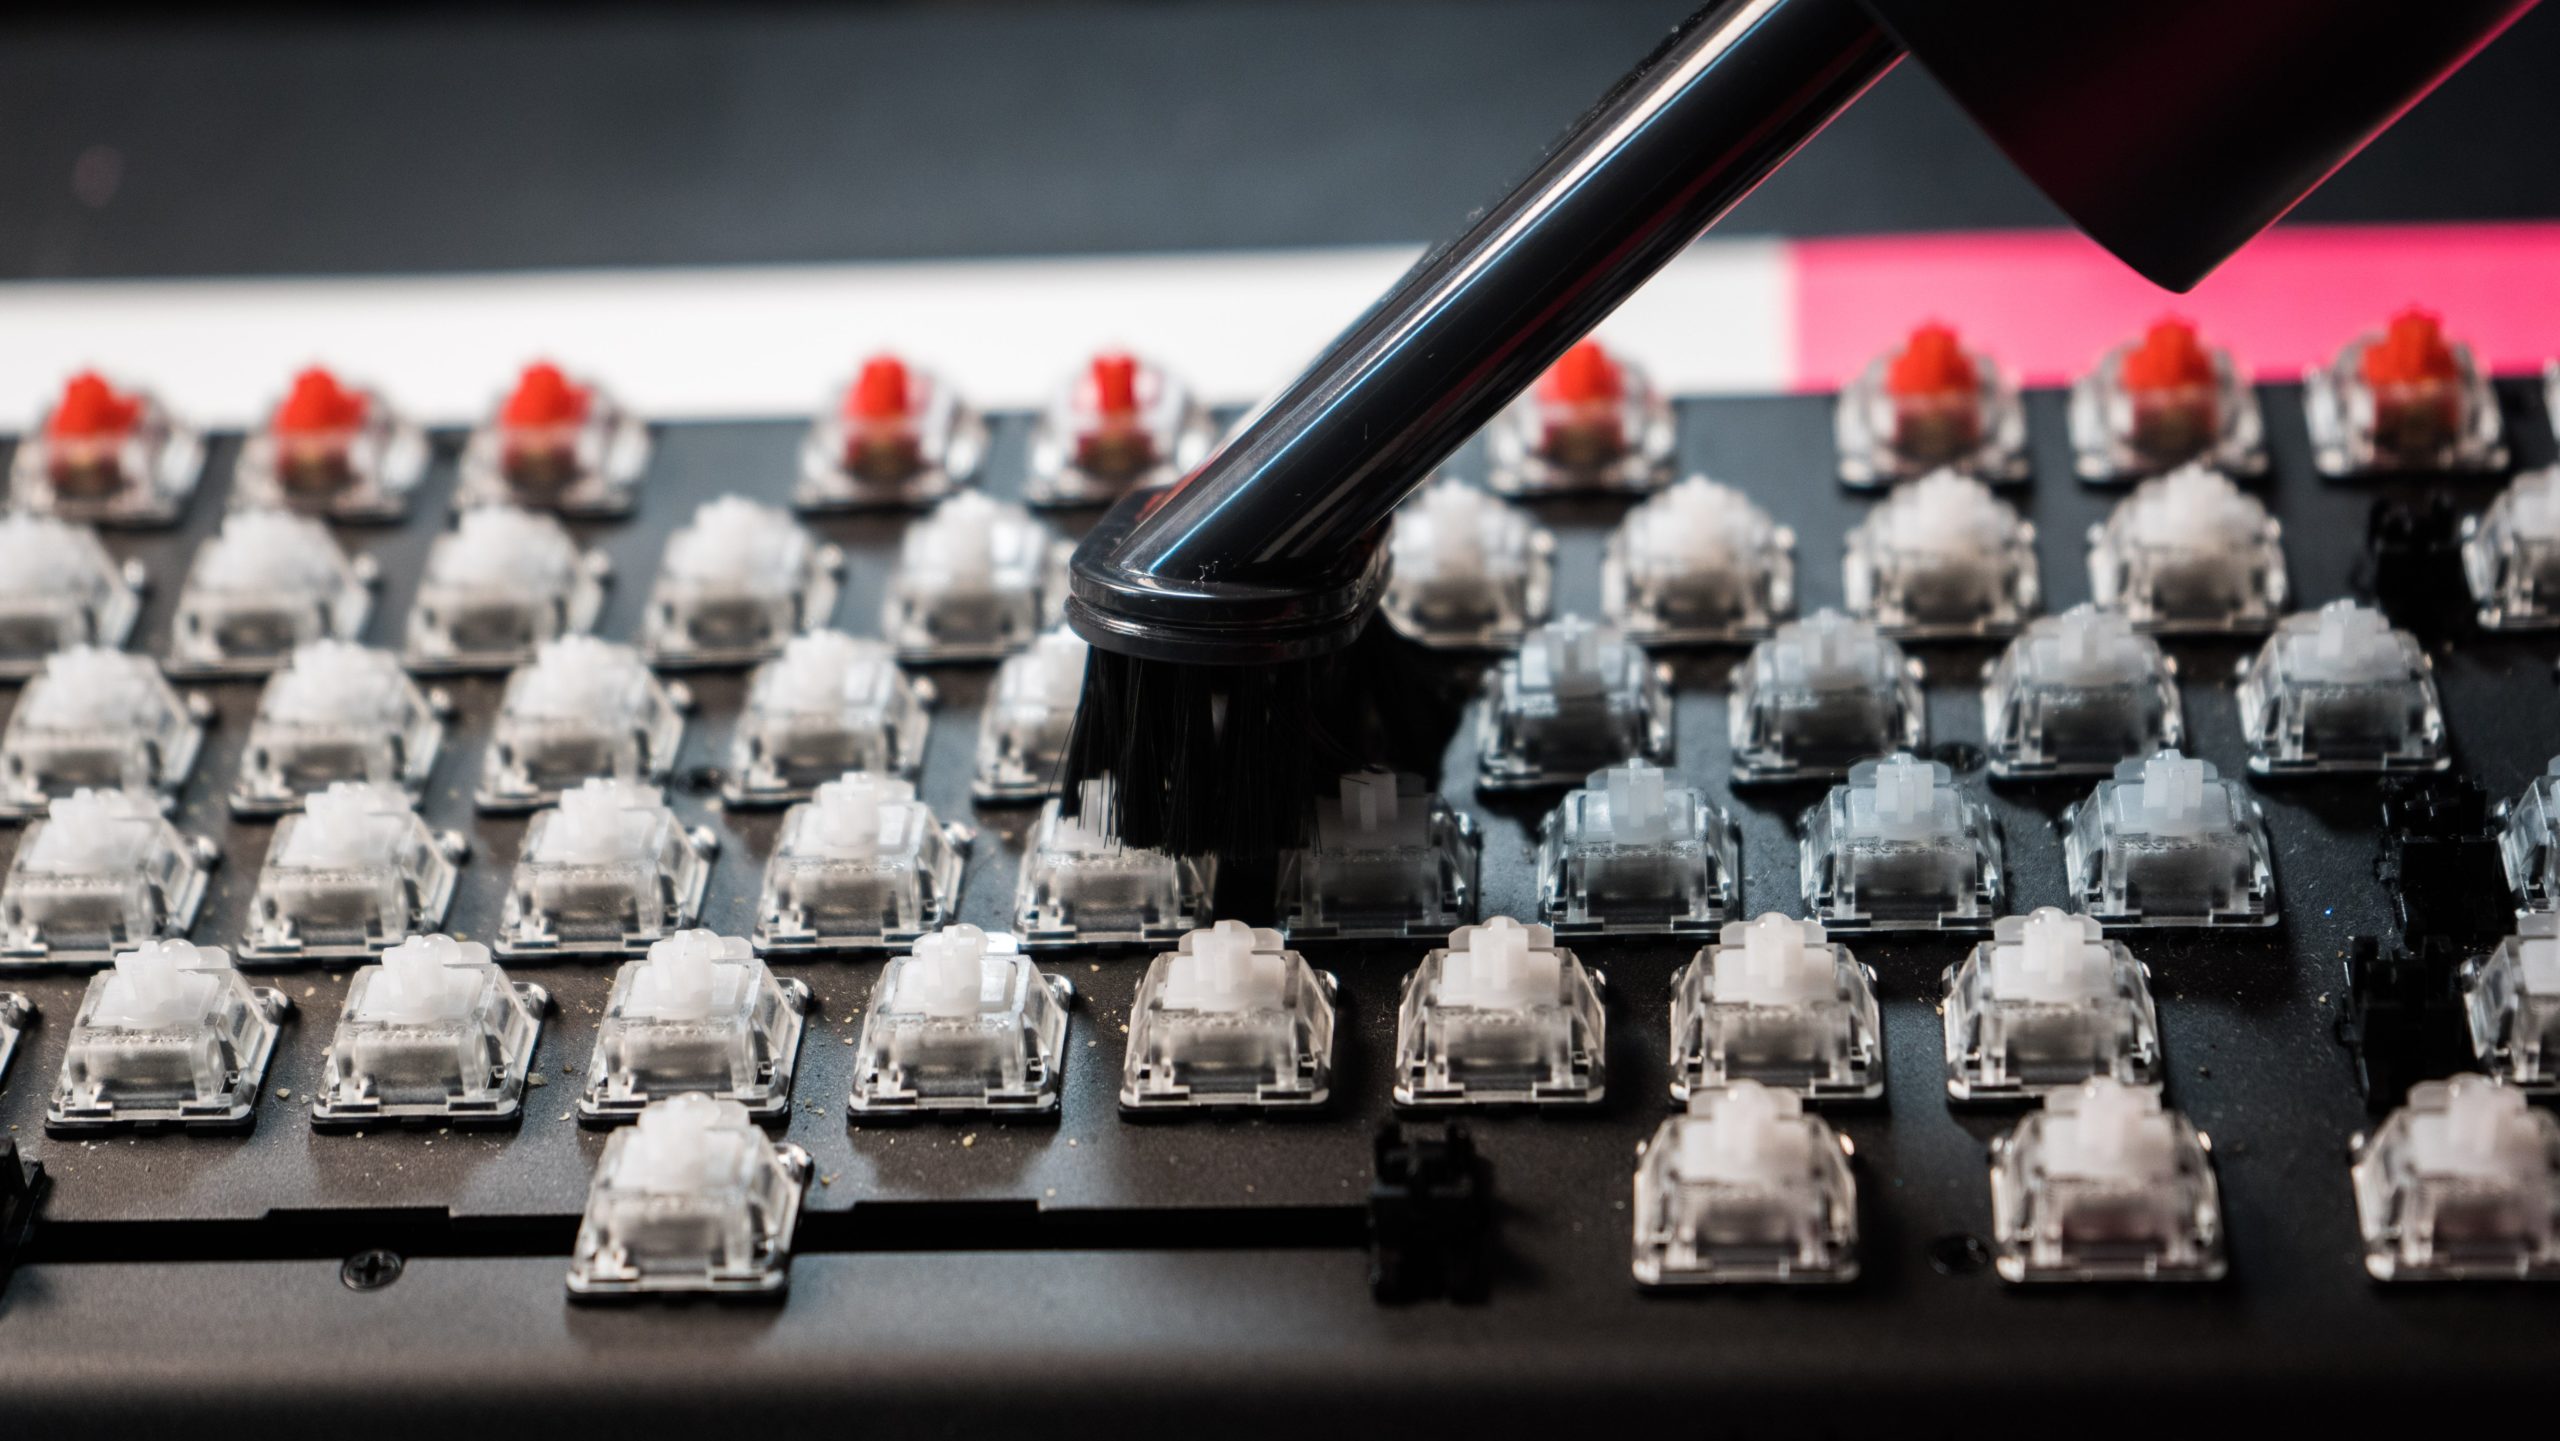
Cleaning a mechanical keyboard is just like moving around the furniture in the living room to reveal what’s collected below. Once all the keycaps have been extracted, run the vacuum over the stripped area to remove dust and particles still hanging around. Then, do another wipe-down with the microfiber cloth on the chassis, making sure to go around the switches. Turn the keyboard over to knock out any loose debris that may have accumulated. Vacuum that up, too.
I recently bought this handy keyboard and screen cleaning set from Oxo. I found its brush attachment to be particularly helpful in cleaning around the mechanical switches. And the bristled brush is great for getting into the crevices between deep cleanings. During this cleaning round, it helped me cut and unlodge a piece of my hair that had tangled in the switches. These things do happen!
Clean Your Keycaps
Whether you’ve laid your keycaps aside or dropped them into a bowl, you’ll have to decide how you want to clean them. If they’re shiny from constant use, it may be because the paint has withered away. But if they seem more textured than expected, then they’re probably covered in finger grease and everything else.
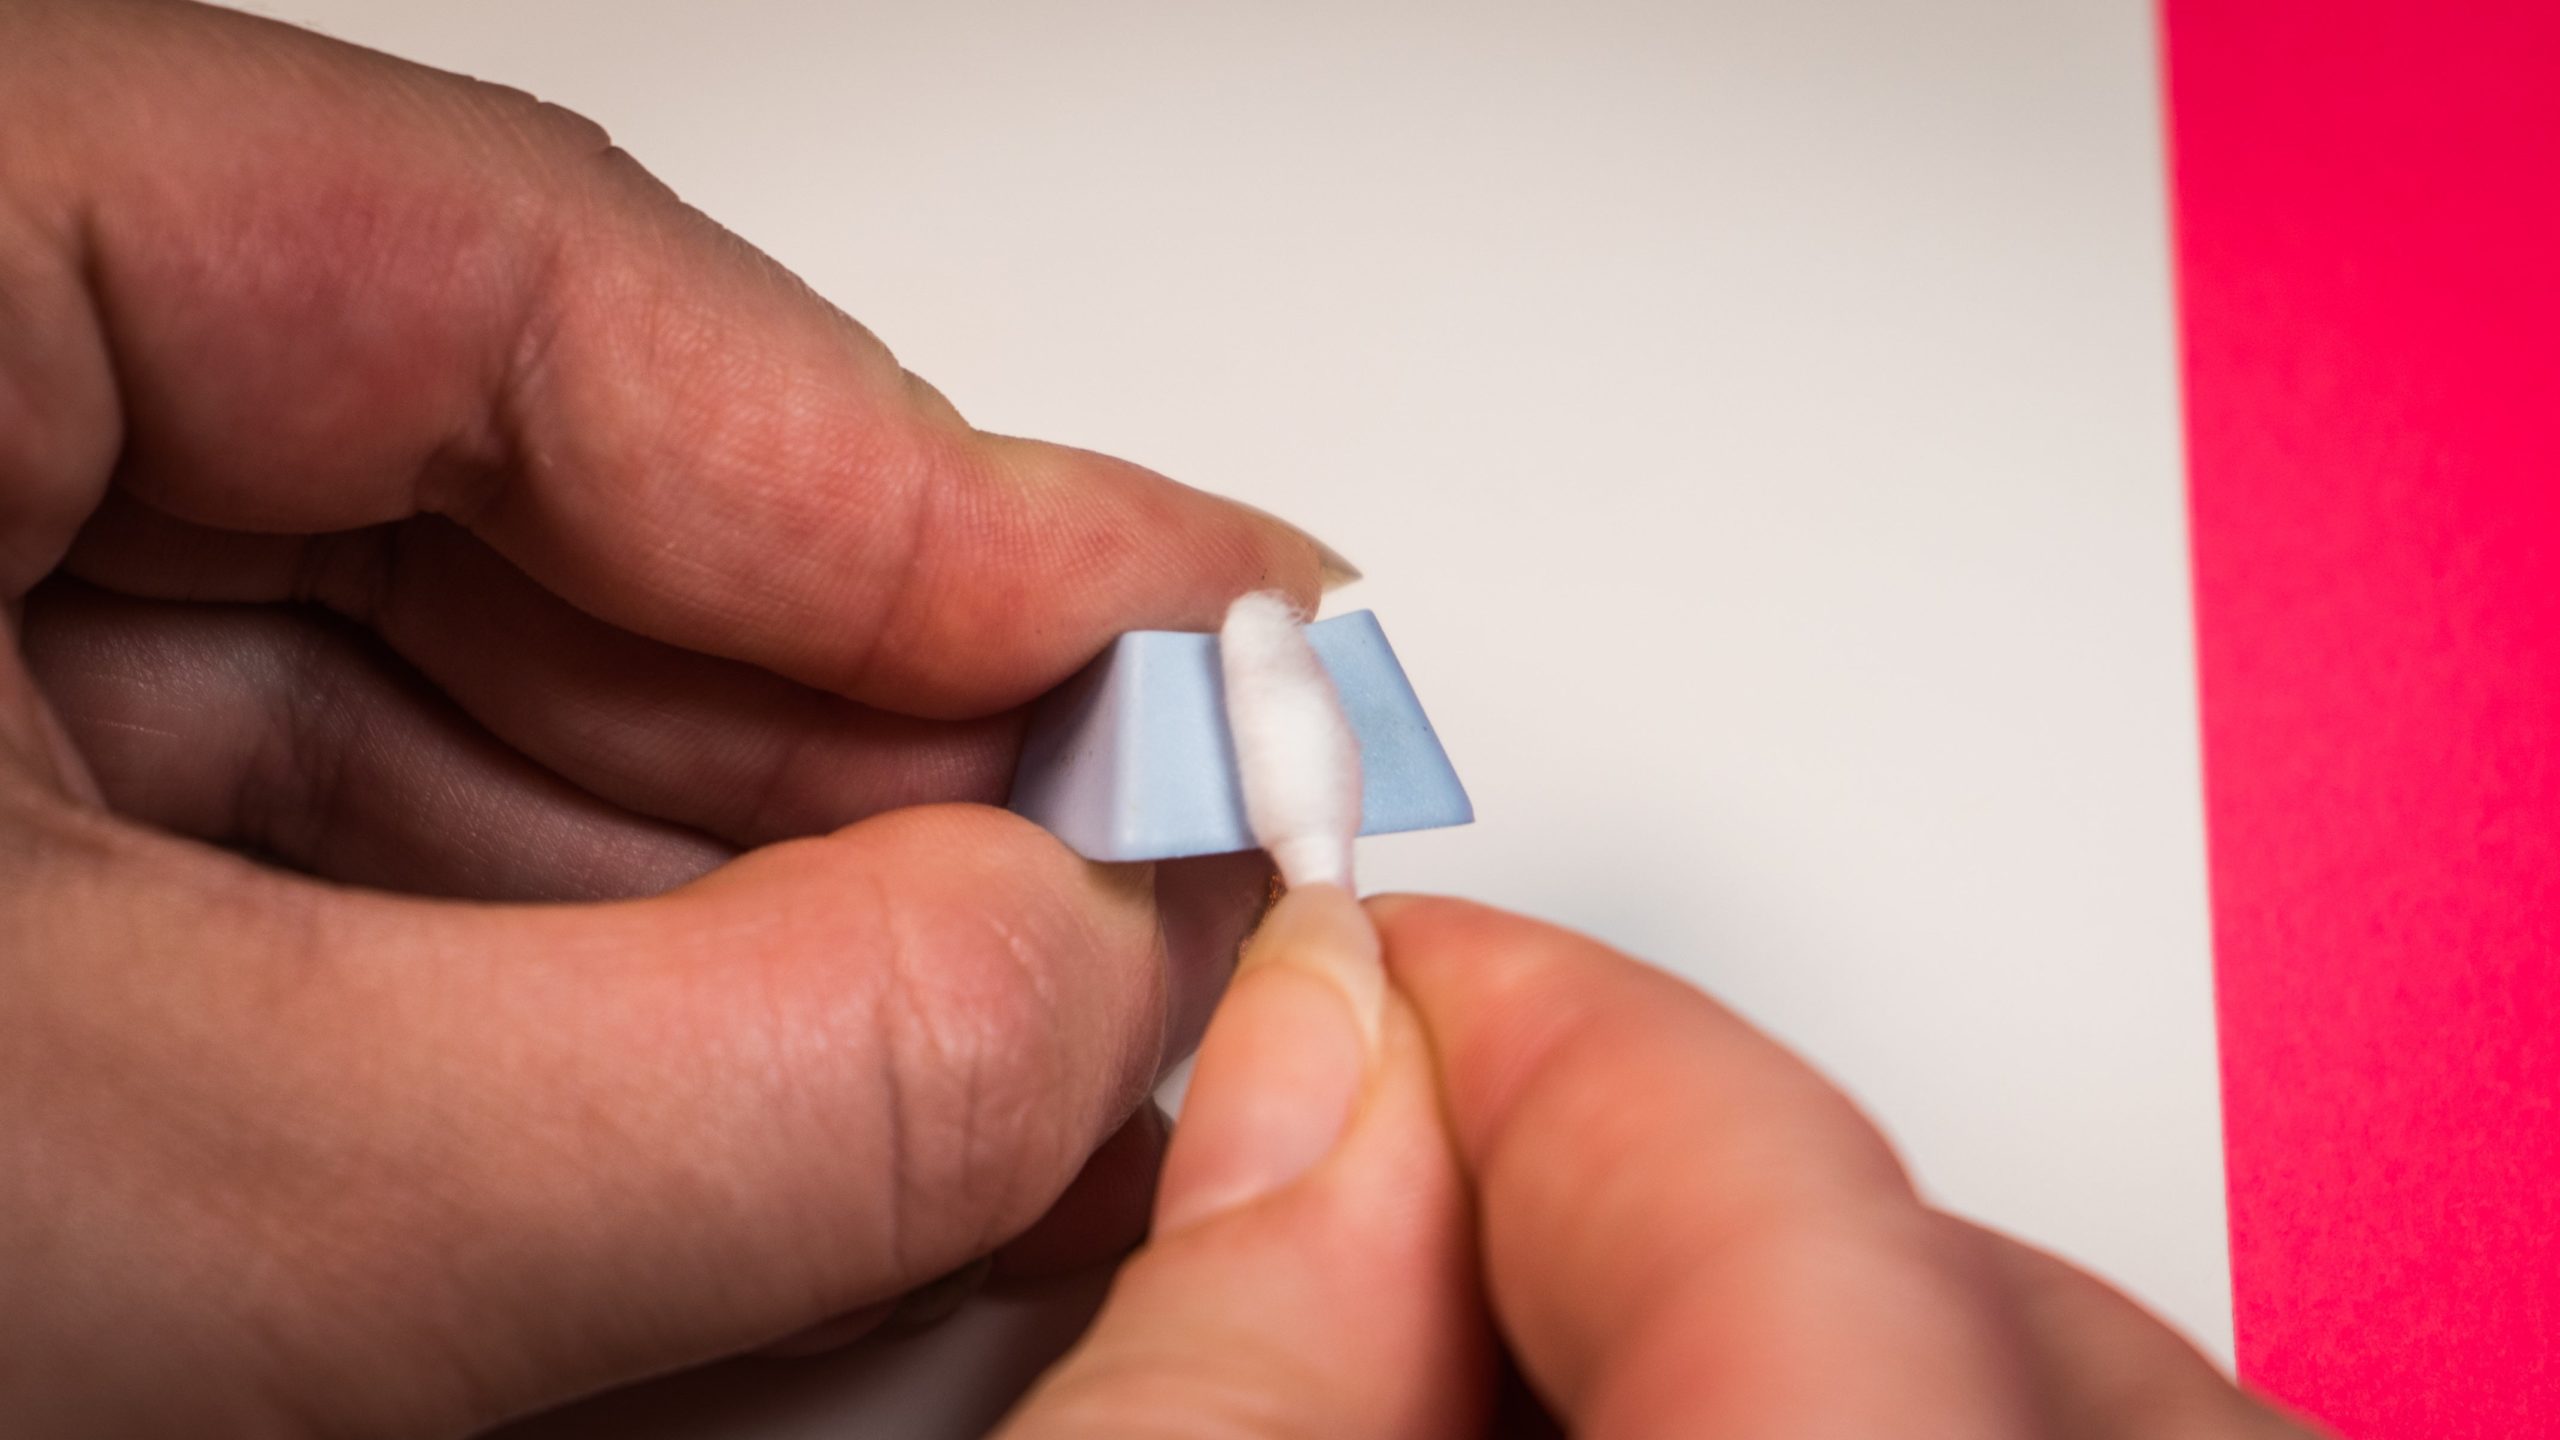
I surface clean my keycaps from time to time with a tiny bit of soap and water in a dish and a pointy Q-tip, the kind you buy from the makeup aisle for precise application. Then, I wipe it off with a microfiber cloth. A little isopropyl alcohol could also work. For more challenging jobs, an unused toothbrush is also handy at scrubbing away grime.
Think You Need a Deeper Clean?
Maybe you’re working with a hand-me-down, or perhaps you’re an emotional snacker when you’re on deadline. (I’m just calling myself out here.) Sometimes, the keycaps and the keyboard as a whole needs more than just a little elbow grease.
Das Keyboard, which makes a line of mechanical keyboards, has a helpful page on deep cleaning their products. The instructions work for some other boards, too. They suggest using an ultrasonic cleaner for keycaps like the ones you can buy to clean jewellery and watches. Their brand of PBT keycaps can also be soaked in denture tablets or dish soap, both effective at removing oils and sterilizing the plastic bits. Avoid using any household cleaning products besides dish soap, even plant-based ones. They have ingredients that can affect the paint on your keycaps.
In extreme cases, like if you’ve spilled a sugary drink and you’ve all but prayed over the body of your sticky keyboard, you can take apart your board layer-by-layer to clean everything from the PCB to the plate that secures it all in. Check with the manufacturer of your keyboard before doing this, however. If you can’t locate anything official, there are plenty of enthusiast-made threads on Reddit, as well as videos on YouTube showing you how to clean the real thing.
Clean Keyboard Success!
Place the keycaps back on their respective switches. Be sure to press down each time to ensure they’re seated. You’ll want to use that photo you took at the beginning of the cleaning process to remember where to put everything back. I suggest putting on a podcast or a movie in the background that you can dip in and out of as you work on getting the keycaps seated. It’s a tiring process, but once you’re done, you’re finished. And really, it can be such a meditative process to clean your keyboard. It will also make you feel less gross, which is always a win.