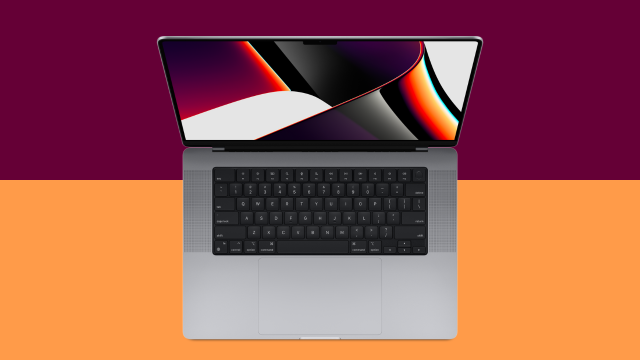
It’s been said that the world runs on screenshots. Whether you’re taking it for record-keeping, proving to your friends that that guy really did say that thing, or showing someone what weird thing your MacBook is doing, being able to take a screenshot is super useful.
There are two main ways to go about taking a screenshot on your MacBook.
The quick way(s) to take a screenshot
The quickest way to take a screenshot or screen recording on a MacBook is to press Command+Shift+5. That will bring up the screenshot menu and from there you can decide whether you want to take a shot of the whole screen, your current window or just a portion of the screen. It also allows you to record the entire screen or just a portion. The menu that comes up at the bottom provides options of what to do with the image/recording after you’re done, activate a timer, and determine whether or not you want the pointer to show up.
You can also take a grab of the entire screen by pressing Command+Shift+3. The preview will pop up down the bottom right hand side of your screen, clicking on it will let you edit the screenshot (crop, etc).
The slightly less quick way to take a screenshot on a Mac
If you forget that shortcut, do not worry. You can also access the screenshot screen on your MacBook by going through Spotlight. Either click on the magnifying glass in the top righthand corner or your screen (next to or near the clock) or press Command+Space Bar to get the Spotlight search bar to come up, and then type in “screenshot” and press Return. Et voila, now you have the handy screenshot toolbar up, ready to document anything you need.
Where do the screenshots go?
The default save location is the desktop, but it’ll also give you a little thumbnail in the bottom right-hand corner of the screen that you can drag into a message or other app if you’re quick. If you miss the thumbnail and can’t see it on the desktop, you can also open the screenshot menu back up, go to options, and see where it’s suggesting to save to now and that will help you find it.
This article has been updated since it was first published.
