If you’re serious about virtual reality, then few headsets can beat the HTC Vive Pro 2. It’s not cheap, so if you’ve invested a substantial sum in VR, then you’ll want to make sure you’re getting your money’s worth. Here are 10 tips to help you do just that, many of which will work with other HTC and SteamVR headsets (like the HTC Vive Pro).
1. Reconfigure the Playing Area
You’ll be asked to set out the playing area for your HTC Vive Pro 2 when you initially set it up — and you’ll also be told if it isn’t large enough — but there may be times when you want to configure it or switch to the alternative standing only mode for smaller spaces.
Whatever reconfiguring is required, if you open up the main menu of the SteamVR console in Windows (click the three horizontal lines, top left), then choose Room Setup, you can go through the process again. You can also Reset Seated Position from the same menu.
2. Switch to Other Headphones
You get integrated audio with the HTC Vive Pro 2, but that doesn’t mean that you can’t bring your own headphones along to the party. First you’ll need to pull back the padding and unscrew the integrated pair of headphones, as HTC describes here.
You can then attach a wireless pair of headphones or earbuds that are communicating with your computer, or make use of the USB-C input on the Vive Pro 2 itself. Again, some padding removal is required before you’ll be able to find the slot — the details are here.
3. Check Performance Levels
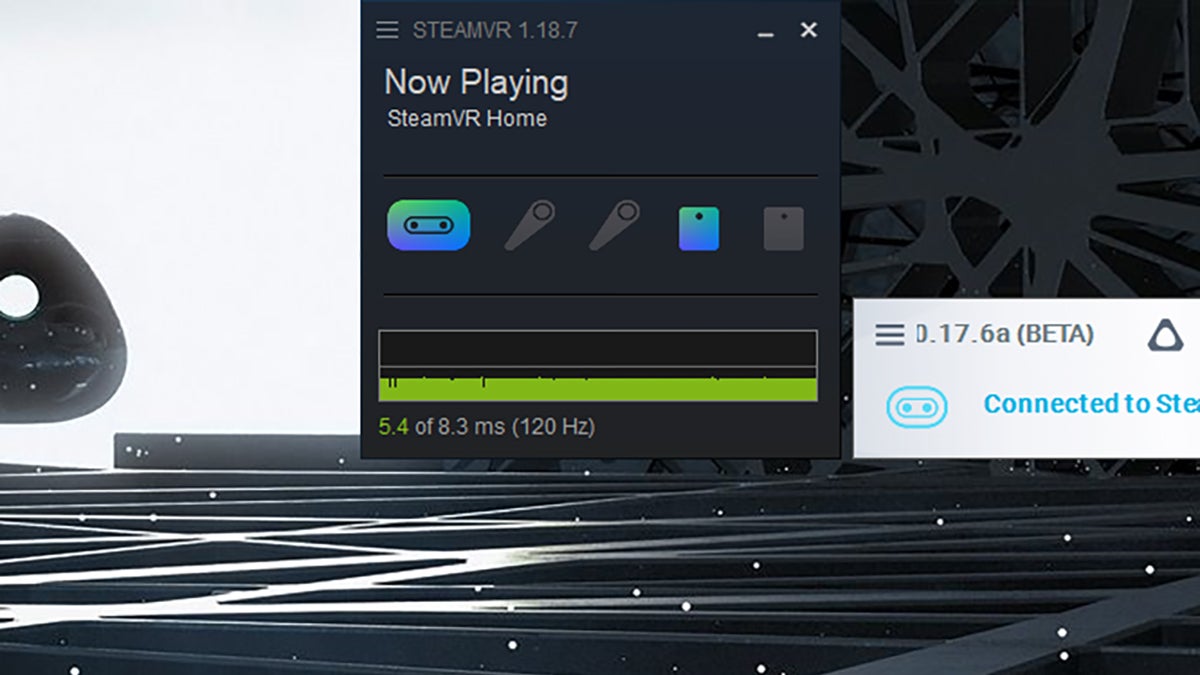
The HTC Vive Pro 2 can place some serious demands on your computer while it’s running, and SteamVR can give you a useful window into exactly how your hardware is coping with the stress. It’s handy for troubleshooting problems, checking performance, and more.
From the SteamVR Settings panel that stays on your computer screen while you’re in VR, open the main menu (click the three horizontal dots) and choose Display Performance Graph. Hover over the graph with the cursor for information about what you’re seeing.
4. Enable Phone Notifications
One of the appealing aspects of virtual reality is that you can escape the world for a while, but perhaps you don’t want to escape absolutely everything — there might be an important phone call or text from someone in the family that you don’t want to miss, for instance.
To make sure some or all of your phone notifications get through to your HTC Vive Pro 2 headset, you need the Vive app for Android or iOS. Once you’ve installed it, open Viveport on your PC, click your profile picture and then Settings, and then choose Set Up a Phone.

5. Tweak Your Playing Area
If you open the menu from the SteamVR box on your computer and choose Settings then Play Area, you can customise various aspects of the space that you’ve set up your HTC Vive Pro 2 to work in — everything from the colours used to the height of your walls.
You can change the style of grid used by the chaperone feature that stops you from walking into other objects, you can opt to have the floor bounds always within view, you can change the background used when you first drop into virtual reality, and more.
6. Improve Performance on Older Hardware
If your PC system specs are struggling to keep up with everything that the HTC Vive Pro 2 headset wants to do in terms of visuals, open up the Vive Console tool on your PC, and choose Settings from the main menu (click the three horizontal lines, top left, to see it).
Open the Video pane and enable Motion compensation, which reduces the number of frames generated by your GPU and uses smart algorithms to fill the gaps. You can also try dialling down the output resolution and refresh rate from the Display settings pane.

7. Use the Camera
Your HTC Vive Pro 2 headset has a camera attached to it, which you can use in various ways. One way is to go into the main SteamVR Settings screen, open the Camera screen, then enable the camera and turn on the Show Camera on Controller option.
As you’ll see right away, this brings up a little thumbnail image close to the right-hand controller that shows whatever your headset’s camera is seeing. It’s a handy way of checking in with the outside world without actually taking off your HTC Vive Pro 2.
8. Mirror Audio to Your Computer
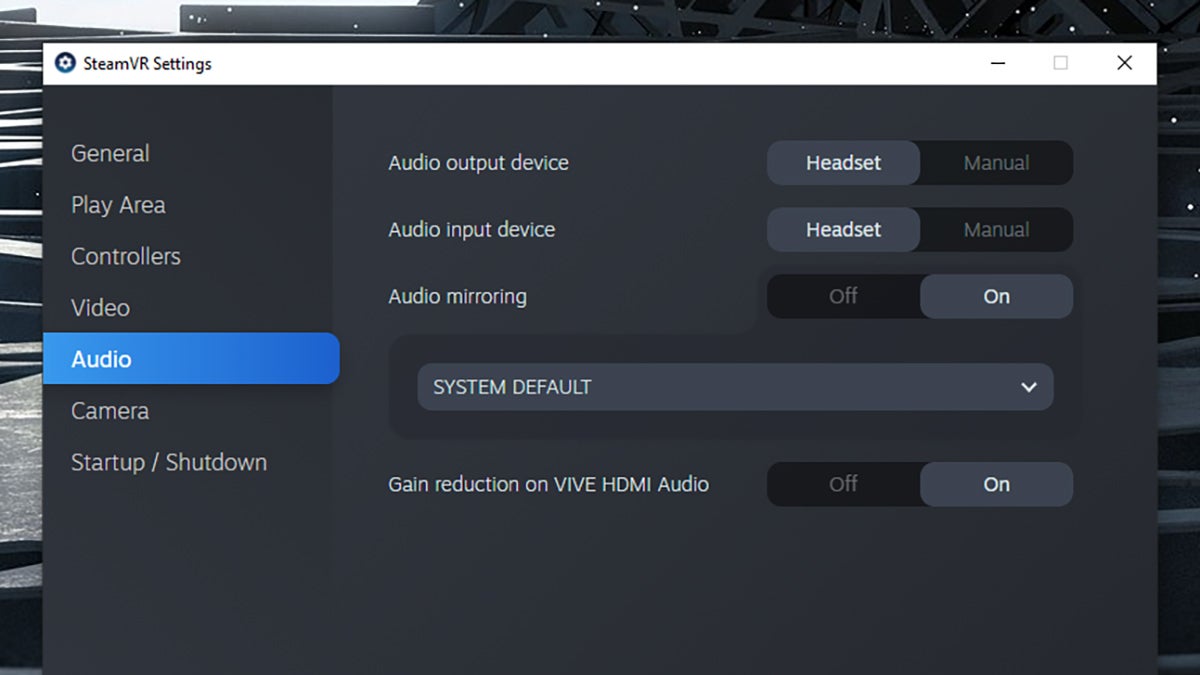
When you fire up a game or app in SteamVR, by default whatever you’re running will be mirrored on the computer you’re using, which is handy for taking screenshots and for showing whoever might be with you what’s happening in the virtual reality world.
There might be occasions when you want both the video and the audio to be mirrored to your laptop or desktop, so onlookers can hear what’s happening too. From the main SteamVR Settings panel, choose Audio and Audio mirroring to enable the feature.
9. Become a Beta Tester
The HTC Vive beta program works in a similar way to every other beta program out there. It means you get an early look at certain new software features before anyone else, and in return you may have to put up with a few bugs and some instability every once in a while.
The HTC Vive beta program is free to join and you can leave at any time. From the Vive Console panel, open the main menu and choose Settings, then go into Advanced and enable the Beta program option. The next time a beta update drops, you’ll get it.
10. Reinstall USB drivers
No matter what the gadget, removing drivers and then adding them again often works wonders when it comes to troubleshooting problems. It forces the hardware and software to start again from scratch, and it can work if your HTC Vive Pro 2 is having issues.
From the Vive Console panel on your Windows computer, click the menu button (top left), then choose Settings, Troubleshooting, and Reset (under Reset USB devices). You’ll then be taken through the process of initialising the hardware connections again.