It was time to die.
My 2014 iMac, outfitted with a 3TB drive and maxed out RAM, was a dream machine. For years, I fired it up and got to work, transcoding video, recording podcasts, and writing books. It was almost too much machine. It had a massive, beautiful screen — one of the first Retina models, if I recall — great speed, and amazing performance. And it lasted for almost seven years, a record given my habit of upgrading at every major Apple update.
Once I installed macOS Big Sur, however, things went downhill. I’d open multiple tabs in Safari and get a spinning beachball that resulted in a crash so hard that I was embarrassed for Apple CEO Tim Cook. Everything would freeze and spin for a solid two minutes before the Grey Screen of Death appeared. I’d have to restart almost daily. Apple had reduced my once-capable machine to rubble.
What was I to do? I could use a laptop in the house, but those were taken by my kids and their remote schooling. I could keep working on this iMac and reboot constantly. I could use an iPad and cry myself to sleep every night.
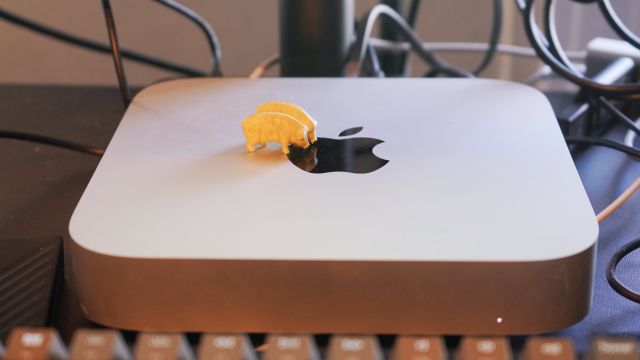
Reader, I bought a Mac Mini.
The Mac Mini is a computer dear to my heart. I had a first-gen model in 2005, and it was my first real foray into Apple products. Remember, back then, unless you were a die-hard, you did all your real work on a Windows machine. They were cheaper, more ubiquitous, and except for a few art, music, and design apps, more capable. We can argue these points if you’d like, but for the average computer user, you were getting a Dell.
The original Mini was a revelation. It worked wonderfully, the UI was great (I wasn’t a Mac-head so I hadn’t used it probably since the PowerPC days), and I could add whatever peripherals I wanted. I used an old monitor, a nice keyboard, and a Logitech mouse. Everything worked perfectly.
After the death of my iMac, I wanted something similar in power with a great screen, something that I loved about the huge, bright Retina screen my old one had. I also wanted to try the M1 chip. I traded in the iMac and set up the Mini. Here’s what I learned.
Get a great monitor
I went for the $900 LG 24-inch UltraFine 4K UHD IPS Monitor, which offers much of the brightness and clarity of the original iMac. I noticed a minor difference in colour and brightness, and the screen was slightly smaller than the 27 inches I was used to and, in retrospect, I should have probably picked up a bigger one given that this is my daily driver. That said, the difference between the laptop, the iMac, and this screen is minimal.
You can go cheaper — about $530 for the BenQ PD2700Q — or go wild with the LG 38WN95C-W at $2,300. But what you’re looking for is a USB-C-compatible monitor with some expansion ports. Because the Mini only has two USB-C and two USB-A ports, you’re going to want the expansion.
Get an external drive
The Mac Mini maxes out at 512GB, which I noticed was getting full almost immediately. As mentioned, my old iMac had 3TB on board, and that was more than enough. This was too little. I bought an external hard drive and turned it into a “junk” drawer for downloads and the like.
You’ll also want a good powered USB dock. I have an Anker model with eight ports, and I’m able to swap out various devices while keeping my off-board sound system (the Scarlett 2i2) and Logitech MX Master 2S mouse plugged in.
Replace your webcam
You’ll want a video capture device like the $230 Elgato Cam Link 4K. You can also connect a GoPro camera to your M1, but I’ve had difficulty getting it to work with the new M1 chips. I currently plug a Sony DSLR into the Elgato via HDMI as the USB streaming feature doesn’t work. That’s the biggest kludge in this whole system, and I definitely miss the built-in webcam — although the older iMac’s was abhorrent (the 2020 model’s is much better).
All told, I spent about $1,000 in accessories to make the Mac Mini work like my iMac, not including the cost of the Mini itself. Because iMacs don’t have M1 chips yet and the Mini was so reasonable, I feel this is a perfect opportunity to try hardware I haven’t touched in years and upgrade my Mac in the process.
