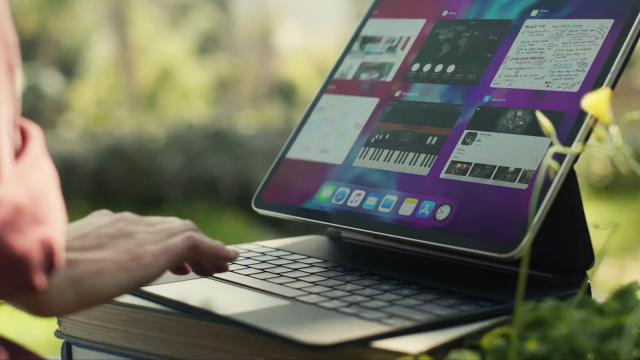
Apple has been promoting its iPads as laptop replacements for a long time now—with docks, and split screen views, and drag and drop operations—and the latest push comes with the arrival of iPadOS 13.4 and proper support for mice and trackpads. Any iPad that can run iPadOS 13.4 can now work with a mouse or trackpad too.
While support for pointing devices was already available in iPadOS before now, it didn’t work particularly well, and it was hidden away in the Accessibility page of Settings. With the arrival of the latest iPad Pros and the new trackpad-carrying Magic Keyboard, it’s now much more capable and much easier to access.
You’ll need an iPad keyboard with a trackpad (third-party options are available), or a Bluetooth mouse, or a standalone Bluetooth trackpad, obviously. You’re also going to need to have updated to iPadOS 13.4. You then need to open Settings, tap Bluetooth, and start the pairing process for your device—turn the peripheral on, enable pairing mode, select it from the list, and you should be good to go.
Cursor support should kick in almost right away—this is one of the big improvements in iPadOS 13.4 compared with previous versions. The cursor appears on screen as a grey circle, and you can immediately start clicking or tapping to select something on screen, whether that’s an app icon or a menu entry.
Clicking and dragging is the equivalent of scrolling, and so is a scrolling gesture (via a two-finger gesture on a trackpad or via a scroll wheel on your mouse, for example). If you want to test this, open up something like Apple Maps and see how you can move around the map. A long click or tap is the same as a long press with a finger.
Move the cursor down to the bottom of the screen to bring up the Dock; hover it over the home indicator (yes that’s it’s official name) to highlight it, and then you can move it sideways to jump between apps or just click it to go to the home screen. Move the cursor up to the top-right corner, click the battery and network status indicator, and the Control Centre appears.
It’s the same up in the other corner—highlight the time and date in the top-left corner using the cursor, click or tap once, and the Notification Centre appears. You can also use your mouse and trackpad on the lock screen, meanwhile.
You’ll see Apple has done a good job of having the cursor change as it moves over different parts of the interface. Hover it over a button, for example, and it expands; move it over the app icons on the home screen, and the icons get bigger; move over text, and the cursor changes again. You can carry on using the touchscreen as normal even when you’ve got a mouse or trackpad attached.
When you stop using your pointing device for a few seconds, the cursor disappears. To get it to show up again, just interact with the connected mouse or trackpad again. Open up Settings and choose Accessibility then Pointer Control, and you can customise the cursor (contrast, colour, size, scrolling speed and more).
If you’ve got an input device with a variety of buttons on it, then you can customise how these work: Tap AssistiveTouch settings at the bottom of the Pointer Control screen, then choose your device, then make your picks. Different functions can be assigned to different buttons, from opening the Control Centre to replicating a long press.
More customisation options can be found if you open General in Settings and pick Trackpad & Mouse (or just Trackpad). This screen lets you set options such as whether right-click is enabled on a mouse, and which direction you prefer for scrolling. The tracking speed can also be adjusted from this screen.
You can check on battery life if you’ve connected a mouse, trackpad or keyboard via Bluetooth—you need to get the battery widget up on your iPad via the Edit button at the bottom of the Today View on the home screen (swipe in from the left if you can’t see the column of widgets).
You’ll discover a host of little shortcuts and tricks as you go. You can bring up the app switcher with a three-finger swipe and hold on a trackpad, or by clicking and dragging the home indicator up using a mouse, for example. To rearrange icons on the home screen meanwhile, just click (or tap) and drag them.
If you’ve got a keyboard attached, you can use the same keyboard shortcuts that you might be familiar with from macOS—so if you hold down the Ctrl key and then click or tap on a link in Safari, you’ll get the context menu that lets you copy the link or load it up in a background tab.
Text editing is made easier with a trackpad or mouse, as you can imagine: You can more precisely select words and sentences, and move elements around, when you’ve got a proper pointing device. All the usual touchscreen shortcuts are carried over, so you can double-click on a mouse or double-tap on a trackpad to select a word (the same as a double-tap on the touchscreen).
Apple is slowly ticking off the reasons why you can’t use your iPad as a laptop—this mouse and trackpad support means much more precision when working with text, browsing the web or editing images compared with jabbing at the screen with your finger. The way the new features have been implemented is actually really smart, and you’re going to find you turn to them a lot if you get a peripheral hooked up (though perhaps not in most games).