It’s not often a company creates a product that undercuts a more expensive option it’s still selling, but that’s what 8BitDo has done with its new DIY controller upgrade kits. Instead of completely replacing a wired controller with a Bluetooth alternative, you can now easily upgrade your existing hardware with wireless functionality so you can use it with virtually any device (except iOS gadgets), all by yourself, for just $US20. For the NES and SNES Classic Edition consoles, this is a no-brainer upgrade.
We are currently chasing Australian-specific pricing and suppliers for this one, will keep you updated! – Rae
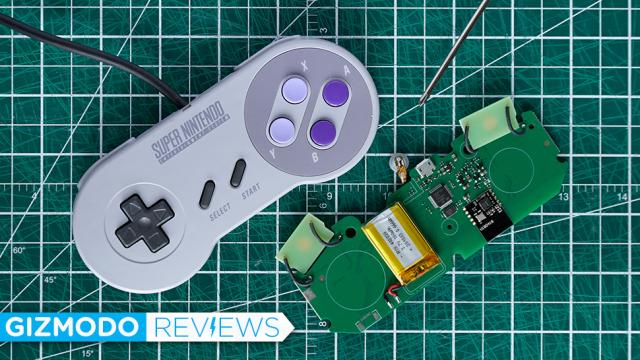
8BitDo DIY Kits
WHAT IS IT?
A DIY upgrade kit giving wired controllers wireless Bluetooth capabilities.
PRICE
$US20 ($28)
LIKE
If you can use a screwdriver, you can upgrade your gamepads.
DISLIKE
Requires a proprietary charging cable, and firmware updates will be a pain.
8BitDo’s DIY kits are currently available for five different controllers: the NES and SNES controllers that shipped with the original versions of those consoles, the NES and SNES controllers that ship with the newer (smaller) Classic Edition versions of those consoles, and the original Mega Drive controller that shipped with the Sega Genesis.
Each kit is available for $U20 (works out to AU$28), and comes with the requisite screwdriver needed to open the controller it’s upgrading, a new circuit board that completely replaces the original one, and a short proprietary charging cable. For comparison, 8BitDo sells pre-built replacement wireless controllers that look and feel like near-perfect copies of Nintendo’s original gamepads, but for $US30 ($42) each.
If you’re looking to save $US10 ($14), or just happen to really love the greasy, worn down controller you mashed away on as a kid, these DIY kits are an arguably better way to go wireless. They’re not quite as easy as swapping batteries on a gadget, but anyone capable of handling a screwdriver should be able to make it through the upgrade process.
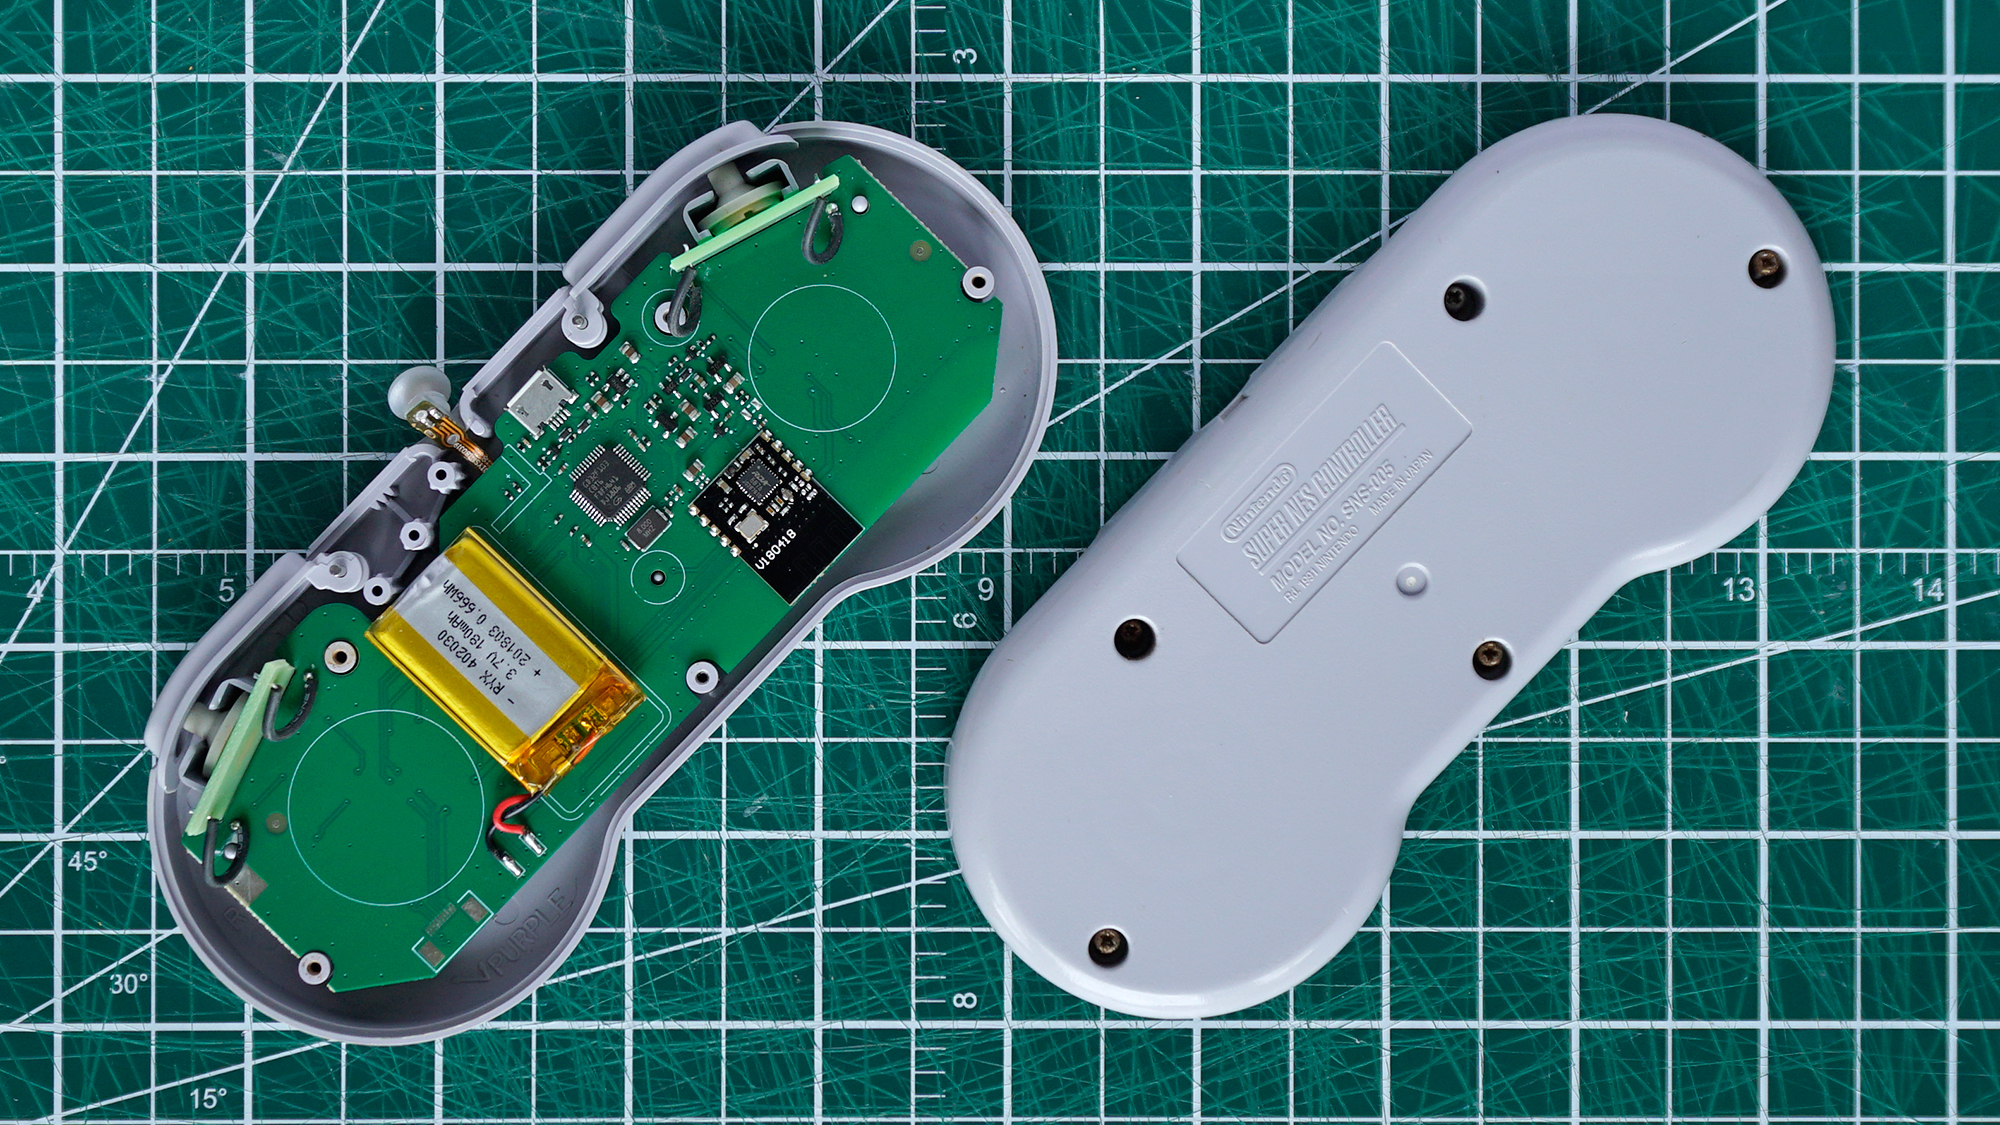
Step 1: I tested the 8BitDo DIY kit that’s available for the original Super Nintendo controller, and the first step is to put your screwdriver skills to good use by opening the controller’s plastic housing. Tip: if you’re extra careful, you can lift the back cover off without dumping out any of the loosened screws. That will make your life a whole lot easier when it comes to re-assembly.
Step 2: Once your controller’s original guts are exposed, the next step is to remove them. As you lift out the circuit board, you’ll want to make sure that none of the controller’s plastic buttons come with it, including the shoulder buttons which end up precariously sitting in place with the gamepad’s back cover removed. It’s not the end of the world if a button or two pop out, you’ll just need to make sure everything gets put back in the right place.
Tip: Double-check to make sure that the rubber conductive membranes that sit between the plastic buttons and the circuit board aren’t stuck to the original board when you remove it. I only discovered they were missing after re-assembling the entire controller.
Step 3: With all of the controller’s original buttons and rubber membranes in place, you can pop-in 8BitDo’s replacement circuit board, making sure it’s seated properly. You’ll also want to ensure the smaller circuit boards for the two shoulder buttons are vertically oriented so they make proper contact when pressed.
Instead of leaving a gaping hole in the top of the controller where the wire used to be, the upgrade kit fills it with a plastic plug that serves as both a charging port and a glowing status indicator showing connectivity and battery life.
Getting it to properly sit in the newly created hole was a little tricky as the plug keeps wanting to pop out without the controller’s back cover holding it in place thanks to a gasket that helps seal the gamepad—but it’s far from impossible. What’s more inconvenient is that 8BitDo often releases firmware upgrades for its controllers, squashing bugs and adding new features. But that’s done through a microUSB port that ends up hidden inside your upgraded controller once it’s rebuilt. When it’s time for a software update, you’ll need to reach for a screwdriver again.
Step 4: The last step is to carefully place the controller’s rear panel back on. After ensuring all of the screw holes and support pieces line up, tighten all the screws. Congratulations, you’ve successfully hacked a piece of hardware! (And, in my case, voided its long-expired warranty in the process.)
The upgrade process is easy, but there are a couple of caveats to be aware of. 8BitDo’s wireless controllers charge with either a microUSB or USB-C cable which are fairly common, but with the DIY kit, you’ll need to use a proprietary cable with a very thin connector. Lose it, or break it, and you’ll be out of luck until you fork out cash for a replacement.
The other issue is that while you can use your newly upgraded controller with almost any device that supports Bluetooth (not iOS devices), to use it with an older gaming console, or the NES and SNES Classic Edition consoles, you’ll also need a $US13 ($18) wireless Bluetooth adaptor one for each upgraded gamepad. The cost of doing the upgrade is still cheaper than buying a new controller (you have to buy the adaptor for new controllers too), but I wish 8BitDo was more transparent about that, or optionally sold the DIY kit with the Bluetooth adaptor bundled.
README
-
Upgrading your wired controllers couldn’t be easier. No soldering or Dremel skills are necessary.
-
Lets you breathe life back into a beloved controller you grew up with.
-
Requires a proprietary charging cable.
-
Firmware updates are a pain, requiring you to open the controller to access a microUSB port on the circuit board.
-
$US20 ($28) per kit is a bargain, but you’ll need to add a $US13 ($18) wireless dongle to use your upgraded gamepad with Bluetooth-less consoles.