Whether you’re showing off your video gaming prowess, trying to fix a problem, or capturing a badly-spelled tweet before it’s deleted from the web, screenshots are an essential part of our digital lives. It’s not always obvious just how to pull off a screengrab though, especially when they’re blocked by default. Here’s how to take a screenshot anywhere — even when they’re blocked.
Image: Gizmodo
Android
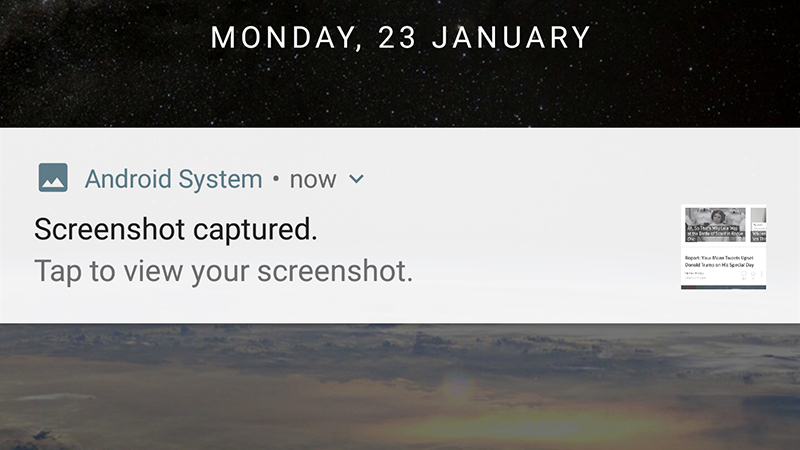
Image: Screenshot
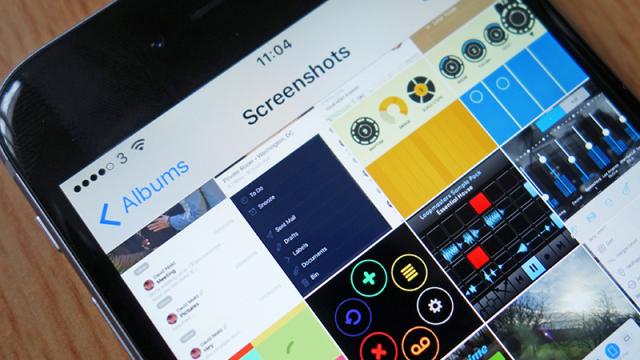
The universally acknowledged screenshot shortcut that usually works across Android versions, manufacturers, and handsets is Power+Volume Down. On stock Android and most variations you’ll get a notification and the option to share your newly grabbed screenshot, which is also saved to the Photos app.
The majority of image management apps, including Dropbox and Google Photos, will upload your screenshots to the cloud for you, if needed.
Android manufacturers outside the Pixel and Nexus programs typically follow Google’s lead, but there are exceptions. On the majority of modern Samsung Android devices you should use Power+Home instead, and while Power+Volume Down works on Sony handsets, you can also just press Power to see a menu that includes a screenshot option.
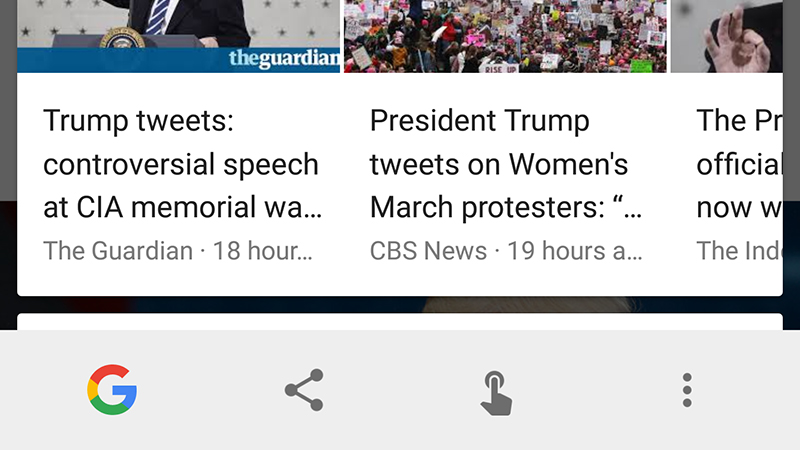
Image: Screenshot
If you’re running Android 6.0 or above you can use Google Now as well (though non-stock Android variations may differ). Hold down on the Home button to bring up the Google Now on Tap interface, then tap the Share icon. If you’re on a Pixel phone you can now swipe up from the bottom of the screen.
This being Android, there are some third-party apps you can try. Screenshot Capture gives you various other options for capturing screenshots, including an overlay button, while Super Screenshot gives you a handful of cropping and editing tools too.
There are also a host of ways to connect your Android device up to your computer and take a screenshot that way, if you find it easier than using the physical buttons on the phone or tablet itself.
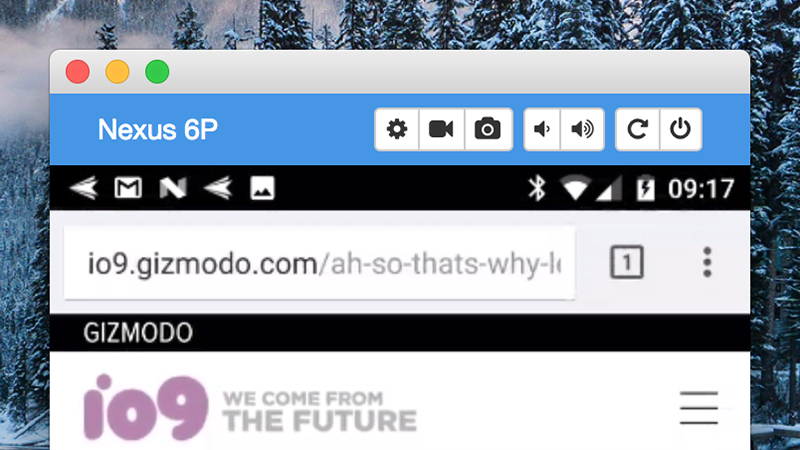
Image: Screenshot
For example, add Vysor to Chrome and you can record the screen on an Android device once it’s plugged into your computer. You just need to enable developer mode first and make sure USB debugging in Developer options inside Settings is set to On. Alternatively use Screen Recording and Mirror for Android with the AllCast Receiver extension for Chrome.
AirDroid is another excellent option that works without wires and , while AndroidTool for Mac is another neat and free Android screen mirroring utility with a screenshot function (check out the instructions underneath the downloads).
There’s only one big block on screenshots on Android and indeed iOS: when DRM-protected video is playing, with Netflix the best example. Right now there’s no way around this restriction, even using the desktop applications we’ve mentioned.
iOS
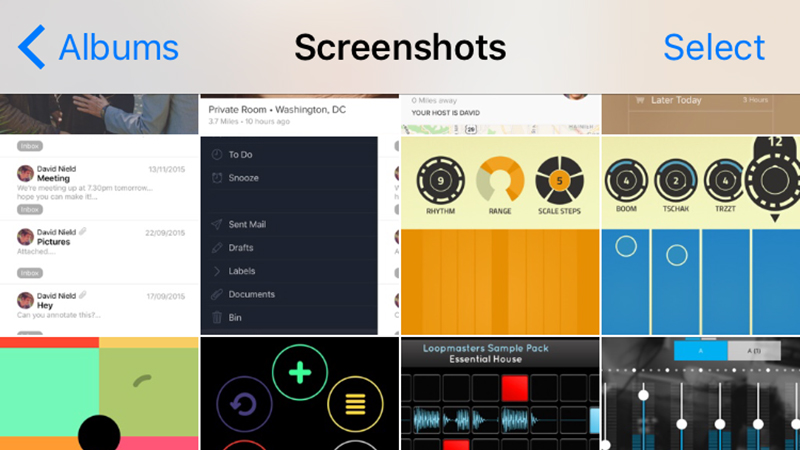
Image: Screenshot
Over on iOS, life is simpler than Android. There’s one hardware shortcut for all iOS devices, but no option to run third-party screenshot apps if you need to.
The shortcut you need is Sleep/Wake+Home, which will save a screenshot in your Camera Roll and in the native Screenshots album, ushered in with iOS 9. Alternatively, you can connect your iPhone or iPad to a computer and capture the screen from there.
On macOS, it’s straightforward enough. Hook up your iDevice via USB then open QuickTime and choose File then New Movie Recording. Click the drop-down menu next to the red record button, pick iPhone, and you’re all set.
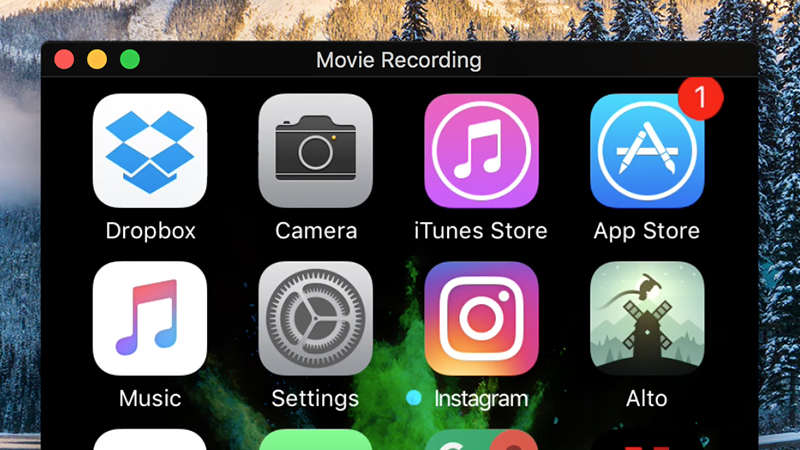
Image: Screenshot
There are plenty of third-party options for Mac and Windows. The simple but effective LonelyScreen, and the more advanced but paid-for Mirroring360, simulate an AirPlay display on your computer, while Apowersoft iPhone/iPad Recorder works in your browser or on the desktop.
Again, none of these solutions get around the main reason you won’t be able to take a screenshot in iOS. The anti-piracy measures built into the latest versions of the software, which mean if you try snapping a shot of an iTunes movie or something from Netflix, you’ll get a blank space where the video should be.
For the time being there’s no way to get around this — even the AirPlay mirroring methods won’t let you play DRM-protected videos. If you want to get a grab of an iTunes video or an app like Netflix, you need to find a way to do it outside of iOS.
Windows
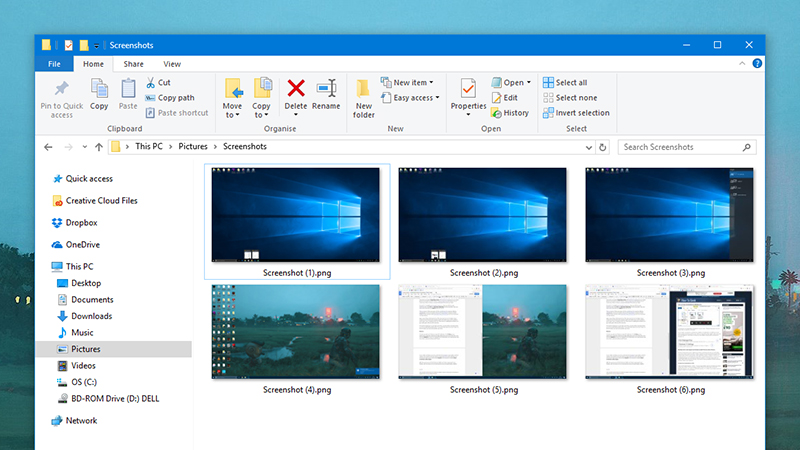
Image: Screenshot
The time-honored way of taking a screenshot in Windows is to hit PrtScn on your keyboard then paste the results into an image editing app of your choice (like Paint). Hold down the Windows key first, if your laptop has one, and the file is also automatically saved into a folder called Screenshots inside Pictures. Use Alt+PrtScn to capture just the currently active window.
If you’re after something a even more automated, then Dropbox is a good option: with the desktop client installed, open the Preferences page (right-click on the notification area icon then click the cog icon). Switch to the Import tab and tick the box marked Share screenshots with Dropbox.
After that, any time you hit the Print Screen button you’ll have a copy saved to your Dropbox, and from there to the cloud and anywhere else you’ve got Dropbox installed.
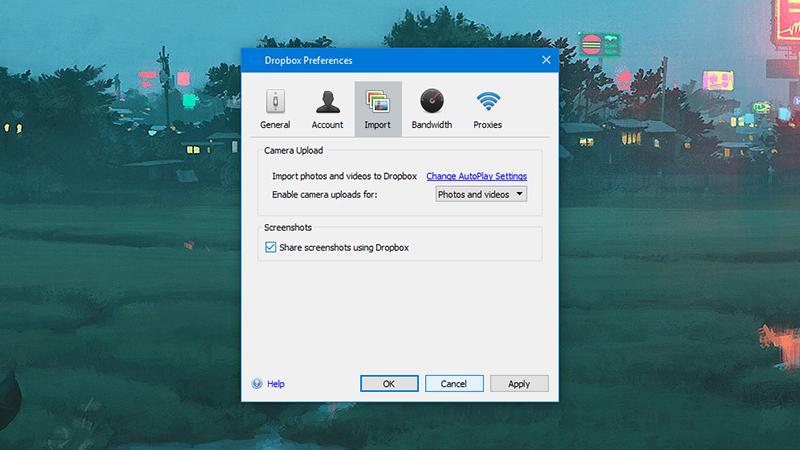
Image: Screenshot
The Snipping Tool that comes as part of Windows (search for it through the Start menu) gives you a few more options, including the ability to capture a section of your desktop rather than the whole thing, and a delay feature that will grab the screen after a certain number of seconds have elapsed.
For gaming purposes, there’s another integrated capture tool built into Windows 10. Launch the Xbox app from the Start menu, then click Settings in the main menu and toggle the Record game clips and screenshots using Game DVR switch under Game DVR to On. During gameplay, tap Windows+G to open the Game DVR, then Windows+Alt+PrtScn to capture something.
If you need even more functionality and features, there’s plenty of choice out there. SnagIt is one of the most comprehensive screen capture programs out there, but will cost you, while LightShot and Jing are capable, free alternatives.
We’re also impressed with ShareX, which is open source, lightweight, and packed with features, including automatic uploading to various cloud-based services, and a few handy auto-capture options too.
macOS
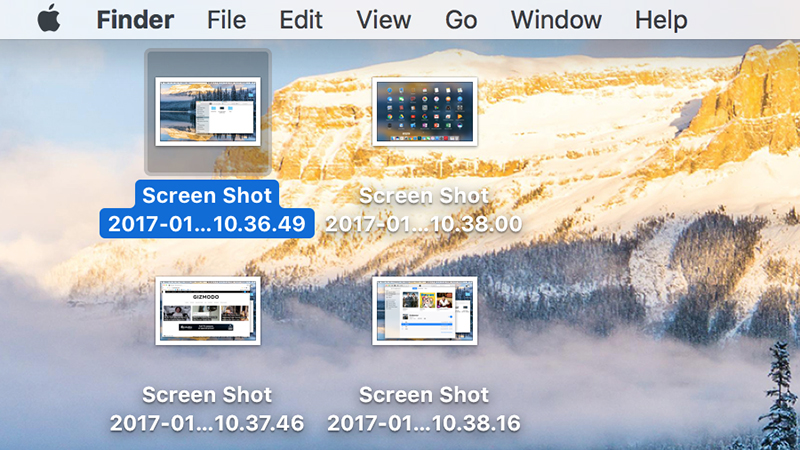
Image: Screenshot
If you want to take a screenshot on macOS, press Shift+Cmd+3 to save it as PNG file on your desktop. Use Shift+Cmd+4 to select a section of the screen instead, or add Ctrl to either of those combinations to copy the image to the clipboard rather than saving it to disk.
Dropbox can come in handy here as well in the same way as it does on Windows, automatically saving your snaps to disk and the cloud at the same time. Again, click the Dropbox icon on the menu bar, then the cog icon and then Preferences — under Import check the button marked Share screenshots using Dropbox.
The same Shift+Cmd+3 and Shift+Cmd+4 keyboard shortcuts work with Dropbox as well, so you don’t need to readjust your muscle memory to adapt. If Dropbox is enabled in this way, it overrides the normal screenshot functions of macOS.

Image: Screenshot
As on Windows, there are third-party applications available if you need something a bit smarter than the tools built into macOS. The aforementioned SnagIt, LightShot and Jing are all available for Macs as well, for example.
If you need timed screenshots then there’s a little utility called Grab that you’ll find in the macOS Launcher that you can use. For those in need of some extra annotation, organisation and sharing options, SnapNDrag Pro is worth a look: it’s available from the Mac App Store for $US9.99 ($13).
You may still experience issues when there’s DRM-locked video visible, which will simply grey out. Very few third-party apps, or the tools built into macOS, can get around it. Have any good suggestions? Let us know in the comments.