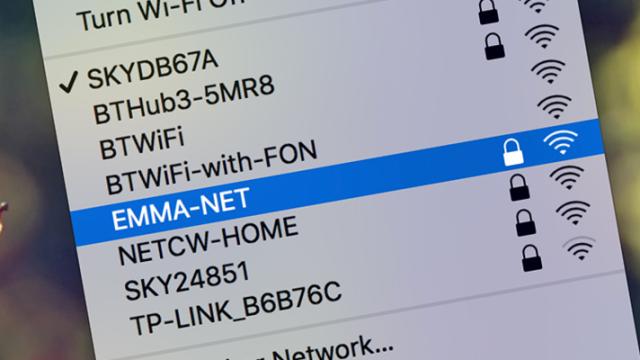
OS X lets you take command of all the wifi networks your laptop has logged in its memory, so your machine won’t try and connect to the next-door coffee shop before your home network. Here’s how to trim down the list and make sure you’re connecting to the right networks first.
Open up the trusty System Preferences dialog from the Apple menu and click Network. Make sure you’re on the wifi page and then choose Advanced — the next screen shows all of the networks your computer (and indeed your iCloud-linked iPhone and iPad) have had a relationship with in recent times. If you want to stop remembering networks completely, there’s an option for that here.
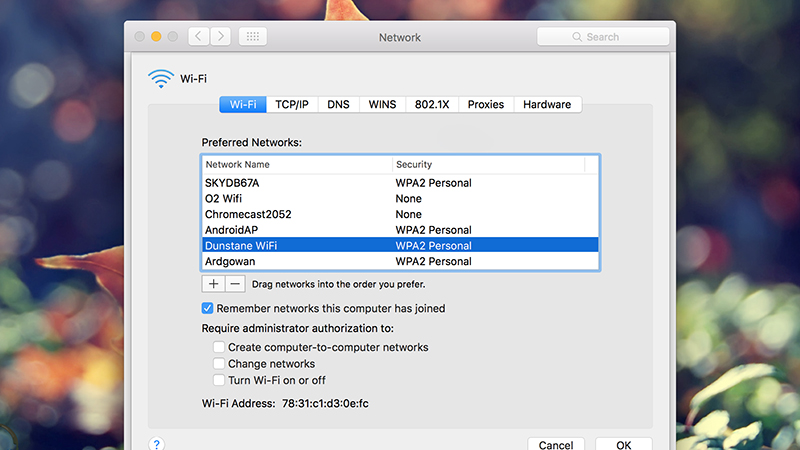
You can start tidying up the list by selecting a network and clicking the minus icon to remove it — you’ll have to start from scratch if you ever want to connect to this network again, so don’t remove any you’ve forgotten the password to. To change the order of your recorded wifi networks, and thus which order your Mac tries to connect to them, drag them up or down.