It’s no exaggeration to say map apps like Google Maps and Apple Maps have transformed the way we get from A to B, replacing paper maps, guesswork, and friendly strangers with the power of our smartphones. But if you’re using these apps in default mode, you may not be getting to your destination as quickly as possible – here are some tips to change that.
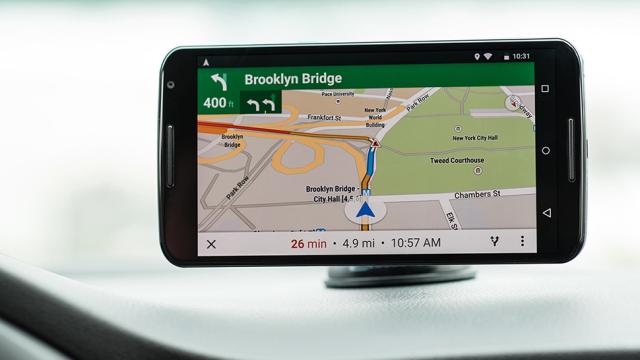
1) Check your route at different times
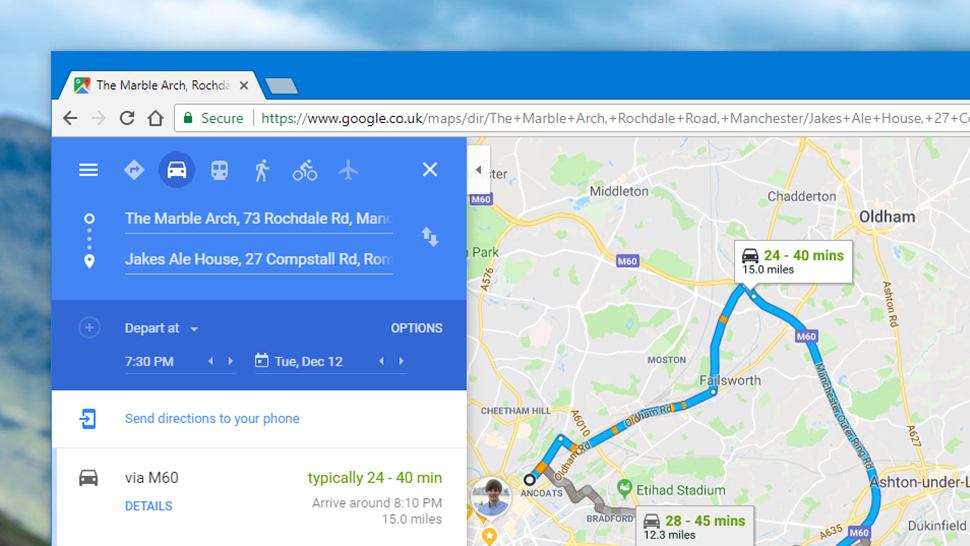
Image: Screenshot
Sure, Google Maps can give you an estimate for a journey time now, but what about when you’re actually driving? Based on historical traffic data, the app can also predict how long a route will take you at any time of day, so you can alter your departure time if necessary.
The easiest way to access this is through Google Maps on the web: Pick your destination and starting point, then click Leave now to adjust the departure time and see how the travel time is affected. It’s perfect for planning those holiday season trips.
You can access a limited version of this on mobile – with a route on screen, tap the info card at the bottom to see traffic estimates, though they only cover the next few hours if you’re checking on your phone.
2) Set the route manually
If you do a lot of driving, you may well know your local area better than Google Maps does, in terms of which junctions take forever to get through, which roads are often congested, where the most recent roadworks are, and so on.
Via Google Maps on the web you can click and drag on a marked route to change it, which lets you force the app to take you down certain streets rather than relying on its integrated algorithms. Keep an eye on the time estimate on the left-hand side to see if you can make any improvements on Google’s routing system.
Whether it’s because Google Maps just doesn’t know some of the local shortcuts, or defaults to the major roads too readily, you can occasionally shave a few minutes off your journey – we’ve no scientific proof for this, other than the fact we’ve been able to do it ourselves several times.
3) Stay off the highways
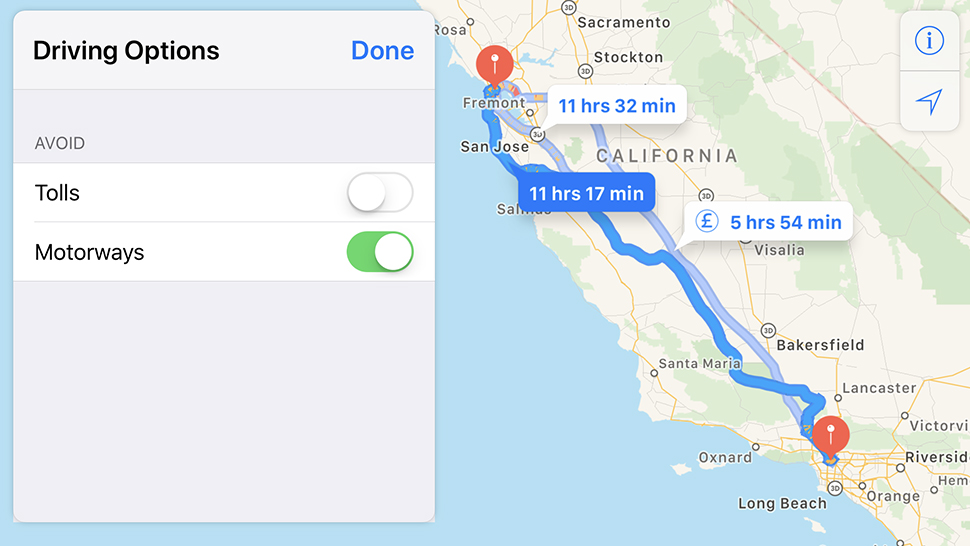
Image: Screenshot
Again, this is more down to how well you know your local roads and highways, but both Google Maps and Apple Maps let you avoid highways if you want to see if the journey is faster – on the route list on Apple Maps for iOS, scroll down and choose Driving Options; in Google Maps for mobile, you need to get the routes up on screen then hit the menu button (three dots) then Route options.
In terms of getting you from A to B in the quickest possible time, highways should be the way to go, but if you know the area or you know of an incident up ahead that hasn’t yet registered with your mapping app, it’s worth checking to see what the time difference actually is.
4) Add extra stops
Adding extra stops along your route in Google Maps can speed up your journeys in a couple of ways: First it can help you plan out a complicated trip ahead of time, without having to stop to enter new destinations, and second it can help you avoid automatic rerouting if you’re sure you know better than Google when it comes to which roads and junctions are going to be quickest to get through (see above). For now, you can’t do this in Apple Maps though.
In Google Maps for mobile, with a route already on screen, tap the menu button (three dots) then Add stop, and you can plug in an extra destination. In fact, you can add up to nine extra destinations on top of your original one.
5) Check your route in Street View
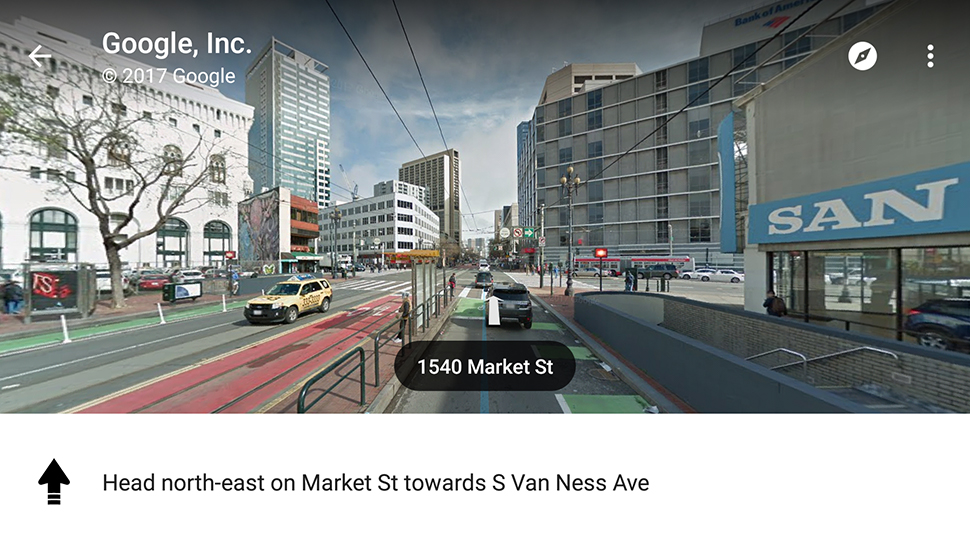
Image: Screenshot
Both Apple Maps and Google Maps now do a very good job of telling you when you should be turning and advising you about which lane you need to be in, but if you really want to get a handle on where you need to be steering ahead of time, look up the route in Street View first, either on the web or in the apps for Android or iOS.
If you’re using Google Maps for Android it’s even easier, because you can just tap on the list of steps once you’ve selected a route, and see Street View previews at each turn.
Now you’re probably not going to want to step through every single Street View frame of a three-hour cross-country road trip, but if you look up and familiarise yourself with some awkward junctions before you set off, it might help you save a big chunk of time that you would otherwise spend getting lost.
6) Make a detour
Both Google Maps and Apple Maps now make it simple and quick to take a detour for gas or food, whereas in the past you would have to pull up, run a search, tap in a new destination, and make the detour, before reprogramming your original route back in.
When you’re in driving mode on Google Maps, tap the search button and pick the kind of place you’re wanting to detour to, whether a grocery store or a gas station. Choose from the options Google Maps throws up along your route, and you’ll be rerouted to your pit stop, before the normal navigation continues.
Over on Apple Maps, tap the route card at the bottom of the screen, then choose from gas stations, dinner, or coffee. As with Google Maps, make your choice from the list, and Apple Maps will automatically add in your selection as an extra destination.
7) Punch in possible stops in advance

Image: Screenshot
You can save yourself another bundle of time on the road by getting all of your potential stopping off points programmed into your mapping app ahead of time, above and beyond the time-saving shortcuts we’ve already mentioned.
Say you don’t have fixed plans but might head to a couple of spots — a fancy grocery store, or a popular bar. If you get these starred (Google Maps) or favorited (Apple Maps) before you set off, you’ll save yourself a lot of tapping and searching while you’re parked on the side of the road, especially if these destinations aren’t already marked on the map (like your friends’ houses).
On Google Maps, tap on a place or long-press on any part of the map, then tap the info card and then choose Save (if you’ve picked an unmarked spot, you can also add a label for easy reference); on Apple Maps, tap on a place or long-press on any part of the map, then tap the info card and choose Favourite. These starred and favorited places then appear near the top of future searches.
8) Watch for alternative routes
Google Maps has a useful navigation feature that you might not have noticed if you rely on the voice instructions rather than glancing at the screen – as well as giving you a choice of routes when you plan your journey, it also shows alternative routes branching off as grey lines when you’re actually on the road.
Keep an eye on these grey routes together with the estimated travel times above them. Most of the time these routes will take longer – otherwise Google Maps would switch you to the new route automatically — but if you see a difference of just a minute or two or the “Similar ETA” label then you might think it’s worth the switch if you know you’re approaching traffic or you know the alternative route is an easier drive.
You don’t need to do anything to switch routes: Just follow the directions indicated by the grey line and Google Maps adjusts your navigation directions accordingly.
9) Get parking time estimates
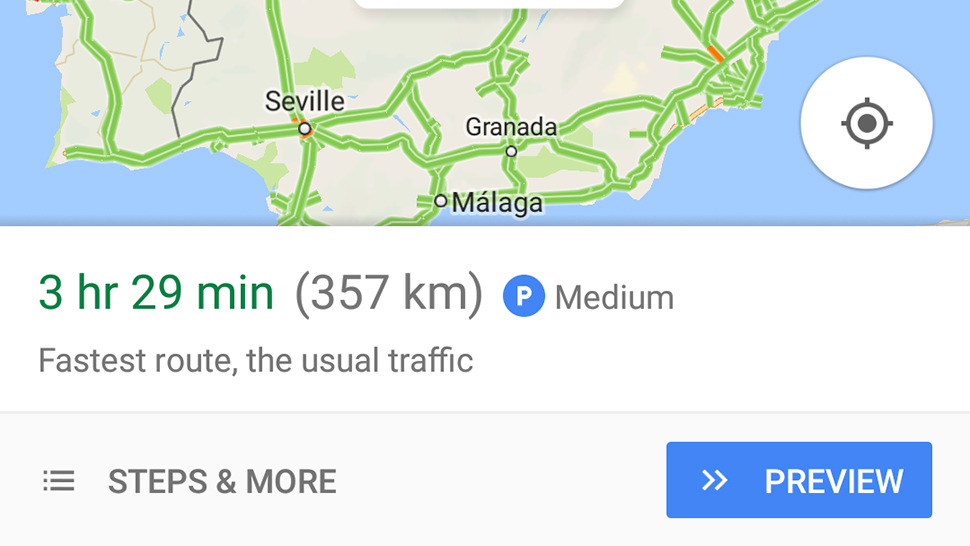
Image: Screenshot
This is only in Google Maps right now, and only in a select number of cities worldwide, but if you’re heading to a destination that is supported, you can see what the parking situation is ahead of time – tap on the info card for a place to bring it up, and you’ll see that local parking is ranked as limited, medium, or easy.
That’s not all — in 25 cities in the US you can also tap on the Find parking link in Google Maps for Android to get routed to a suitable lot. All this saves you time trundling round the city center when you get there, and can help you work out what time you need to set off to make it to the meeting or the theatre on time.
10) Turn on traffic in real time
Both Apple Maps and Google Maps will take traffic conditions into account when choose a route and updating that route as you travel, but it’s also worth making sure the real-time traffic layer is visible while you’re driving as well — a number of times we’ve been able to spot traffic building up ahead, and ducked down a side road to take an alternative route before our app’s algorithms have wised up to what’s happening.
In other words, it can help you spot the difference between a brief bit of congestion that you don’t need to worry about and a serious queue.
In Google Maps, tap the layers button to the top right (two squares on top of each other), then choose Traffic. On Apple Maps, you can bring up the layer by tapping the info button (top right) and turning the Traffic toggle switch to On.