In January, Google decided to make Google Earth Pro free for everyone — that means we can all make use of features that previously cost $US400 a year, and one of those features is the ability to record HD video of your tours. From floating along the Grand Canyon to zooming into your local neighbourhood, here’s how to record your own fly-throughs using the software.
First of all you need to download the Google Earth Pro software to your system. When you get to the login dialog, which pops up right away, enter your email address as your username and GEPFREE as the licence key. You should then be into Google Earth Pro and all its features, including HD video tours.
Recording movies

There are a few different ways to approach this: The most straightforward is to click Tools, then Movie Maker, then Create Movie. The software then records all of the movements you make, in real time, until you click the Stop Recording button. Use the keyboard and mouse to move around, and your movements are recorded, it’s as simple as that (the arrow keys, plus Shift and Ctrl/Cmd cover most of the navigation).
The Live mouse and keyboard navigation option needs to be checked in the Movie Maker dialog if you want to create fly-throughs in this way. Other options enable you to set the video quality (up to 1920 x 1080 HD), the video format, and the video file output location. When the recording is finished, you can view it straight away.
Creating tours
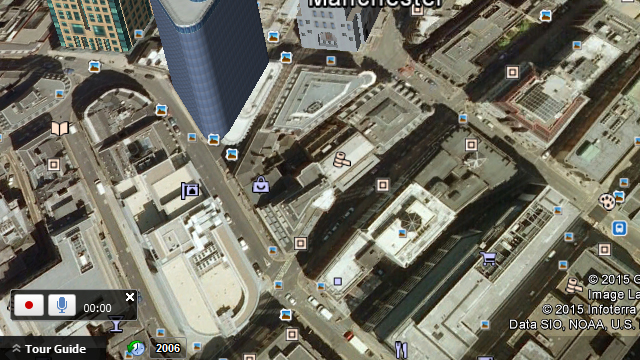
If you want to plan your fly-through in advance, you need to create a tour. You’ll see the A saved tour option in the Movie Maker dialog. This is easily done: Head to all of the places you want to include en route, and set a placemark at each one via the Add Placemark button on the toolbar. It helps if you keep them organised in a single folder, and you can untick the placemarks if you don’t want the yellow pins to be visible in your video.
Then, select the Record a Tour button on the toolbar. Click on the record button that pops up (hide the program’s Tour Guide panel if you can’t see it) and double-click each of your placemarks in turn at your own pace. Hit the record button again, and your tour is created. Use the floppy disc icon to save it, and it will become available in the Movie Maker dialog. as well as the sidebar to the left.
You don’t have to stick to the placemarks — the tour will record any manual movements you make with the keyboard and the mouse too — but it’s a simple way of jumping between particular points and views that you find interesting. The more placemarks you use, the more control you have over each step and camera position of your finished fly-through.
Tour settings
So, you can record your video freestyle, or use a preset tour, or even launch the recording in manual mode and then pick from your placemarks as you go along — it’s up to you. The software also lets you create tours from paths (such as driving routes). Your finished recording will be in the specified location for you to use as you wish.
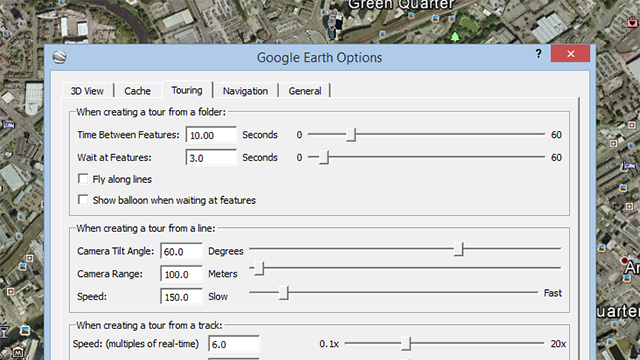
There are a few more options available if you click Tools and then Options (it’s under Google Earth and Preferences on a Mac), then open up the Touring tab. You can set how quickly the tour moves between different points, and how long it waits before moving on, as well as various other features.
Google Earth Pro is a complex piece of software and there’s a lot to explore, but those are the basics of recording fly-throughs. You can now experiment with tours, placemarks, paths and lines as you wish to get the best results. The audio button (on the record tour pop-up) lets you add a narration via your computer’s microphone if you want to talk your viewers through the action. Check out the Help Center for more pointers.