A sharp knife isn’t just sharper, it’s a safer, more efficient, more precise tool. And, like most people, your knives are probably dull. Here’s how to fix that quickly, easily and cheaply.
Why do you need to sharpen knives? A sharp knife stands less chance of slipping on the material being cut and, because it requires less effort and force to use than a dull knife, you’re less likely to cut yourself. Working with a sharp knife is faster and easier, too. It also damages the material being cut less — ever tried to slice a tomato with a dull knife? It doesn’t exactly produce clean results. http://indefinitelywild.gizmodo.com/what-big-survi…
When should you sharpen? Most knives don’t come sharp. That’s because the final few degrees between being able to slice butter and being able to pop hairs off your arm isn’t often achieved with a machine and most knives are produced by those, in a factory. So, sharpening is the first thing you need to do when you buy one.
You can easily tell the difference between a very dull knife and a sharp one, but how do you divine degrees of sharpness once it’s sharp enough to cut you? In my experience, testing the blade on your arm hair is the easiest way.
A note on safety: Never run your finger along a knife blade. If you’re using your finger to get a feel for the degree of sharpness, run it lightly across the edge, perpendicular to the length of the knife.
With little to no pressure, run the knife down the outside of your forearm, with the knife perpendicular to your arm. A good, heavy-use outdoors blade, pocket knife or kitchen utensil should be sharp enough to easily shave your arm. At this point, the edge is sharp enough for any job and a quality knife will be capable of holding this edge with minimal maintenance for some time. Making the knife sharper involves diminishing returns on your labour and creates an edge which can be a little delicate. But, if you want to try and make your knife as sharp as possible — a good idea on paring knives and other small blades used for detail work — then you’ll want it capable of popping the hairs off your arm with little to no pressure. Just touching it to a hair should be enough to sever that hair.
But I’m weird. Other people like to slice a piece of computer paper they hold hanging from one hand to test sharpness. If arm pattern baldness isn’t your thing, maybe try that. The sharper your knife is, the cleaner the slices it will make and the easier it will make them.
Decide how sharp you’d like a particular knife to be, then endeavour to keep it in that condition. How you do that is covered below.
Whetstones: The oldest and simplest way to sharpen a knife remains as effective now as it was when your granddad was a Boy Scout.
The basic idea in all knife sharpening is to maintain a consistent angle of contact between the knife and the sharpening medium. You wan to sharpen at the same angle your knife came with from the factory. On most quality outdoors blades, that’s 20 degrees on each side, I use that angle for kitchen and other knifes too, just to keep my life simple. 20 degrees will give you a good, strong edge that’s not prone to rolling.
Where more complex systems help you maintain that 20-degree angle, a wet stone requires you to employ sight and feel. If you’re new to this, the best shortcut I can give you is a Sharpie. Use one to colour in the knife’s bevel — the angled portion of its blade at the bottom, leading up to the edge. Do a couple swipes on the stone and then examine your edge. If all the Sharpie mark is gone, you’re at the correct angle. If there’s marker remaining on the top of the edge, it means you’re holding the back of the knife too high. If there’s marker on the bottom of the edge, where you’re trying to sharpen, then you’re holding the knife too flat. This method works equally well on other types of sharpeners too.
To use a wet stone, always move the knife edge-first across the stone. Hilt to tip or tip to hilt, it doesn’t matter. What does matter is light, even pressure, little more than the weight of the knife. Don’t let the tip roll off the end of the stone, this can blunt or damage it.
To sharpen the knife evenly, count your strokes and do the same number on each side. I typically do 20 strokes on one side, 20 on the other, then evaluate my results.
Wet stones are called that because you need to apply a little bit of oil, spit or water to them, which carries away the microscopic metal shavings you produce by grinding at the edge. If you’re worried about food contamination, use vegetable oil for any knifes that are going to touch stuff you’re planning on eating or serving to others.
Sharpening Rods: Let’s just assume we’re talking about the Spyderco Sharpmaker here, it’s the most popular rod sharpening system out there and what I use to maintain my knives. It’s also a perfect system for you and what you should go buy right now if you’re serious about having sharp knives.
Many people call these “diamond rods” or stones or whatever, but Sharpmaker actually ships with two sets of ceramic rods in varying grits. You can order industrial diamond-coated rods separately, but they’re very aggressive and mostly applicable to blade re-profiling and working out major edge damage, not for your typical sharpening needs.
To use the Sharpmaker, you hold the knife vertically and swipe it down the edge of the rods while pulling the knife towards you. The trick is to maintain that perfectly vertical orientation and consistent, light pressure. Do so, and the system makes achieving a perfect 20 degree edge angle or 15 degree back bevel really easy, which is its unique selling point.
Starting with clean stones and the grey, medium-grit rods, you pull the knife down one of the points of the triangle until that point is coated in black residue. Once you’ve used all three points (which can also sharpen serrations), you switch to the flats (straight edge only). Once you’ve used all three flats, you should have a very sharp, working edge on the knife and this will be good enough for most blades. To go further, you do the same with the white, fine-grit stones.
When you’re done, use Comet, Ajax or similar to scrub the black residue off the stones, ready for the knife or to be stored away awaiting the next sharpening.
The grooves on a Sharpmaker can be used to sharpen fish hooks, awls or other pointed implements.
Mouse Pads And Sandpaper: A cheaper, but also very effective method for knife sharpening is to affix sandpaper to an old mouse pad and draw the knife along the paper again at the correct angle, but using a trailing stroke, where you’re pulling the edge away from you, the opposite of using a stone or rods; the sponginess of the pad is what makes that possible.
You can use this method for primary knife sharpening or to put the final touch on a blade after you’ve used a stone or Sharpmaker. If you’re starting with a dull knife, use a medium grit sandpaper like an 800 and work up to a fine grit like a 1200. If you’re just putting the final touches on a blade, start with 1200.
The trailing stroke is great at removing the small burs stones and Sharpmakers leave on edges.
The give in a mouse pad also allows you to create convex edges if that’s your thing. Don’t try to re-profile a beveled edge into a convex edge unless you’re very experienced with sharpening though. Just throwing this knowledge out there.
Stropping: The key to hair-popping sharpness and a step most people miss. It’s also designed to remove any burr or false wire-edge (basically a straight, perfectly aligned burr) and it’s what barbers are doing when they run their straight razors up and down leather belts.
You can do it that simply, with an old belt and a trailing stroke, or you can get a little OCD about it and make your own dedicated strop using a larger piece of leather and applying an abrasive compound to it. Honestly, it’s worth the time, the results can be phenomenal.
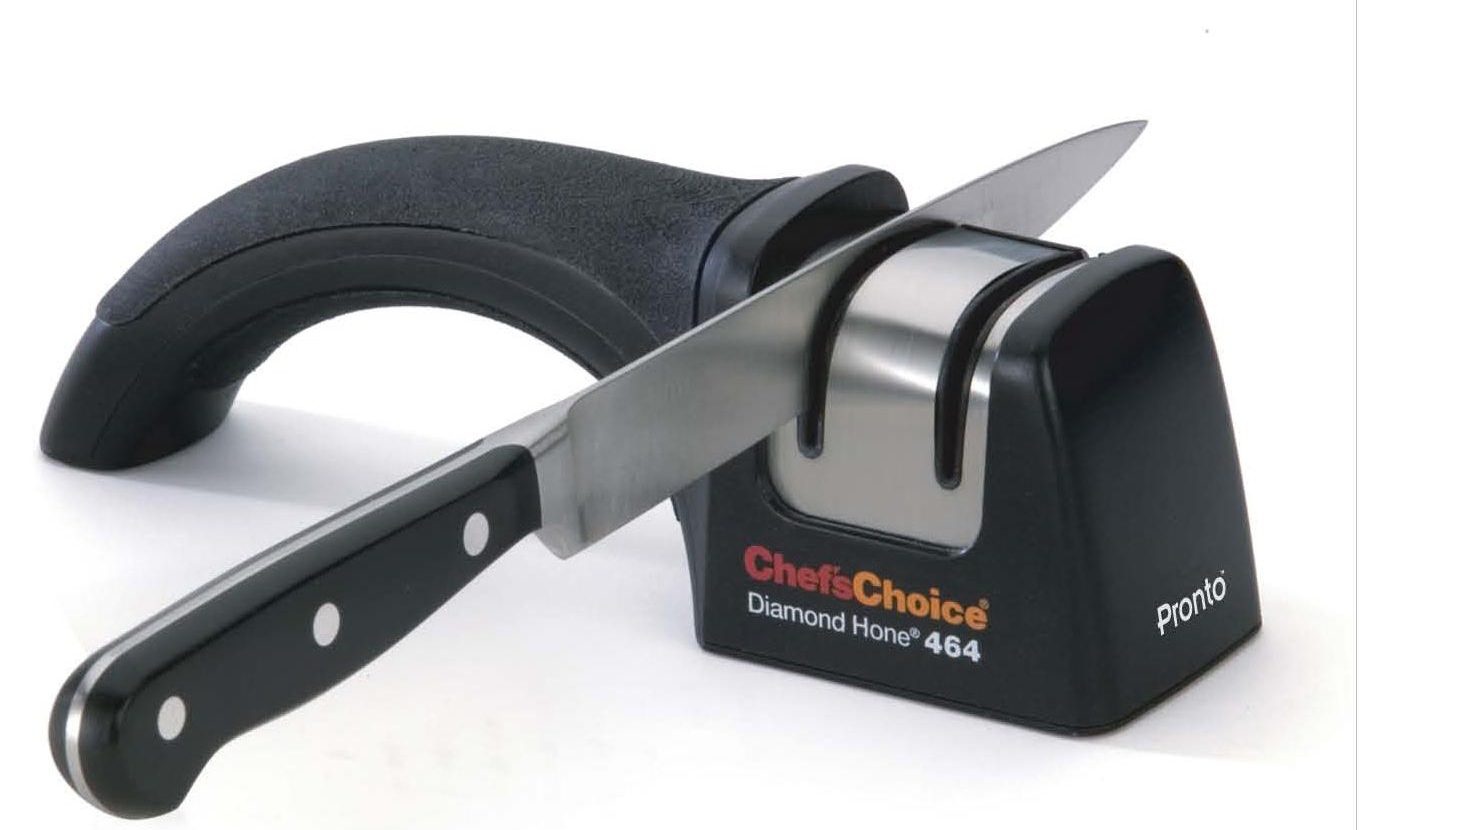
Pull-Through Sharpeners: You’ll see these both for kitchen knives and for field sharpening outdoors blades. I don’t recommend them, they can pinch the blade, creating burrs, never produce terrible sharp or consistent results and can be very hard to clean the steel residue off of.
Knife Guys: Taking your knives to a guy who sharpens them for a living can be a great idea if you’ve got a very dull blade, a damaged edge or just too many knives and too little time. I see a guy at my local farmer’s market, but any good outdoors store like Cabela’s should also be able to sharpen blades at the knife counter.
These guys use grinding wheels or belt sanders to quickly and easily put a solid working edge on a knife. You can use these machines too, but bewarned, they take off a lot of steel very quickly, leaving little room for error. You need to be able to maintain that consistent edge angle while using one and while holding the knife securely, so it isn’t flung into yours or someone else’s eye.
Typically, you’ll still need to strop a knife after having it professionally sharpened. So few people want that level of sharpness that it’s just not worth their time to take knives to that point.
Scissors: Scissors need sharpening too. To do that, fold up a piece of aluminium foil and cut it to bits. Job done. http://indefinitelywild.gizmodo.com/why-i-carry-a-…
Why Is Sharpening Such A Pain In The Arse? Because you’ve bought a knife with a very hard, stainless steel blade. The better a knife retains its edge, the harder it is to sharpen. D2, S30V and other “super steels” require hours and hours of work to bring back from dull, essentially an impossibility in the field. I take my stainless blades to the knife guy, strop them, and call it a day. Carbon steels like 1095 are a much better option, combining decent edge retention with ease of sharpening. If you plan on using a knife often and heavily, start there.
Cheap blades tend to be easier to sharpen. If you’ve bought a Swiss Army or Case knife or similar, you likely fell for the “Surgical Steel” line, which is meaningless BS and indicates the use of a cheap, no-name steel. The upside is that they take very little work to sharpen, just a few passes on the Sharpmaker usually does it. Just don’t expect them to hold that edge for long. http://indefinitelywild.gizmodo.com/how-survival-k…
You Can Do It: Go grab a cheap kitchen knife and practice. It will be sharper and much, much more useable in no time. A result so significant that you’ll want to sharpen every knife in your house.
The real trick to sharpening a knife is consistency and patience. Maintain that consistent angle, don’t be tempted to press hard, open a beer, turn on the TV and settle in for a solid hour or two of Zen-like meditation. And don’t be afraid to take it to an expert if you’re stuck.
Top Photo: Murphtron